Turnaround of model
The White Void
I was asked by a friend to create a character they liked from a game to 3D print, seeing a chance to venture into stylized character design, I jumped at the opportunity. I was asked to create Hakumen from Arc System Works' "Blazblue" series
I started by getting reference materials, which was easier and harder than anticipated. The company had created a collection of artwork of the game, which served as good references for the side view, as well as musculature. Getting a front view was the challenge. The artwork collection lacked front view drawings, so I relied on artwork of the show and the game's sprites. Because of the hand-drawn nature of this series, the proportions were different between sources. I mitigated this by using a 3/4 view of the character to ensure the proportions were correct.
I modeled the mask first, as that was the most defining aspect of him. The head has a distinctly non-humanoid shape and resembles the back of a knight's helmet. I made the top & bottom out of 2 separate cubes and then added curves and lined up the vertices. For the horns, I used cones and cubes
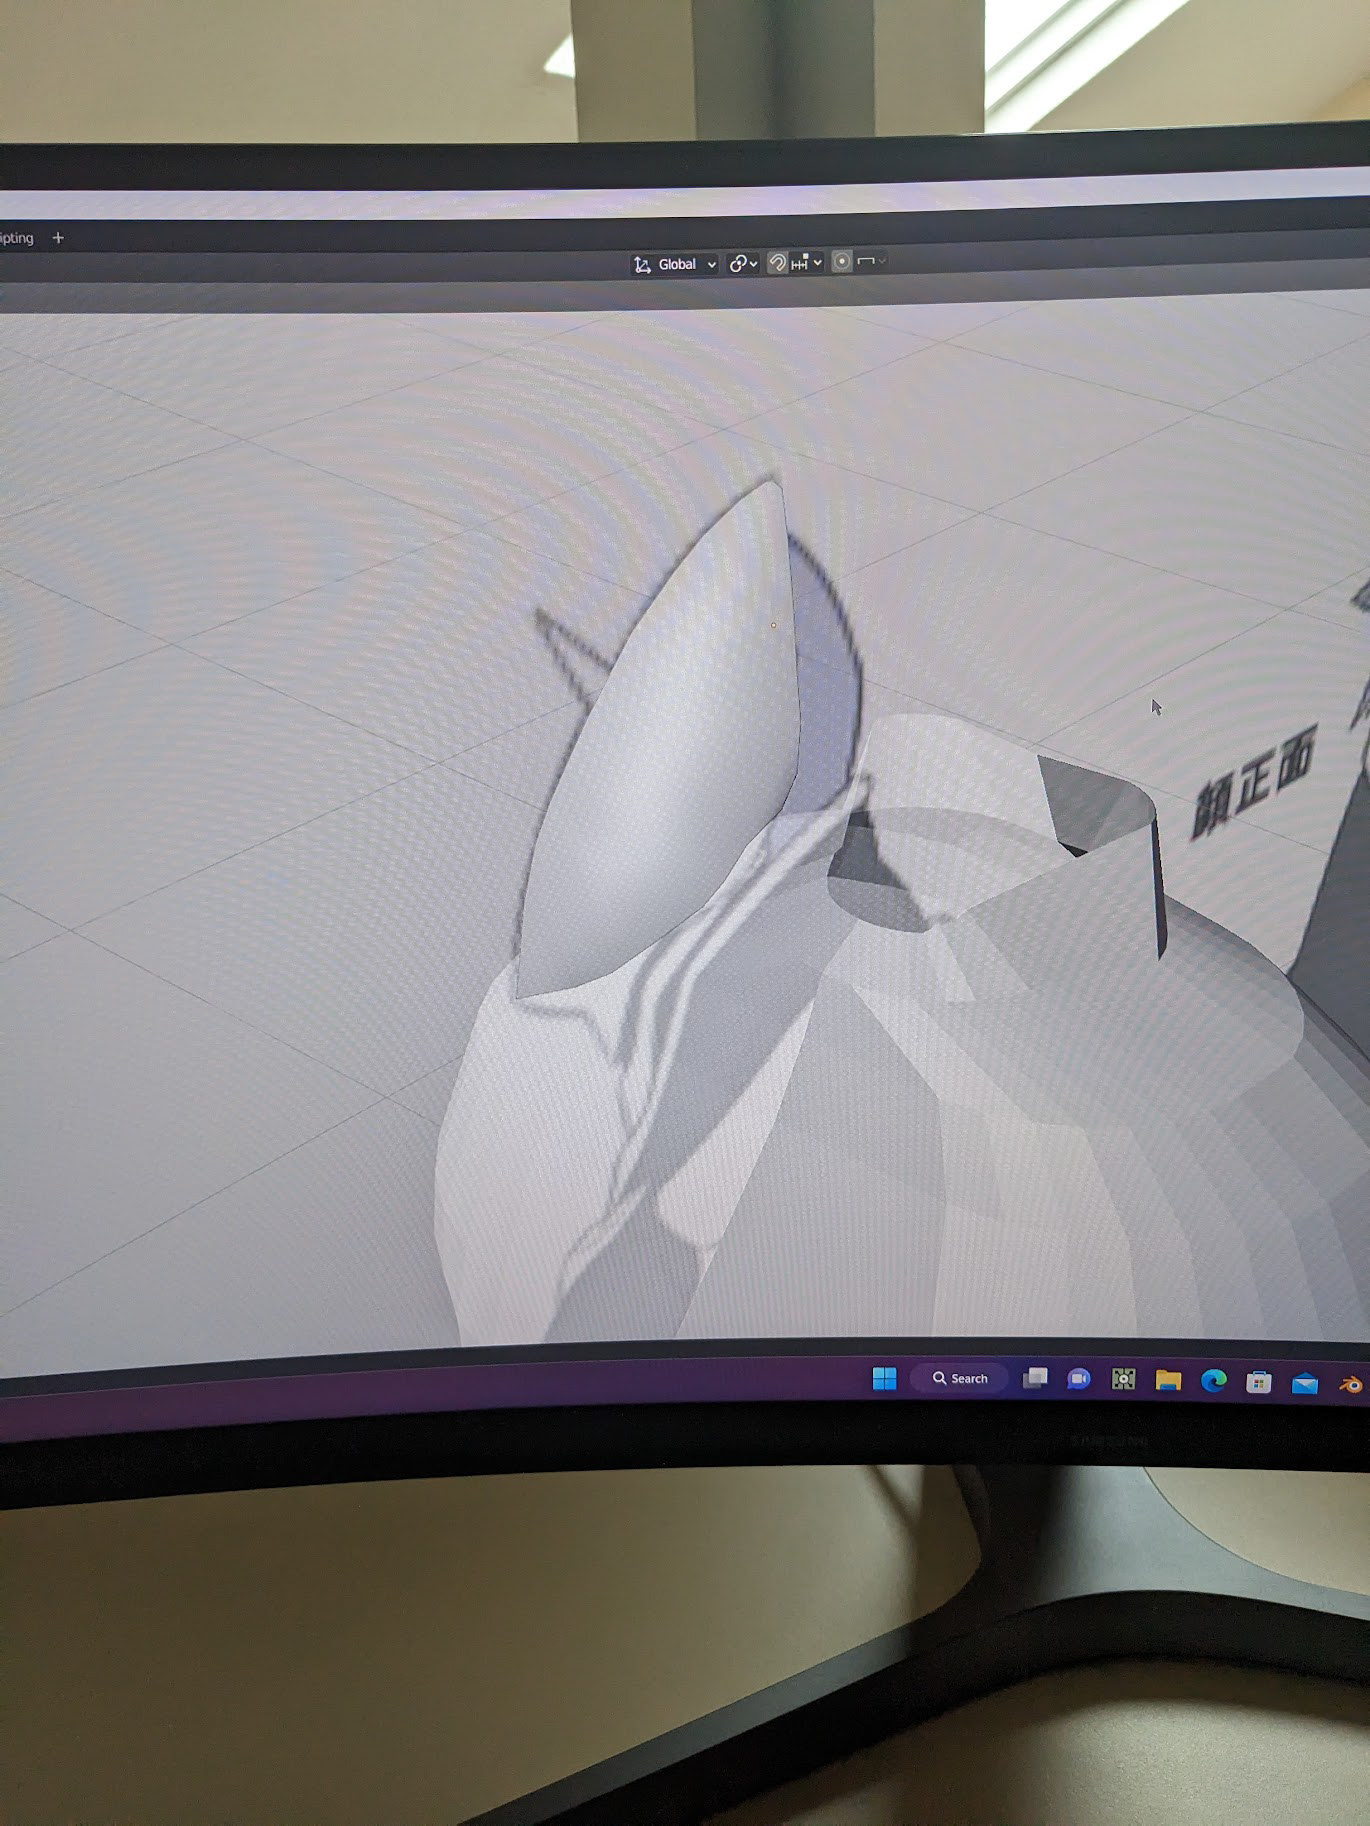
Helmet Top
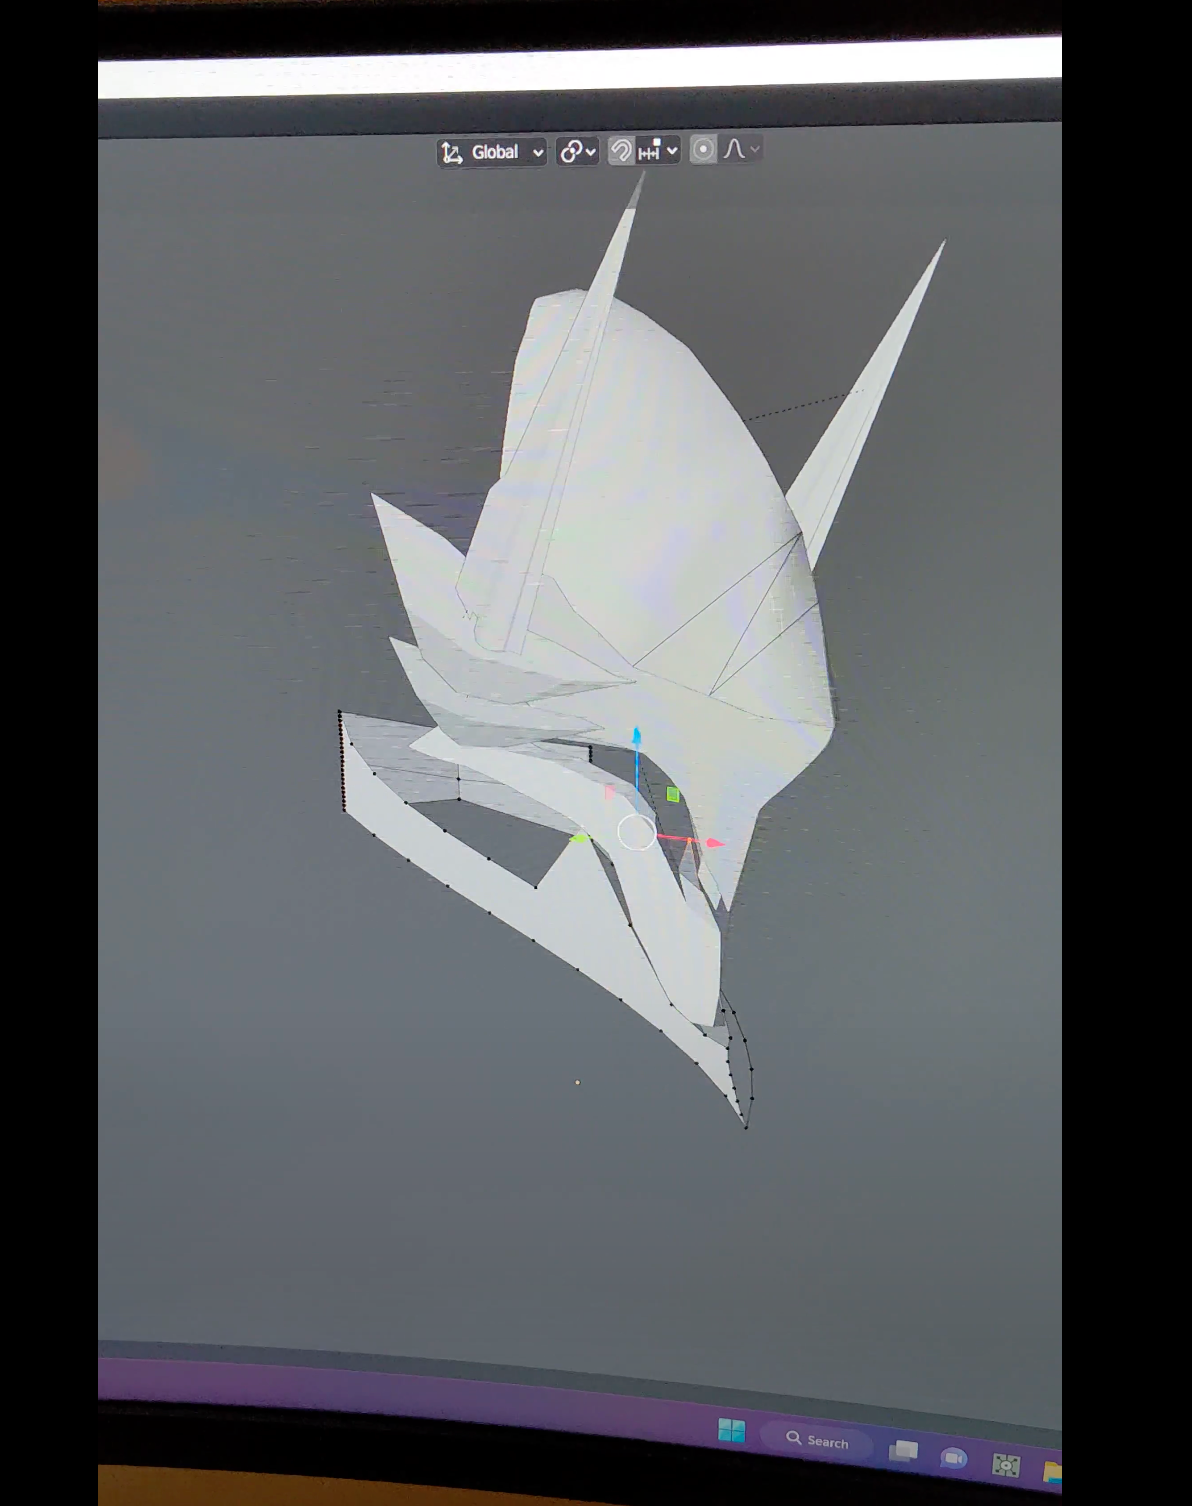
Completed Helmet
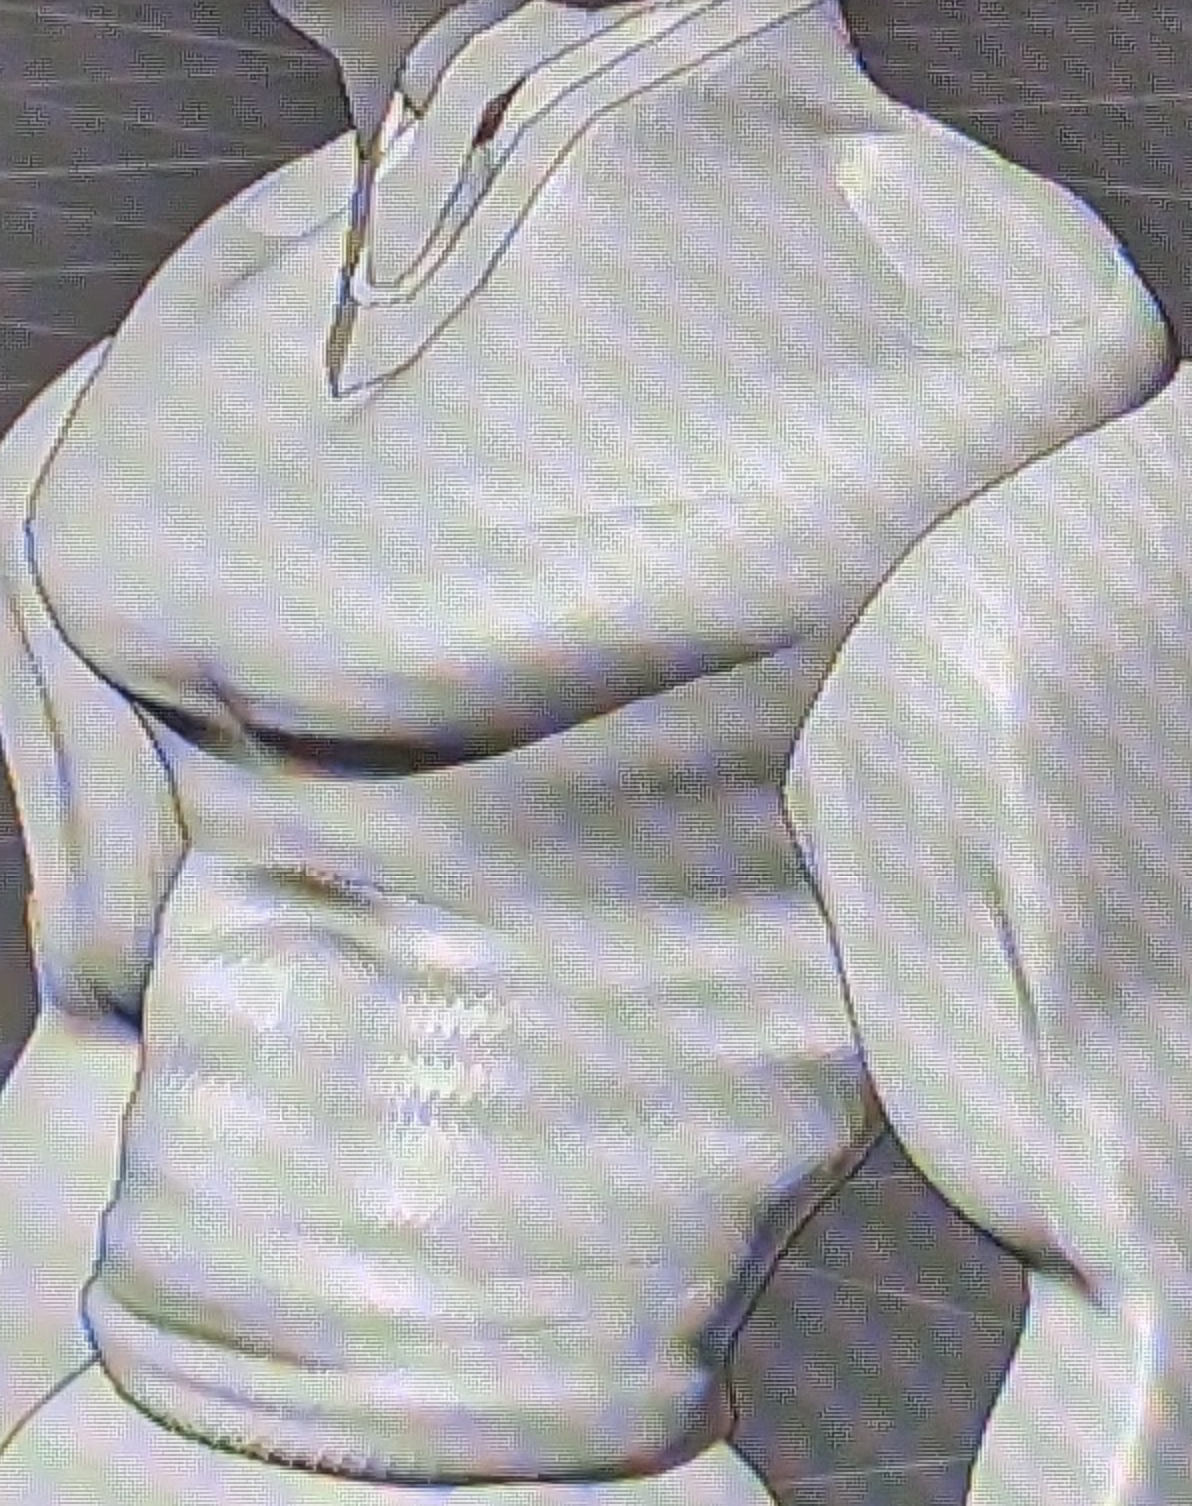
Completed Torso
The next piece I did was the torso, I created a cube that I beveled & then used a subdivision surface modifier on to get the outline to be proportional. i subdivided it further and then used blender's sculpting tools to create the musculature for the character
Next were the limbs, I was able to get the rough proportions for the arms using the subdivision surface modifier while sculpting the rest by hand. The legs were more challenging because of the baggy pants, I took a cube, split it down the middle & deleted that spare piece, creating the waist & legs. I lined the points up & rounded the legs until they looked like the character's pants. The legs were separate from the torso since the character has a waist guard that would be able to cover up the seam between the two. I also used a fabric brush here to give the illusion of loose clothing. the boots were simple enough to just outline.

Torso and Legs

Torso armor
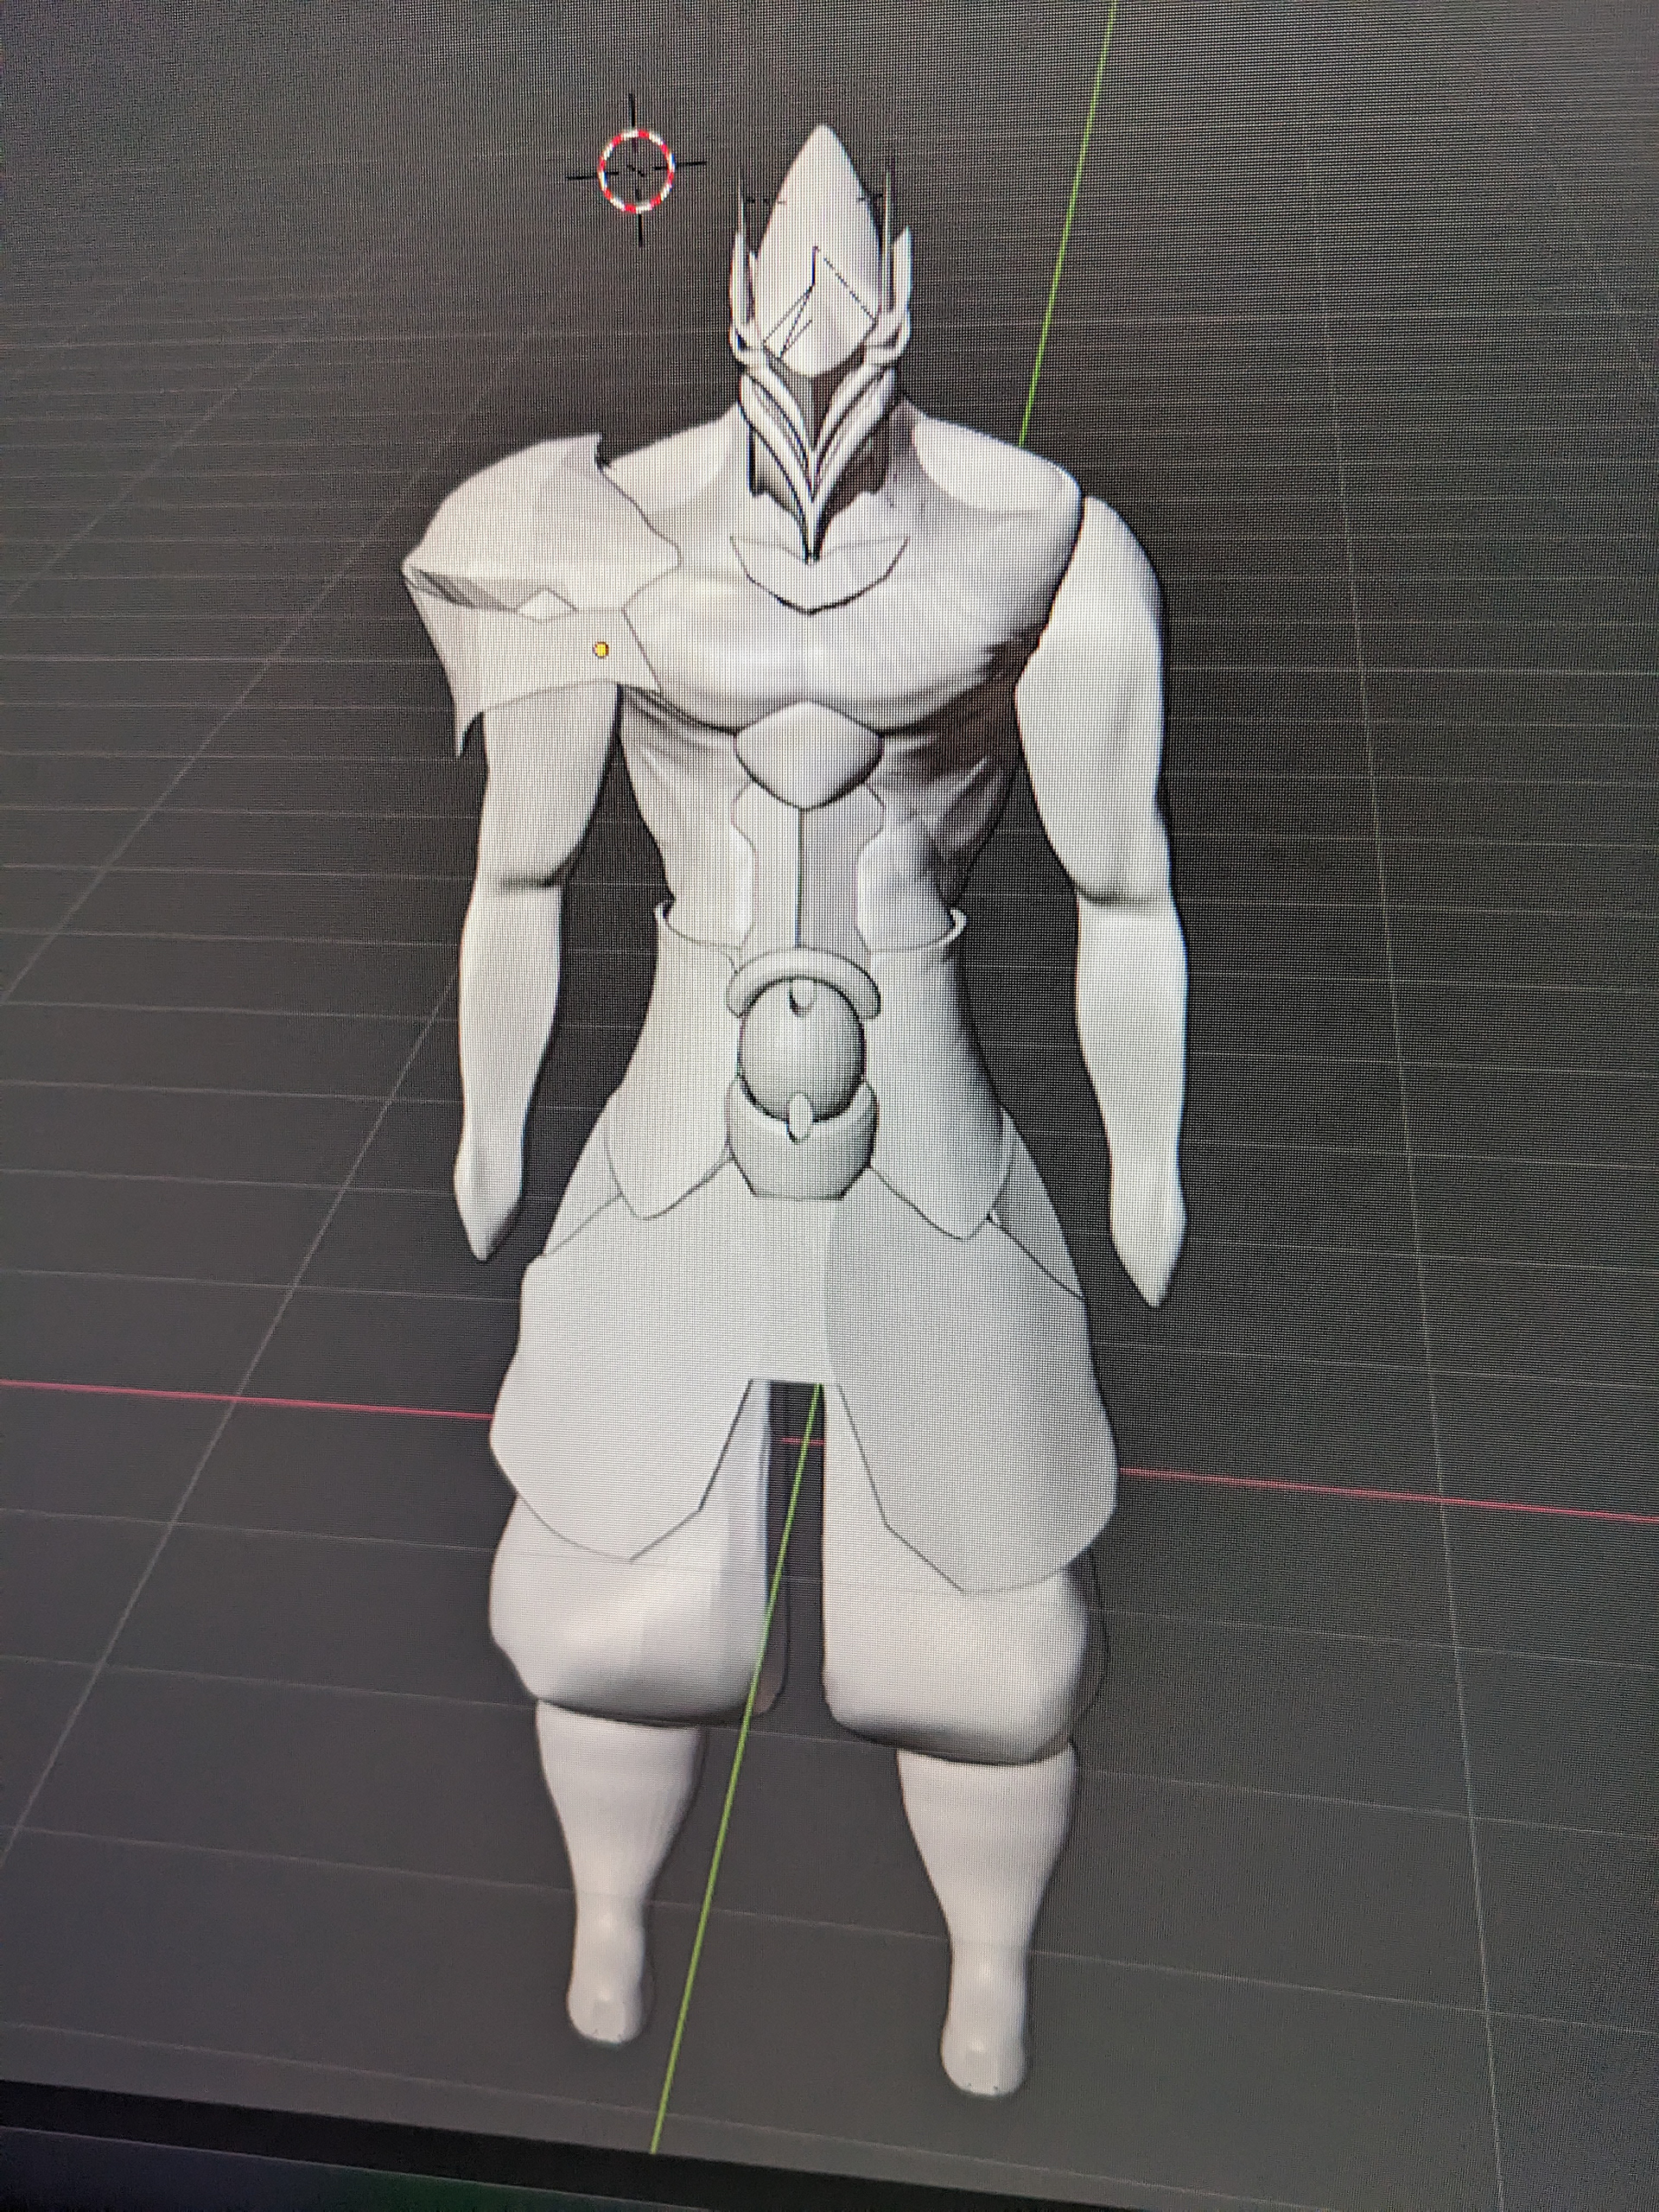
Right pauldron

Both pauldrons complete
With the body structure complete, the armor had to be assembled. There were two pieces on the back, one to hold his sword, those were the easiest since they were just cubes. The next was his torso, which was significantly harder. The character has a waist guard which ends at his knees, along with 3 pieces in front. I created those pieces, narrowed the pants and torso to accommodate them and created holes in the front using a boolean modifier.
After making the torso armor, I created the leg armor and pauldrons. The leg armor was similar to the torso armor, except I only needed to use one piece. The pauldrons were quite a challenge. Because of the differing designs in the artwork, figuring out how these were supposed to look wasn't easy. I settled for keeping a flat connection between the two but moving the furthest part of the pauldrons a bit back.
Next was the feet, I needed armor and the toes. The toes were the easiest, I just modified 4 cones and put them in the right spots, next was the extra bits around the shins, which were 2 cut toruses Finally was the shin armor, which I just shaped out and wrapped.
Before moving onto the hair, I made the hands. I took reference from real hands and sculpted a cube to match the hands and fingers. I made long nails and put them on each finger.
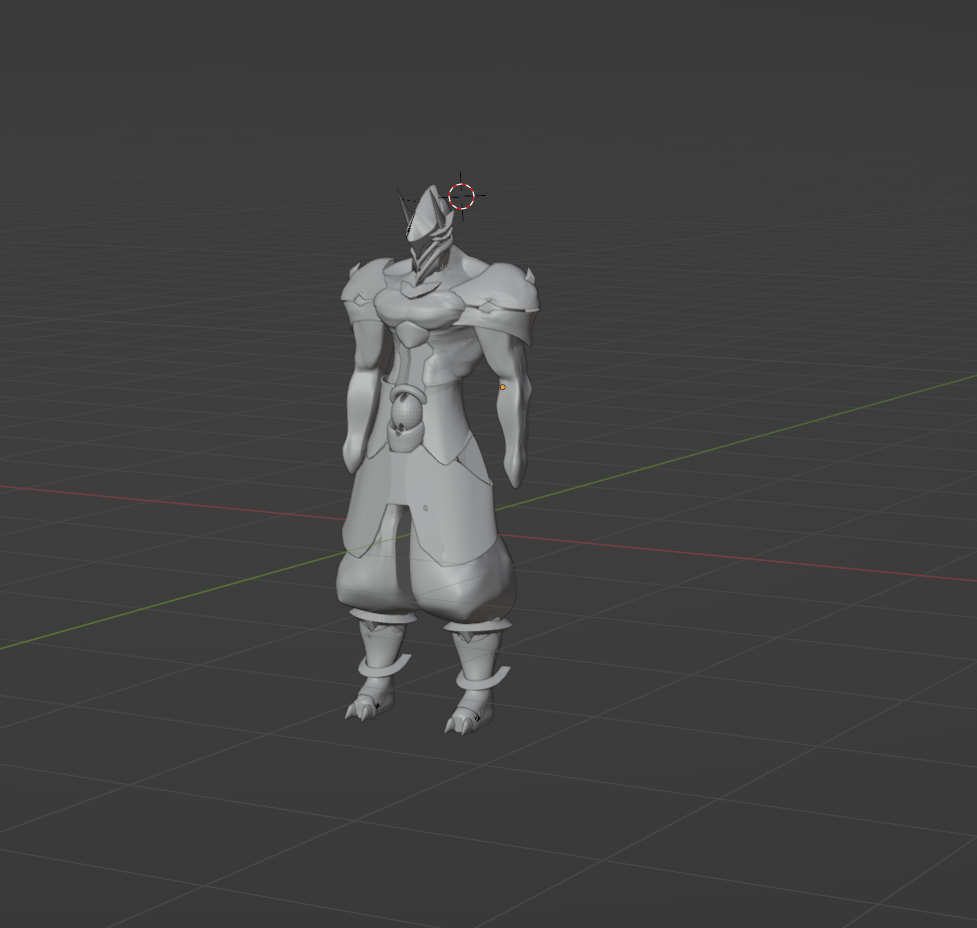
Shins & feet complete

Hands

Main hair strands
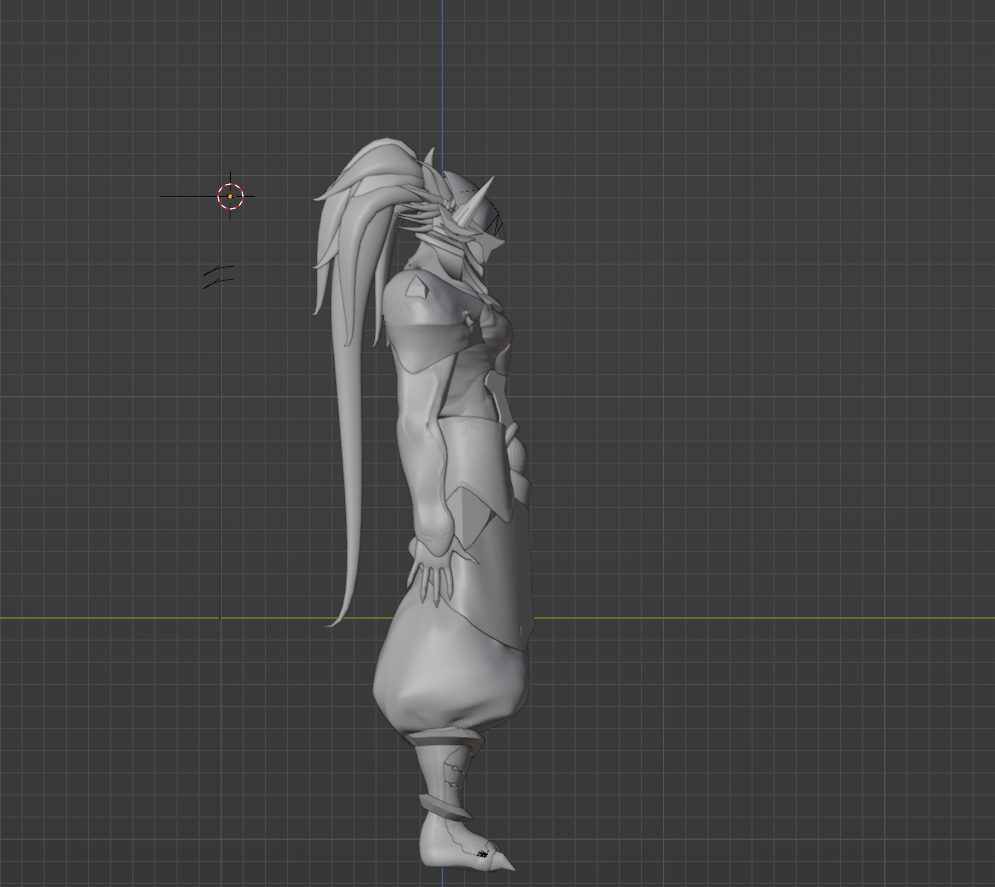
Supplementary hair strands
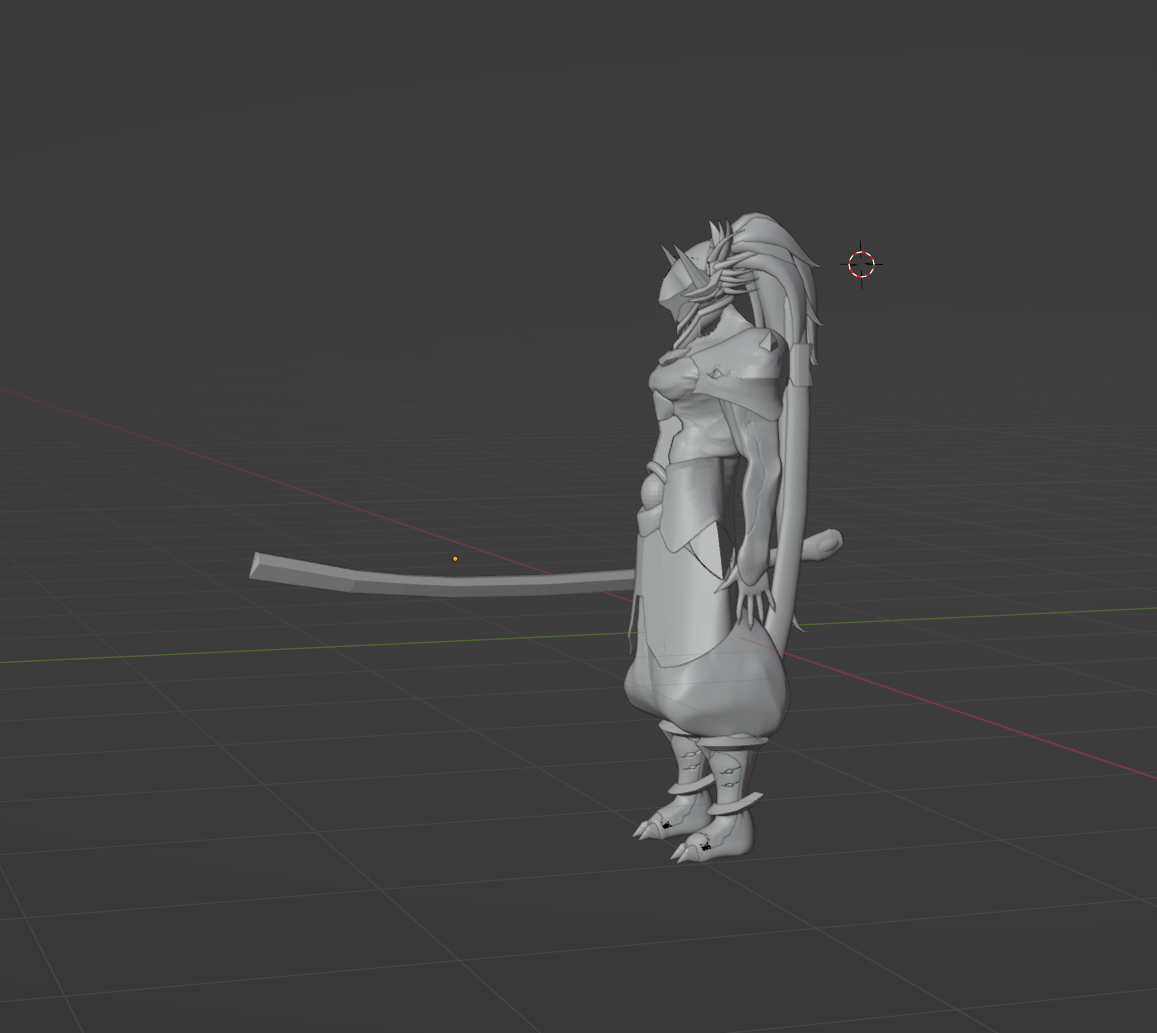
Completed model - Left view

Completed model - Right view

Model Wireframe -Right Side
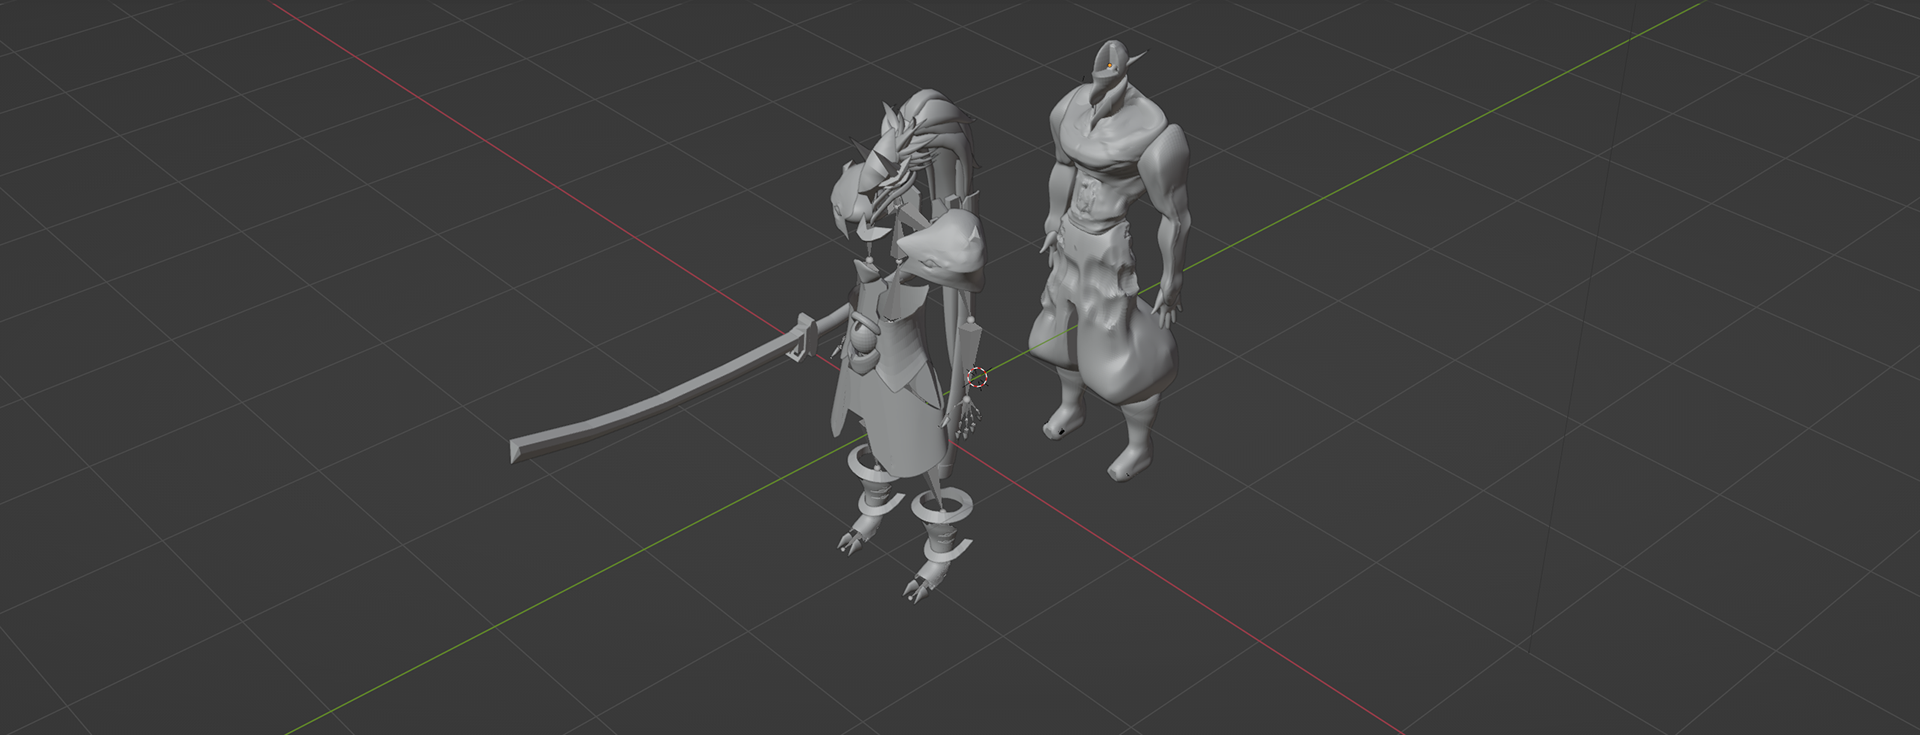
Armor pieces and hair split from body
With the body sculpting done, I lightly etched the eyes into the shin pieces & arms. I created 2 eyes to fit into the pauldrons & etched slit pupils into them.
For the hair, I used multiple tapered bezier curves, the main long hair piece is actually 9 bezier curves layered over each other for posing. Finally, I made the sword, sheath & handle. The sword was multiple cubes & 1 sphere, the hilt was just 3 cubes & the scabbard was 1 cube which was subdivided a lot, which finished the modeling segment of the character.
With the geometry complete, I created a skeleton for the sake of posing. I created a custom skeleton because some parts wouldn't move the same way they would on a person, for example, the helmet.
After creating the mesh and rig, I started working on textures. This part was relatively simple, since I had split up the body parts by texture and color, making it easy to texture, I just took an image of the character and assigned colors based on the character.
To achieve the initial cel-shaded look I was going for, I took each material into the shader and adjusted them to have two-tone shadows and defined highlights. To sell the feeling, I added an outline using a bevel modifier and a custom shader.

Old Shader Graph for Armor

Model Wireframe - Including Sword and light setup

Solid Model
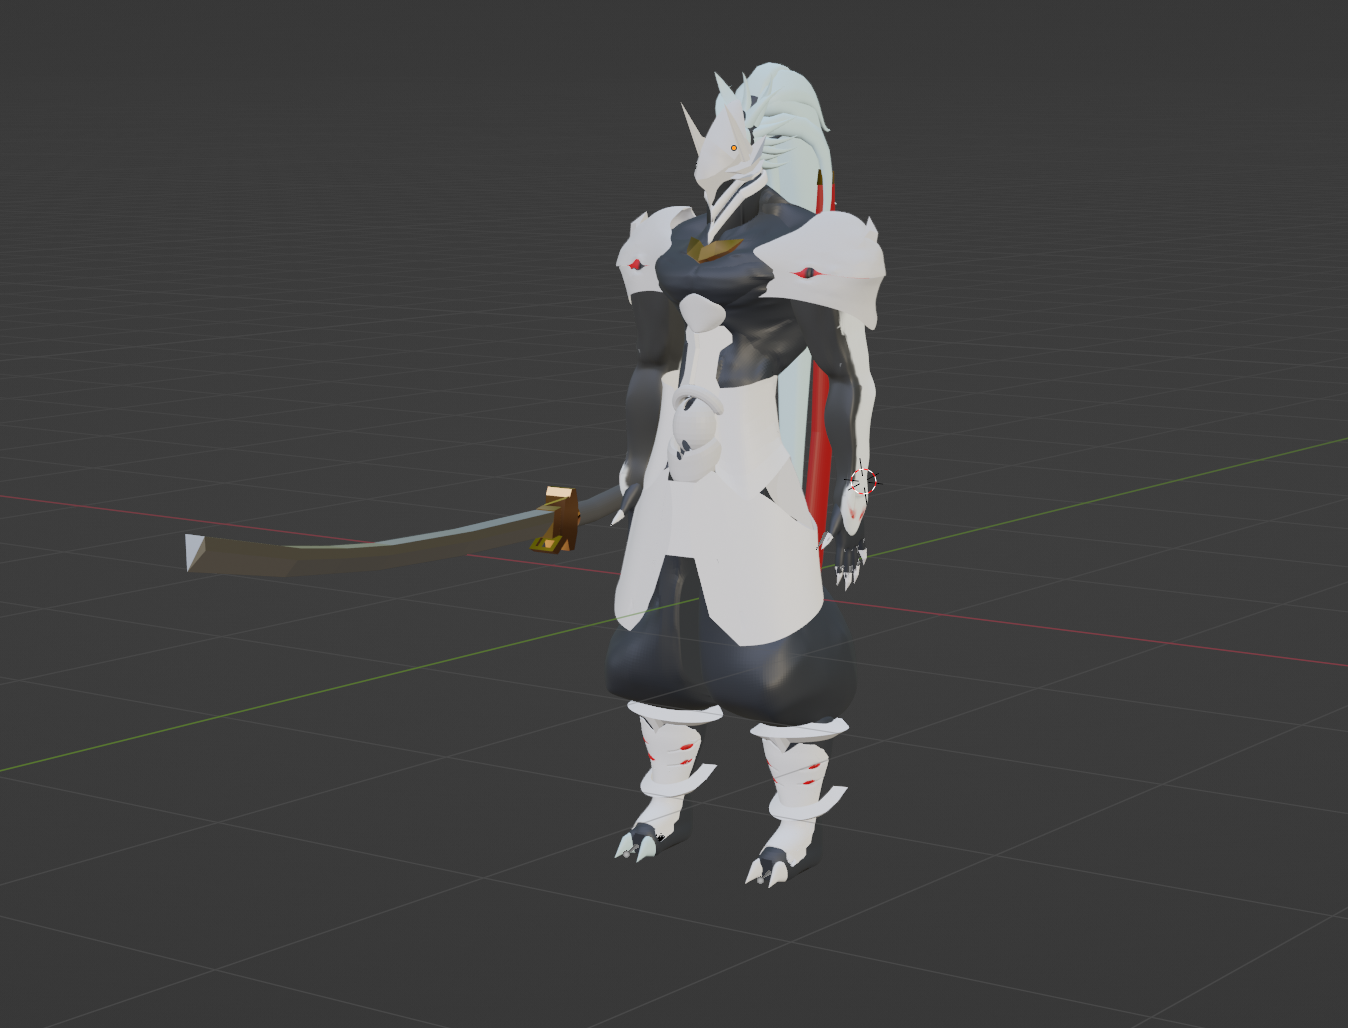
Material Preview - Pre Cel-Shading

Material Preview - Post Cel-shading
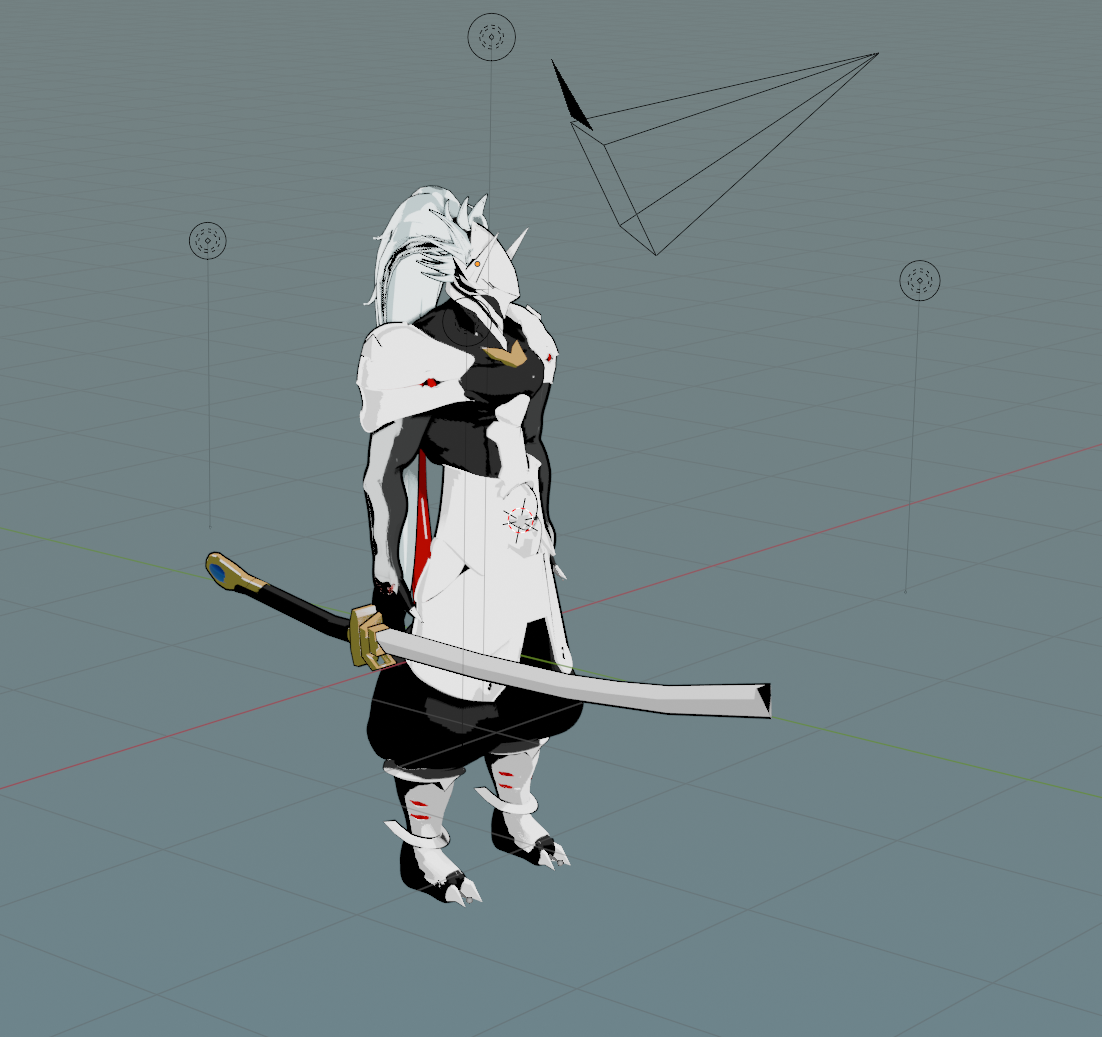
Render Preview
To finalize the look, I had to use custom lighting, I needed to use 4 lights on the character. Without all four, the final renders would not look good since the imperfections in the geometry would become very apparent. The result are the four images below.
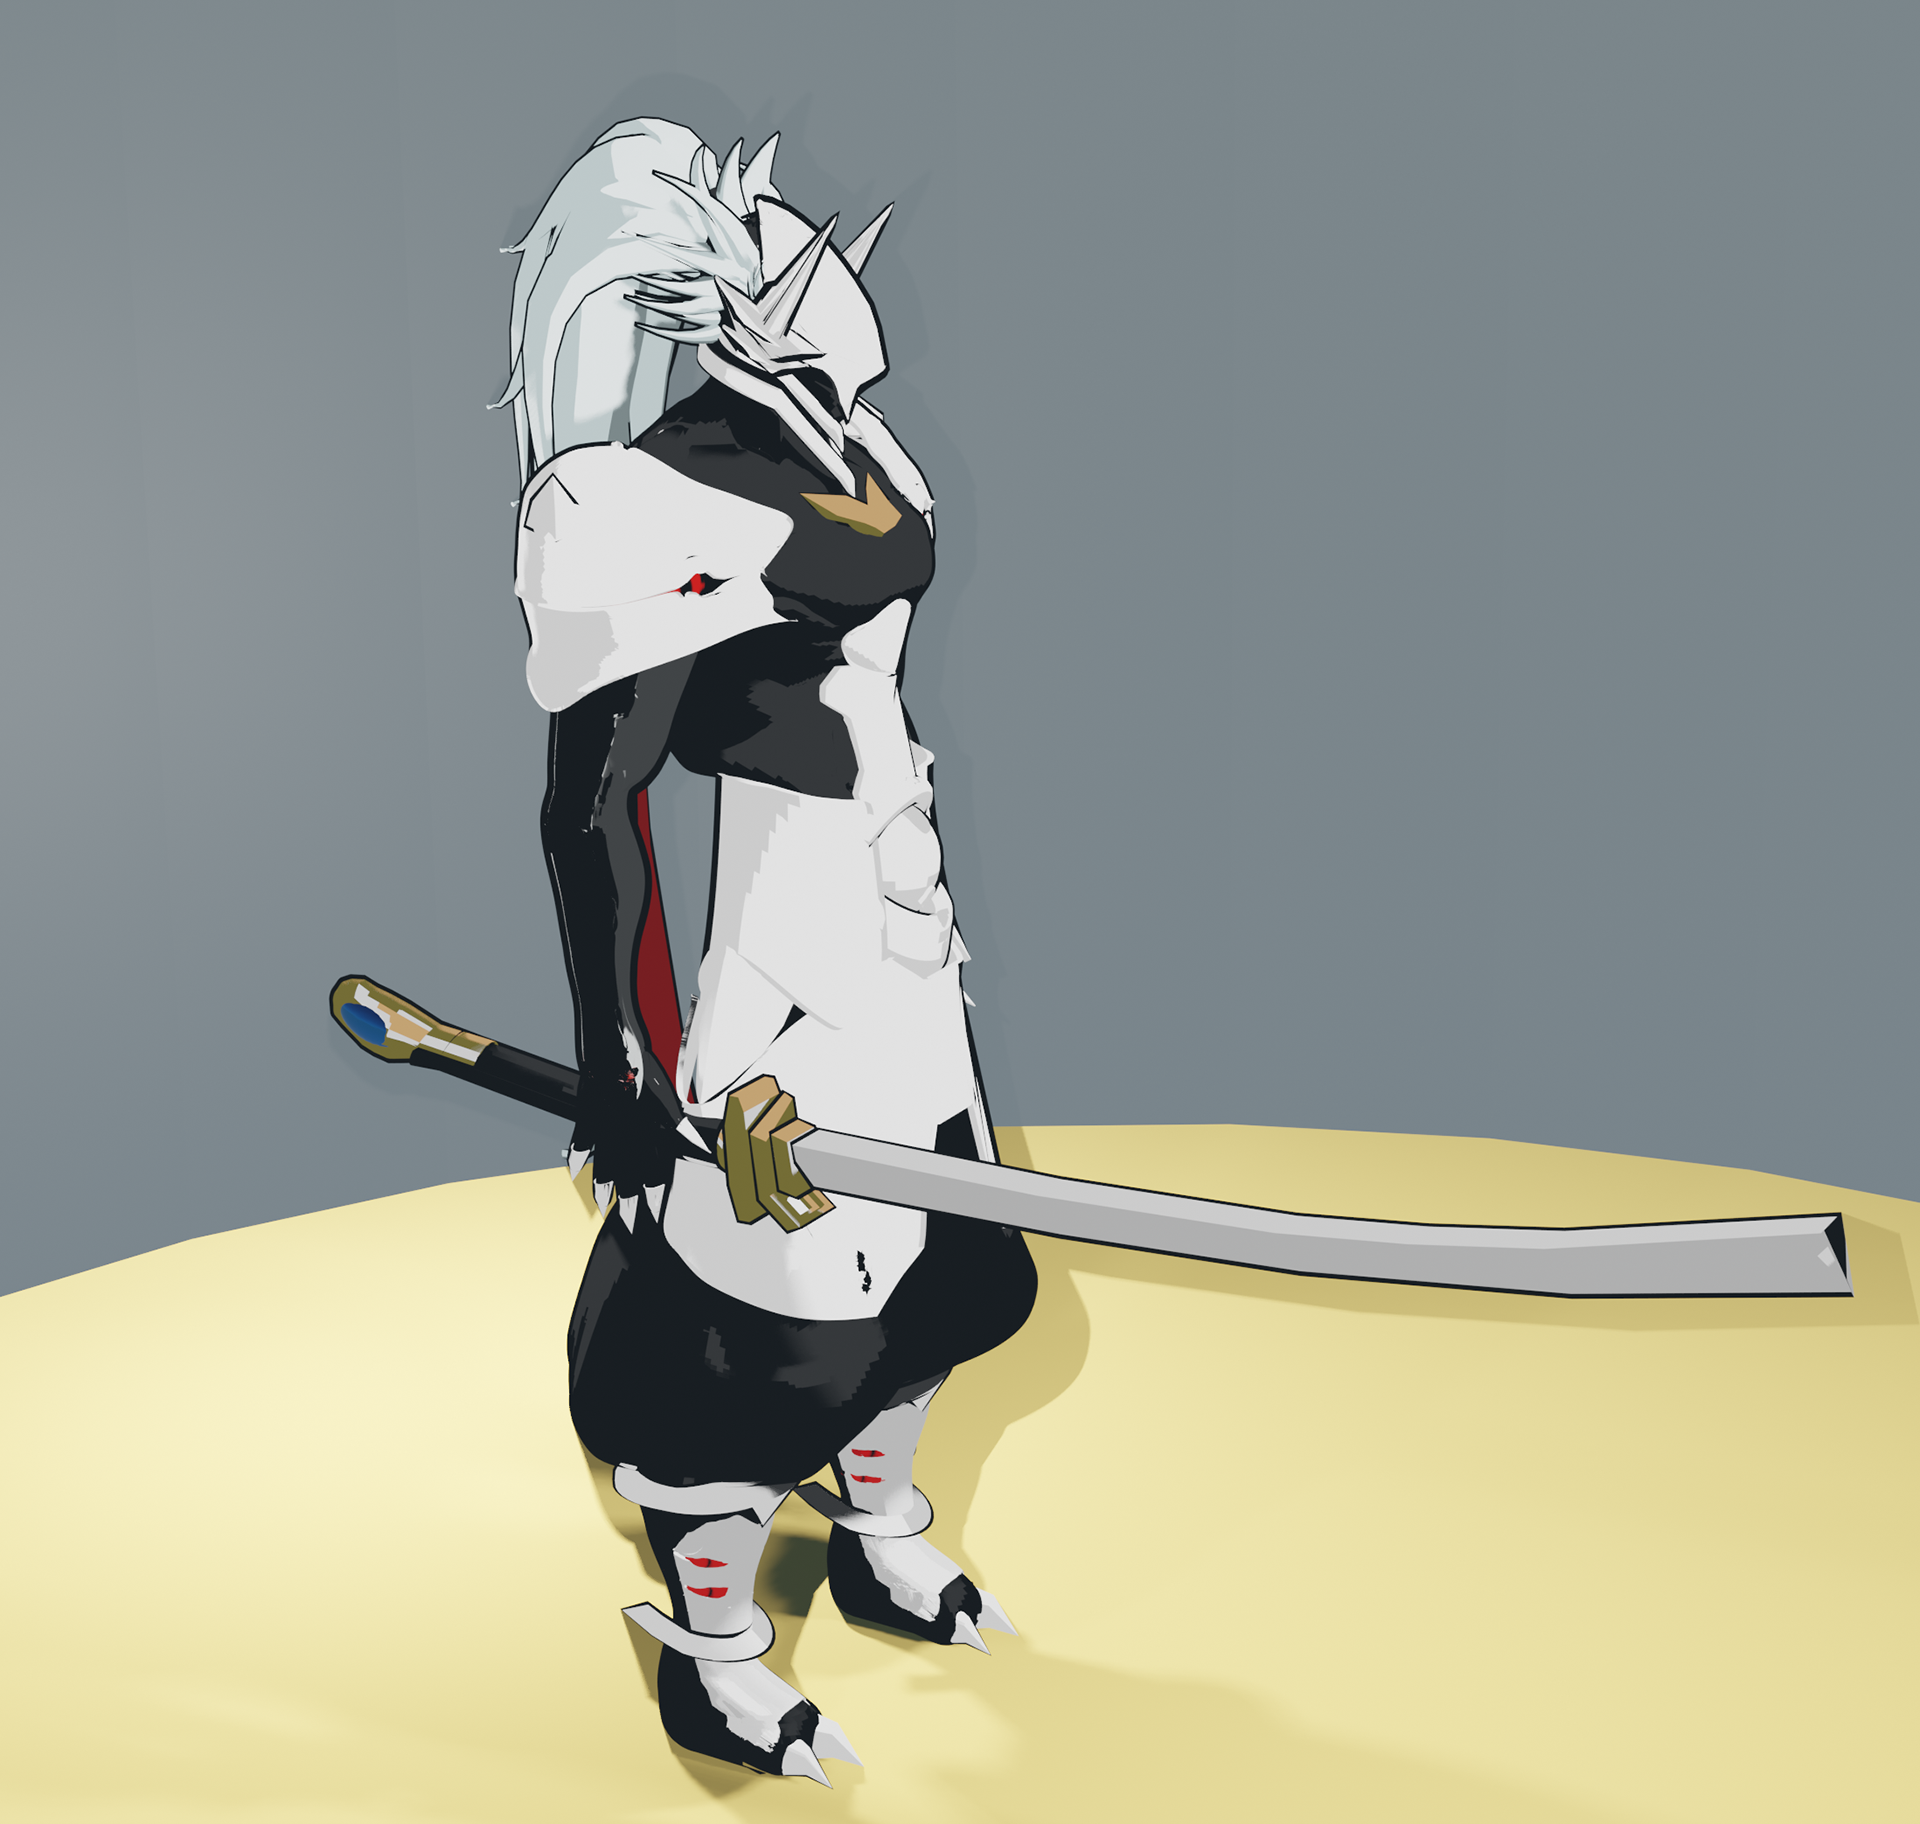
Right View
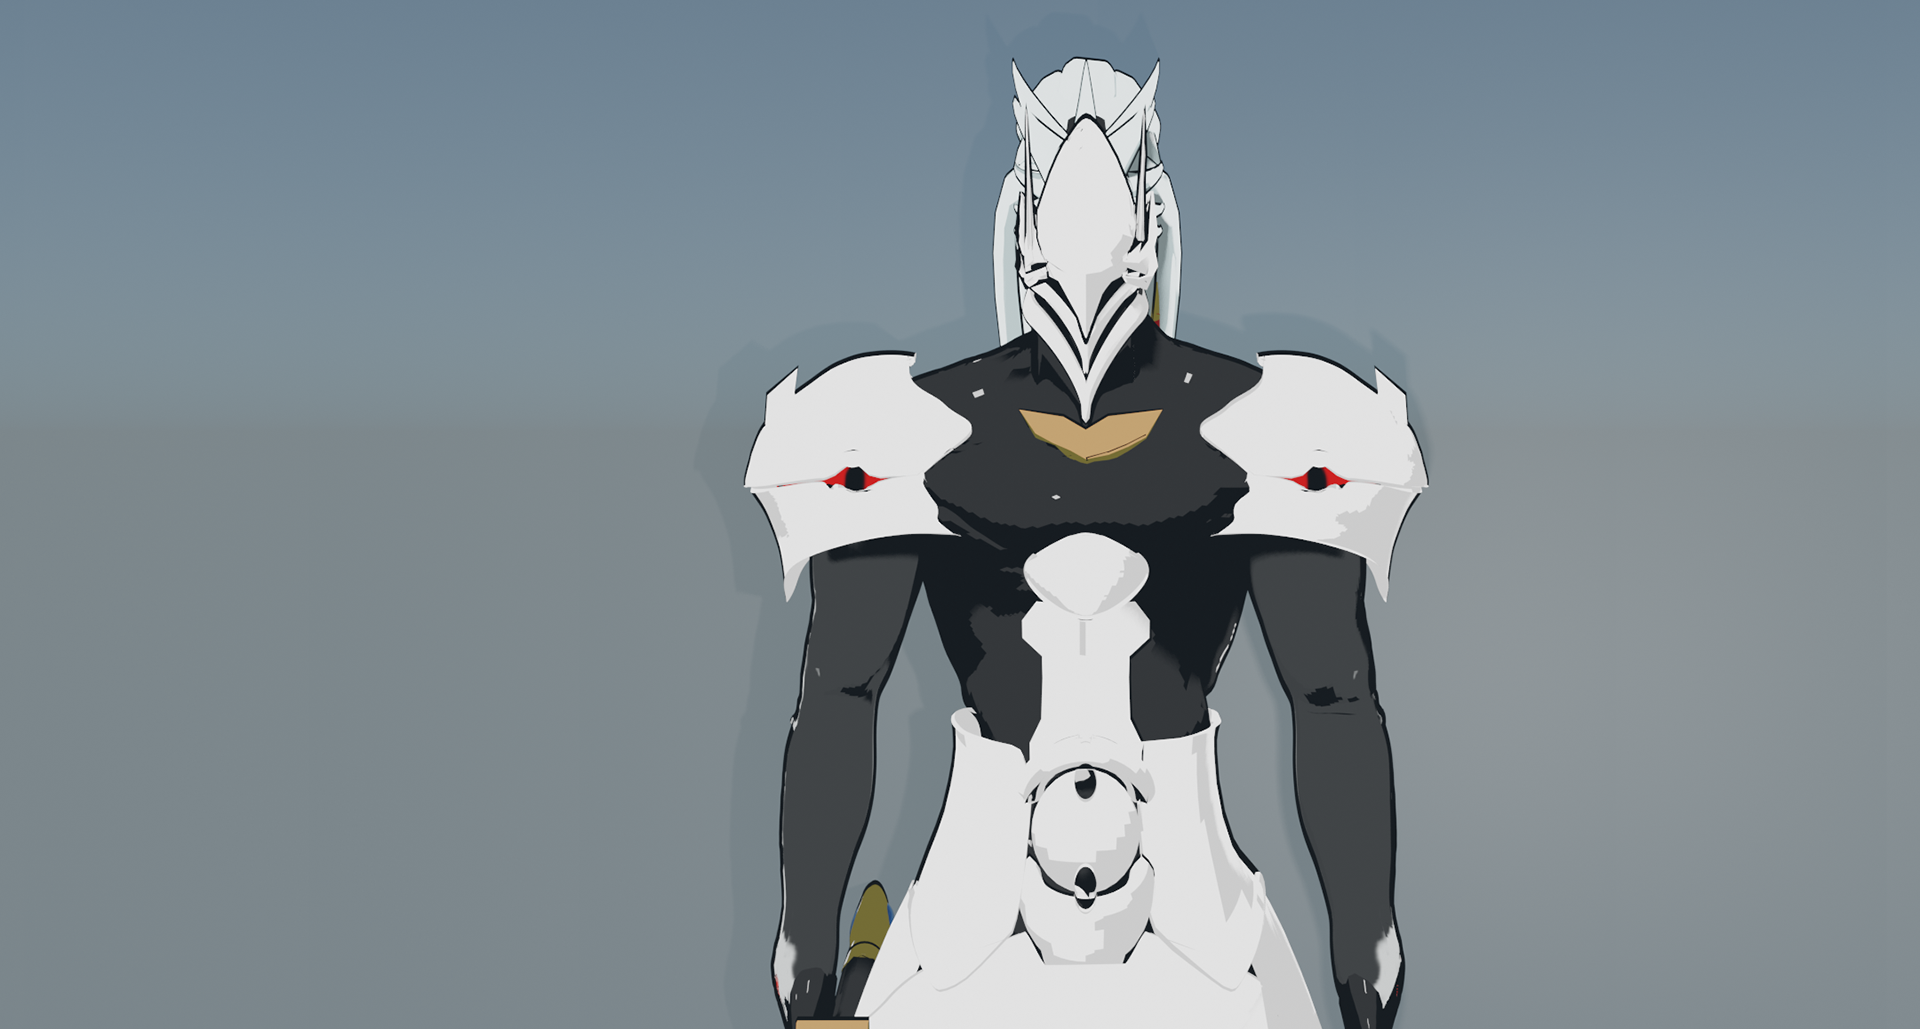
Torso Up

Left View
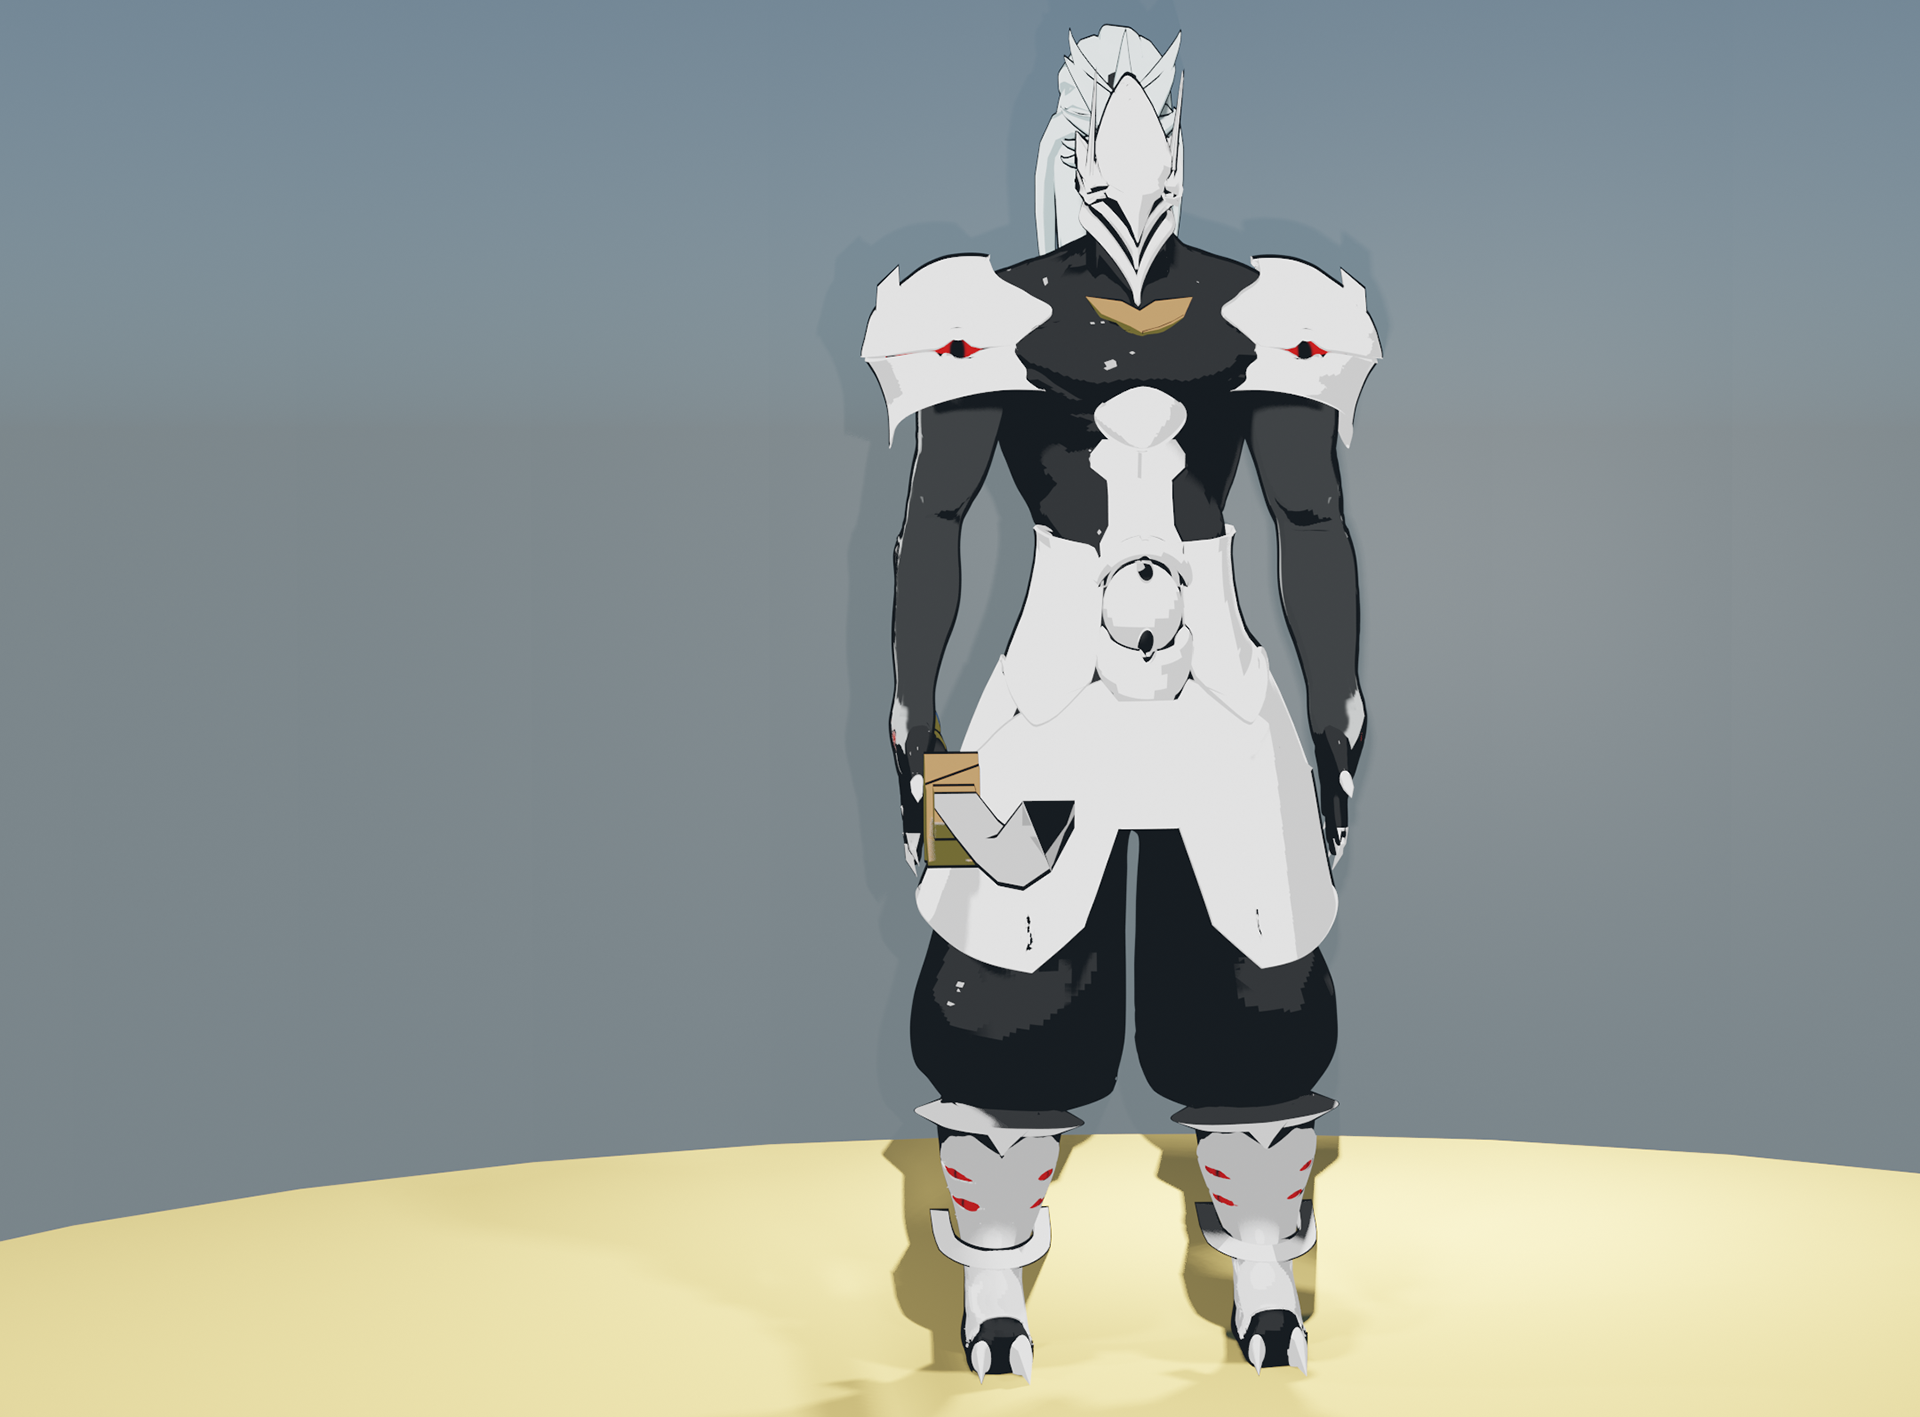
Front View
Rigging and posing this character was a major challenge, especially compared to my other models. For starters, this character had so many separate moving parts, more than all of my other characters combined. The second element that made this a challenge was that some parts didn't operate the same way they do in real life. For example, unlike real pauldrons, Hakumen's pauldrons stretch when he moves his arm to provide him nearly a full range of motion.
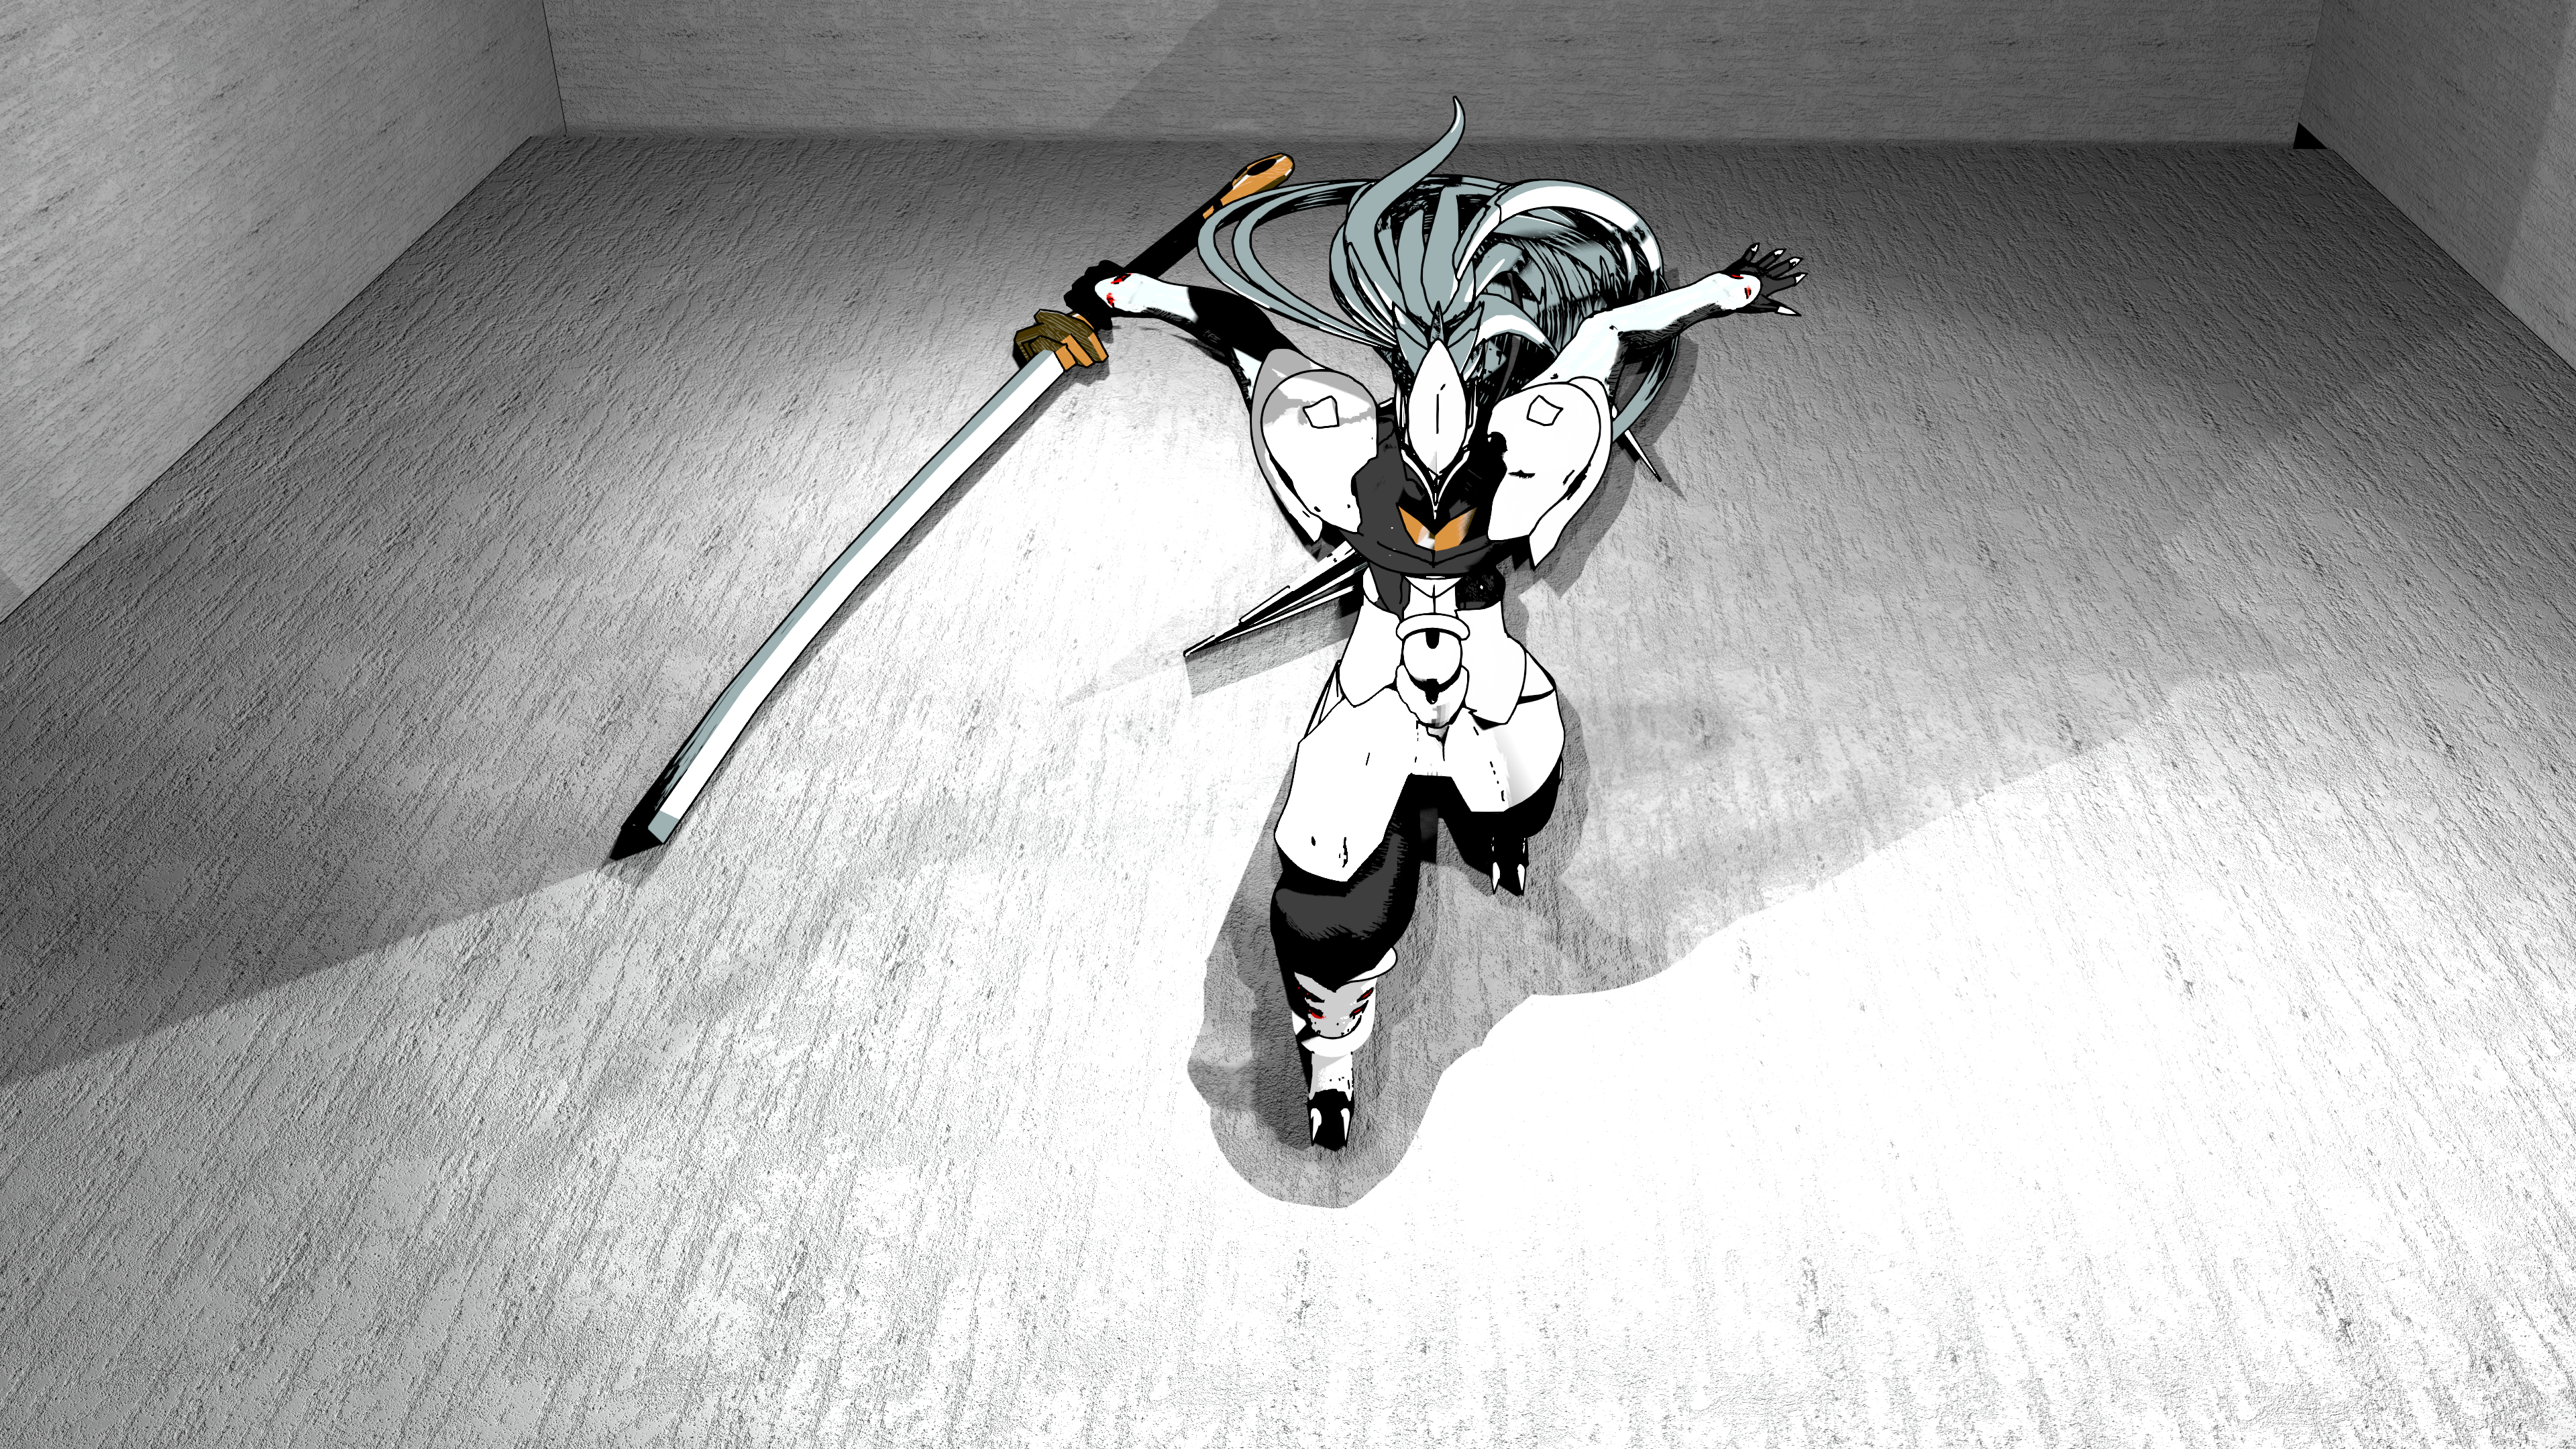
To start, I got rid of any external modifiers or aspects I had added to the previous renders, including the hair and outlines, leaving only the geometry and base textures. Next, I adjusted the base mesh pose to be in an A-Pose, to make rigging easier. I rigged the model and put him in a pose reminiscent of one of the manga covers this character is on.
After putting him in the pose, I needed to recreate his hair. One of the main problems with my tapered bezier curve strategy was that when adjusting the segments of the hair, the width of the curve would change and mess everything up. I replaced it using a nurbs curve technique I found online.
After fixing the hair, I put the sword in his hand and got the pose on the left.. (See: The pose I put Hakumen in (Flat Shading)) with the new hair)
When it came to shading, I attempted to use the grease pencil for outlines as opposed to my solidify trick I used in my initial renders. This didn't work, forcing me to return to my earlier solidify method.
Finally, I made adjustments to the shader and lighting, I added hatch lines onto Hakumen's body, hair and sword, which required me to greatly adjust the lighting, and built a box for him to be in. I also added a curve to the middle of the mask to create an edge.
To experiment a bit further, I retried with the grease pencil after relearning about it to produce the result shown next to the final render image.
To experiment a bit further, I retried with the grease pencil after relearning about it to produce the result shown next to the final render image.

Skeleton setup, had the thought of using separate bones for the pauldrons but ended up being able to use shoulder bones instead.
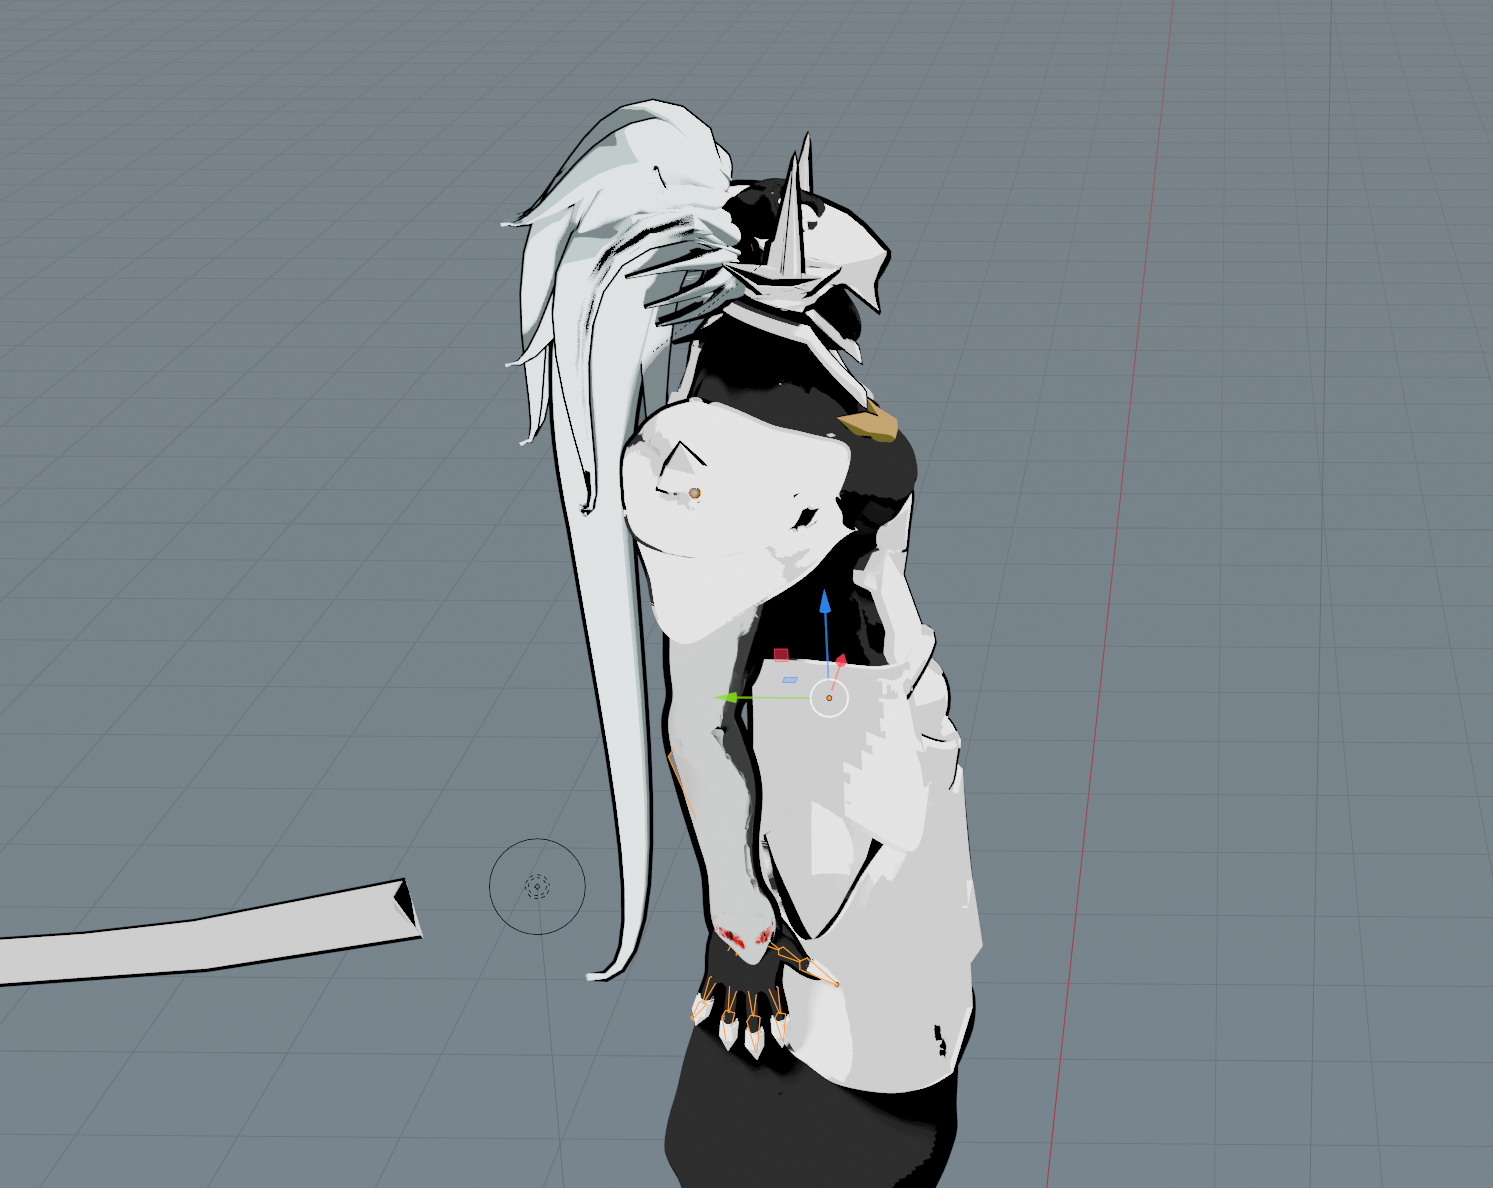
Current Helmet Rig - Notice how the neck pieces also move. Also haven't rigged main body yet which is why head is in same spot.
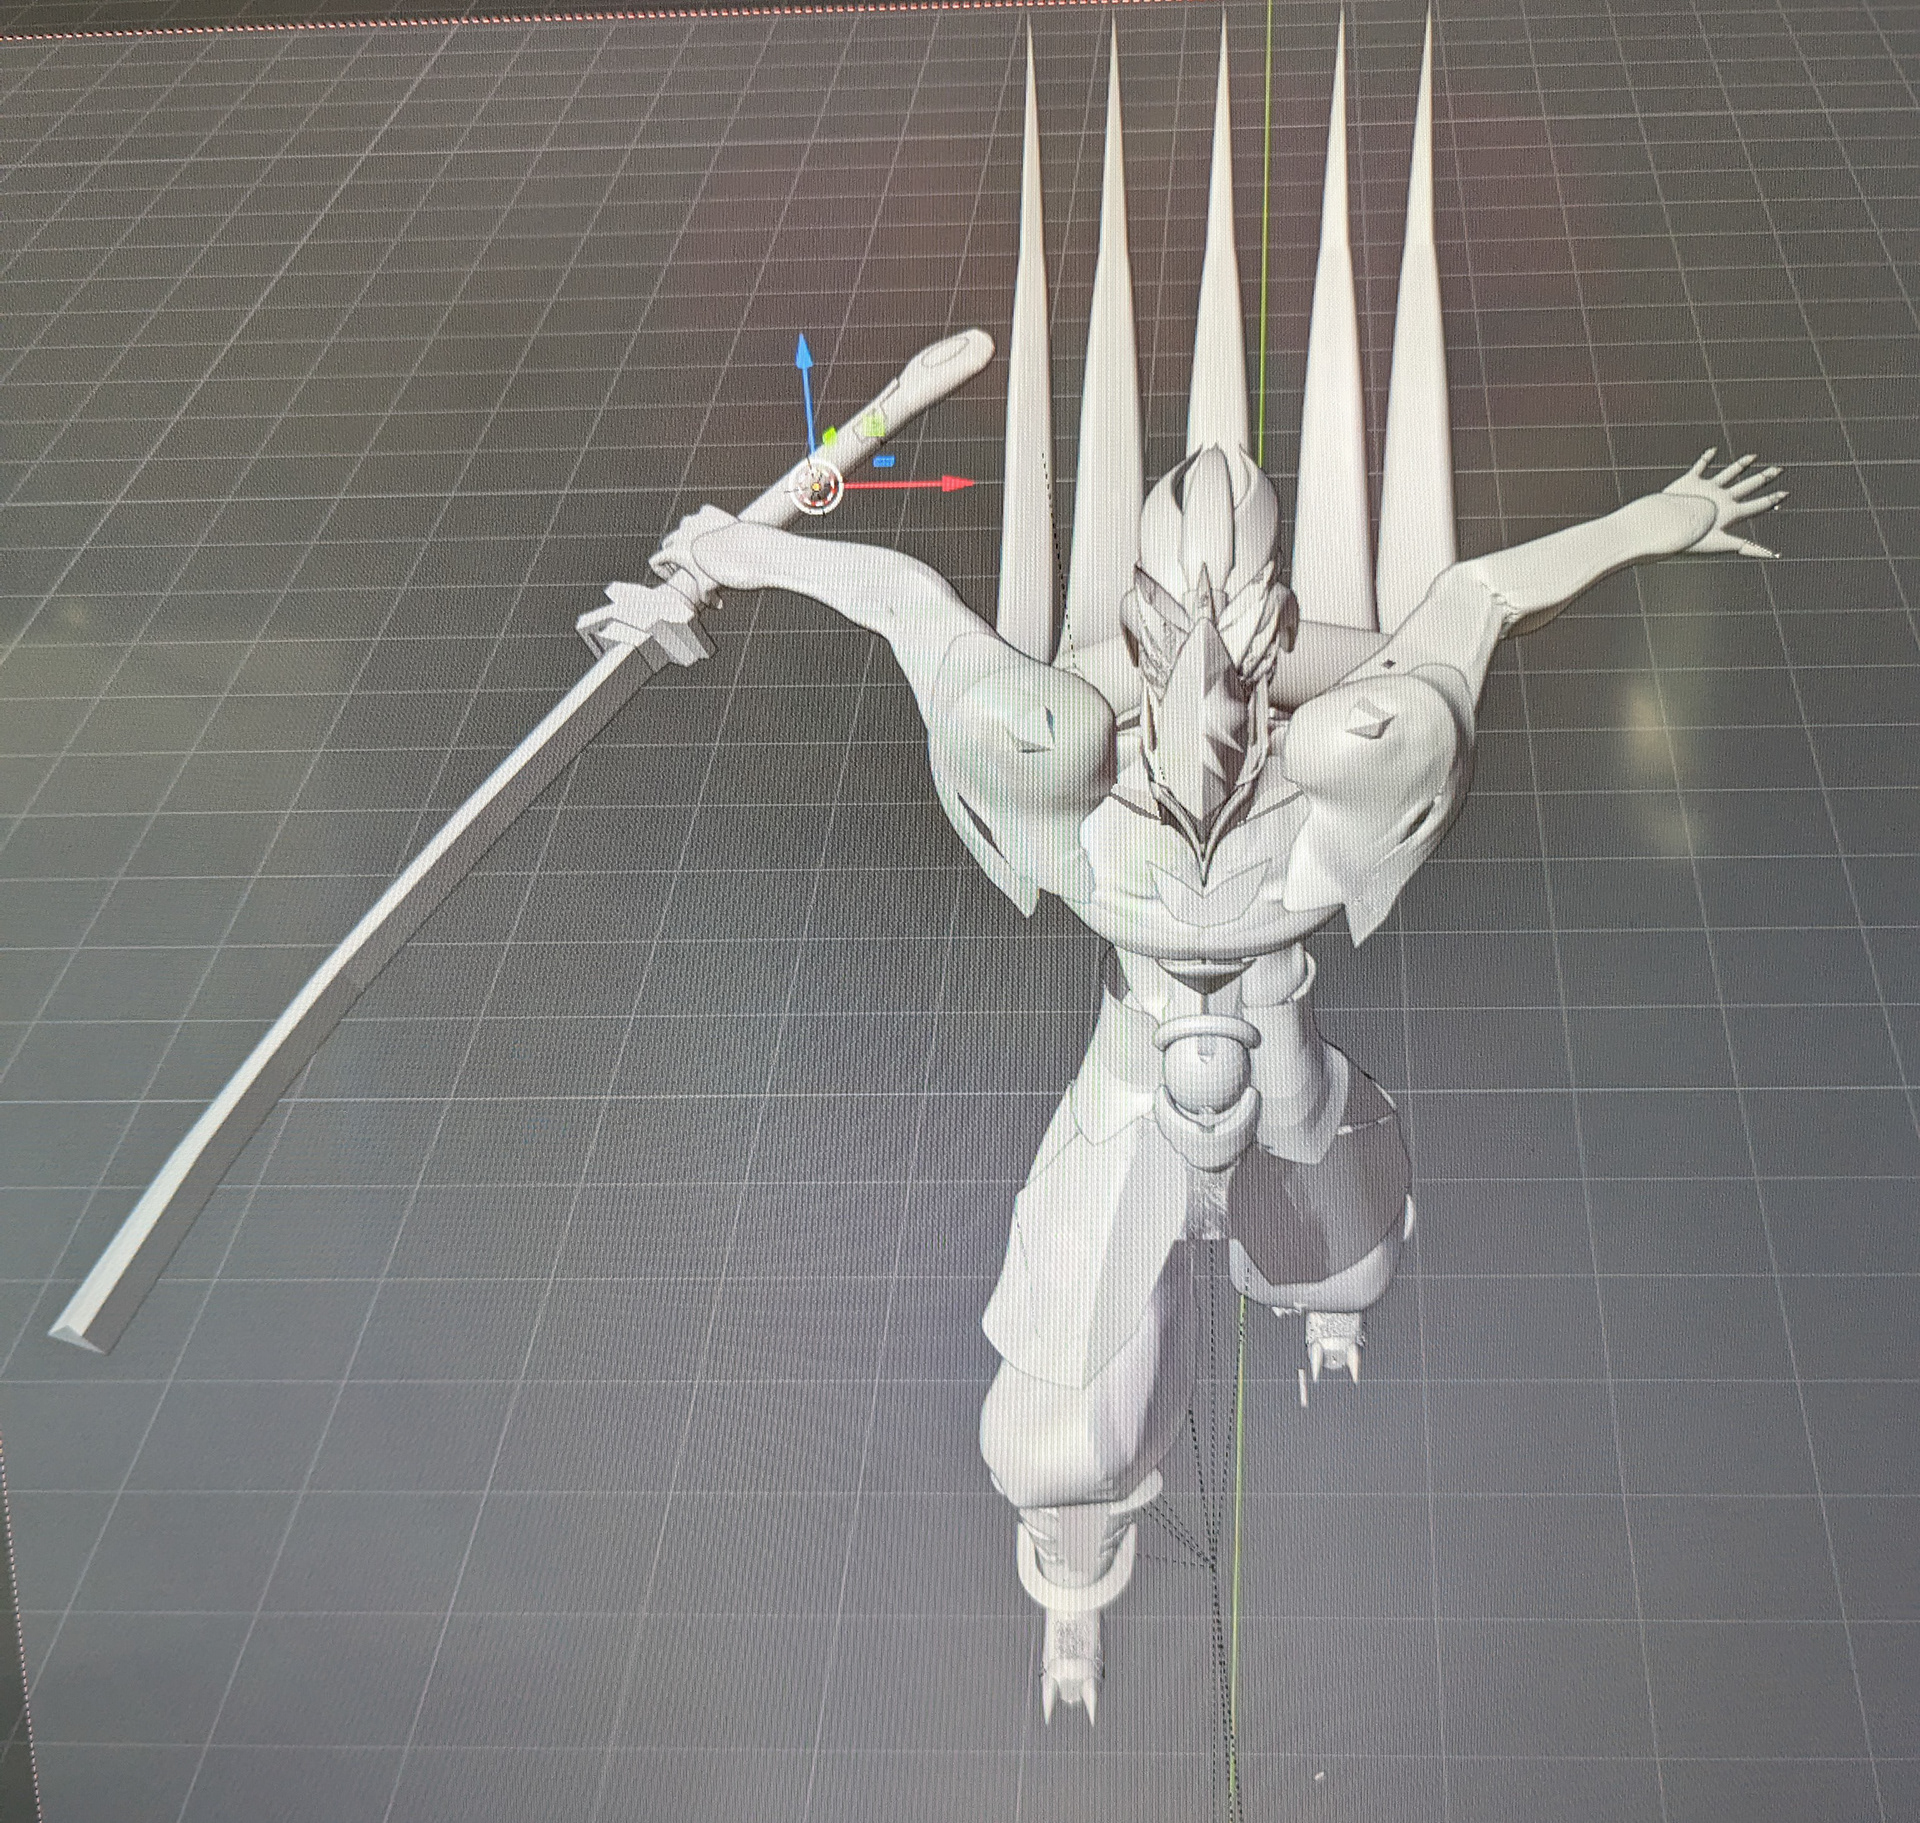
Old Hair Posing

New Shader for armor (but generally applied to all parts of the body)
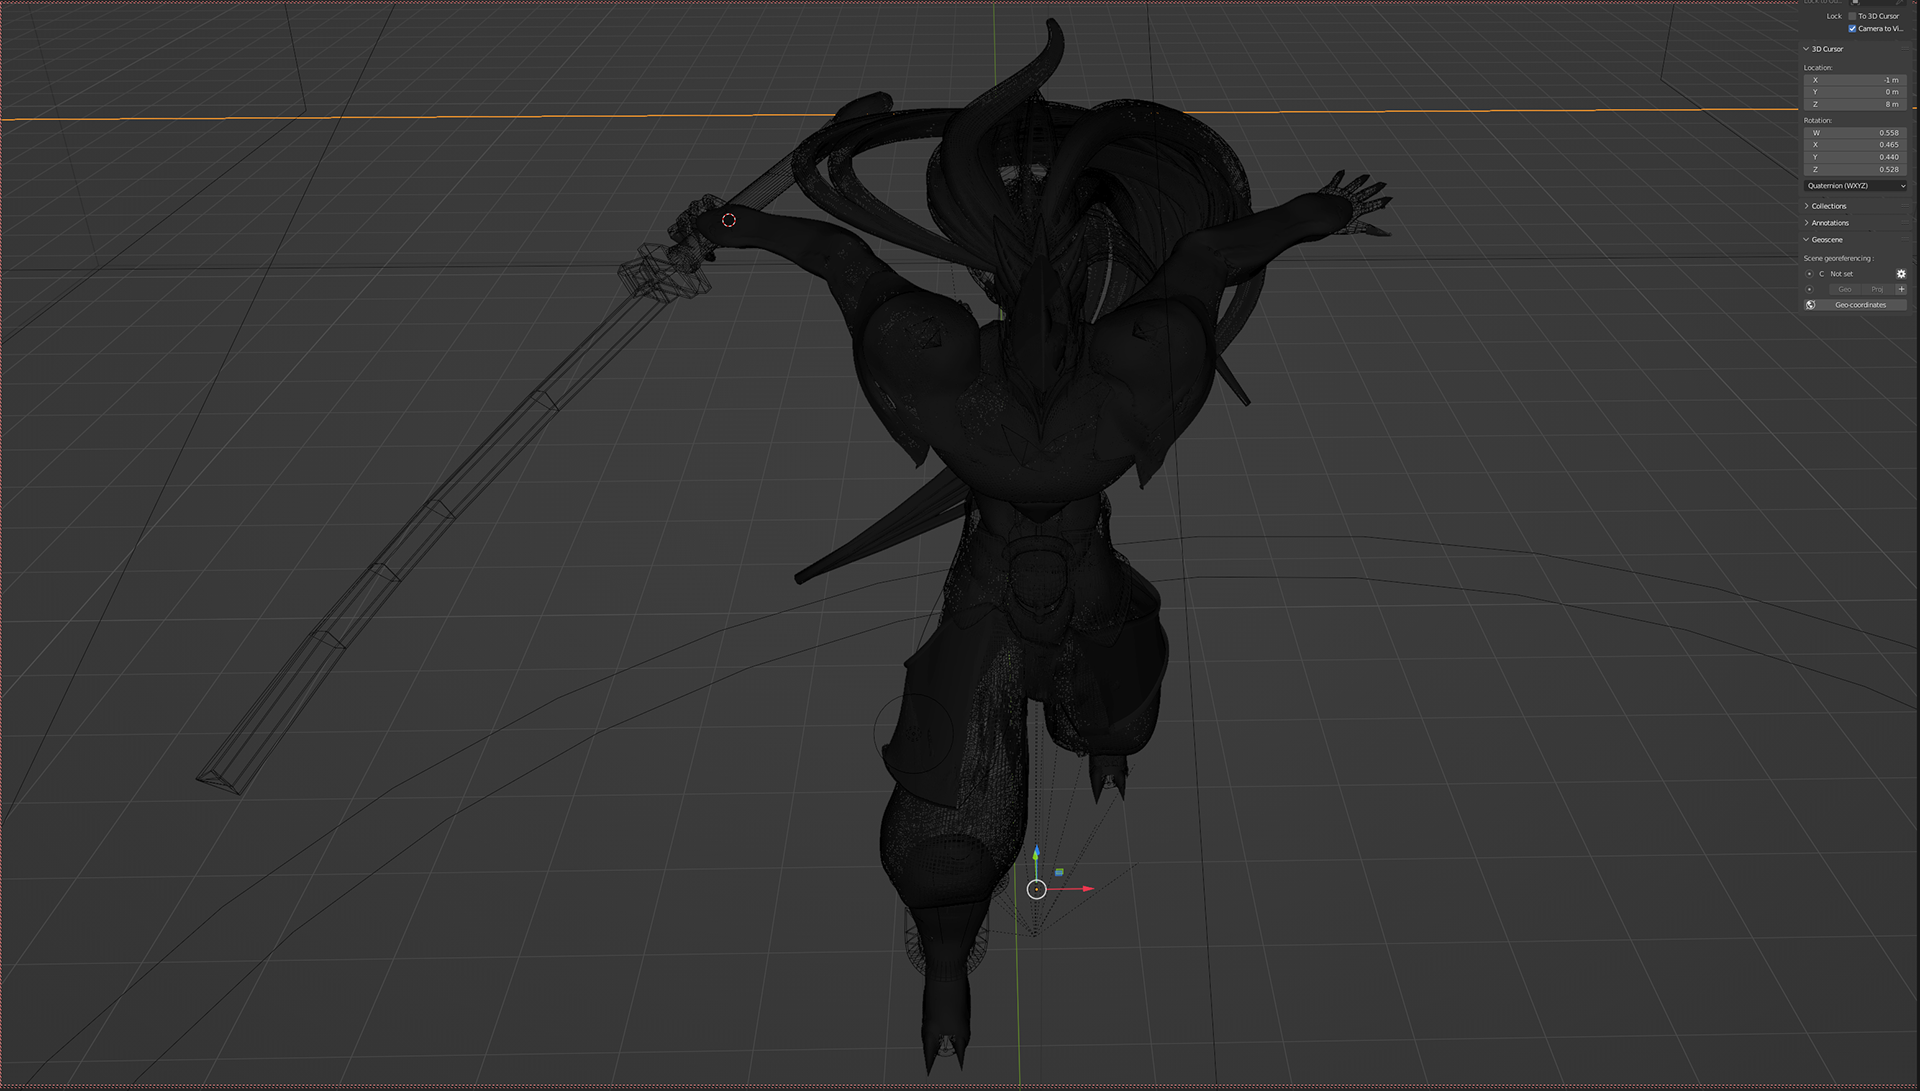
Posed Model - Wireframe
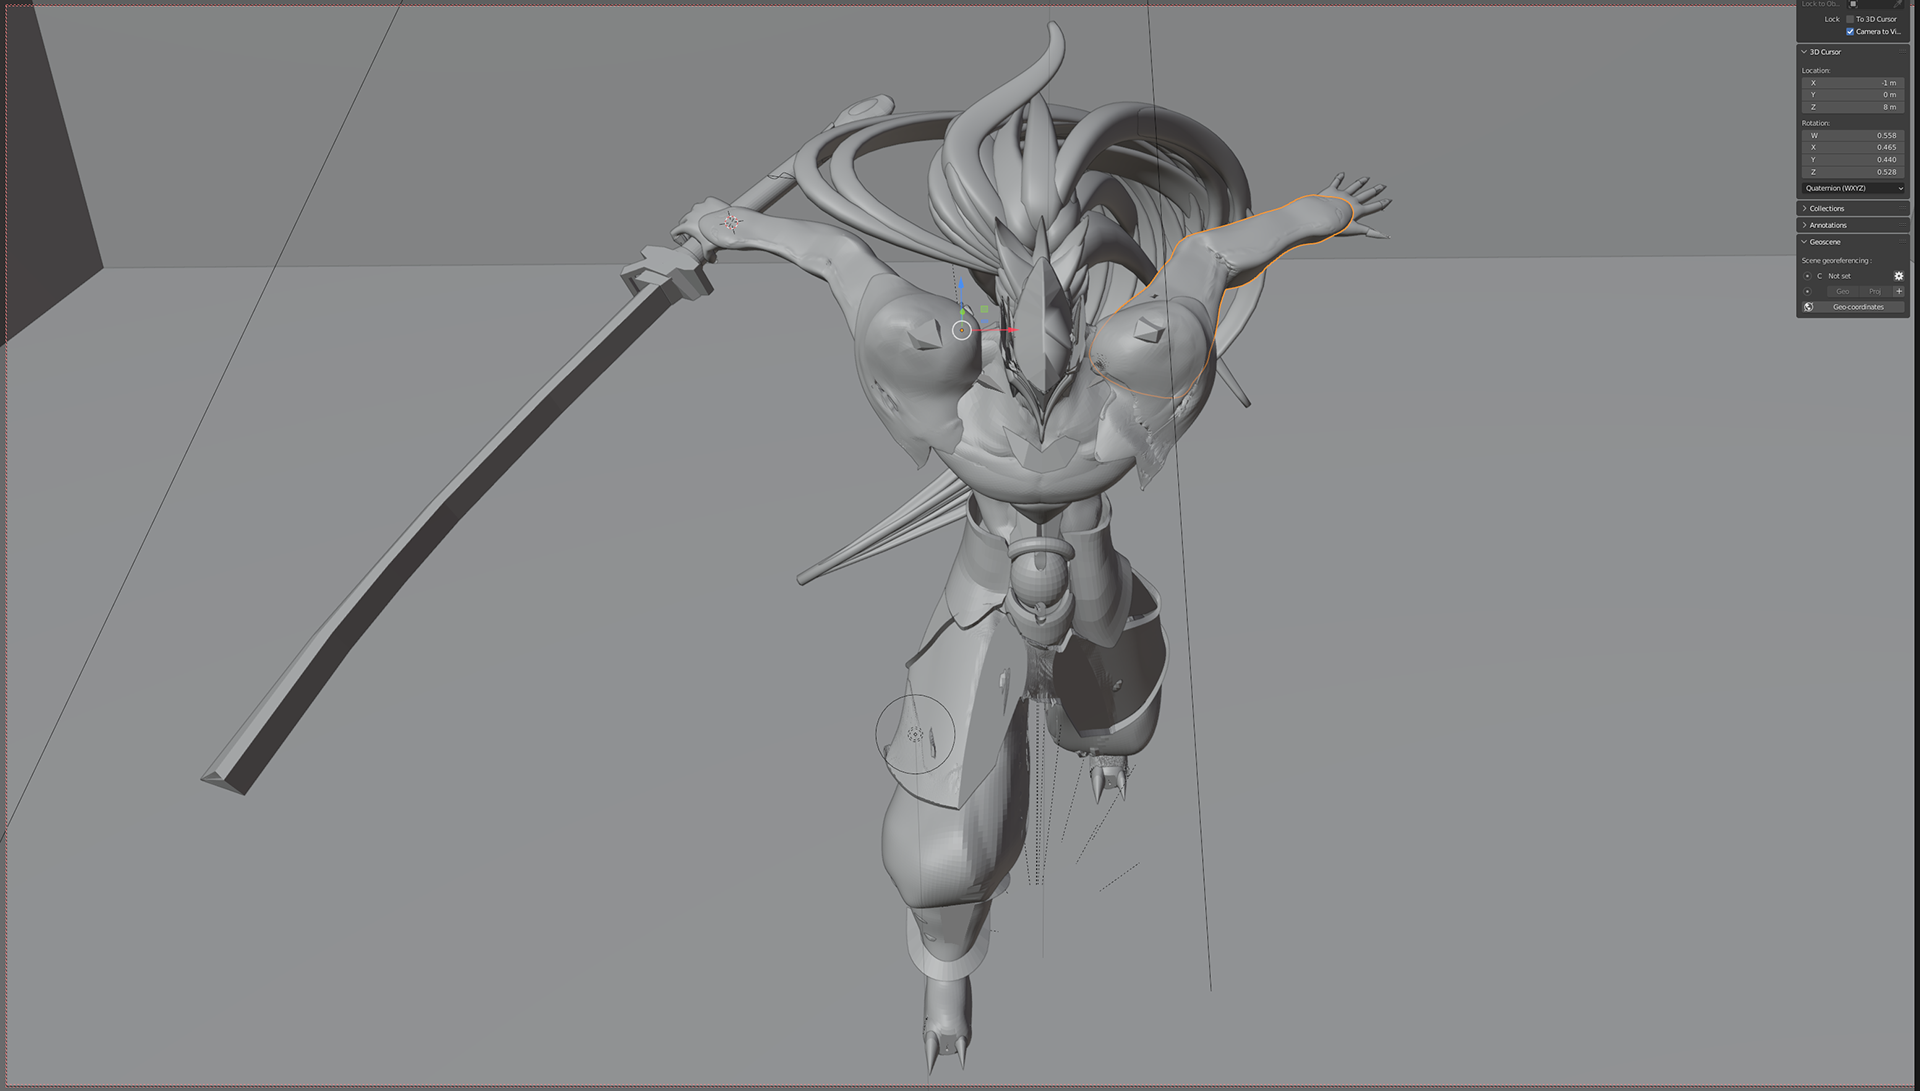
Posed Model - Flat Shading

Posed Model - Material Preview
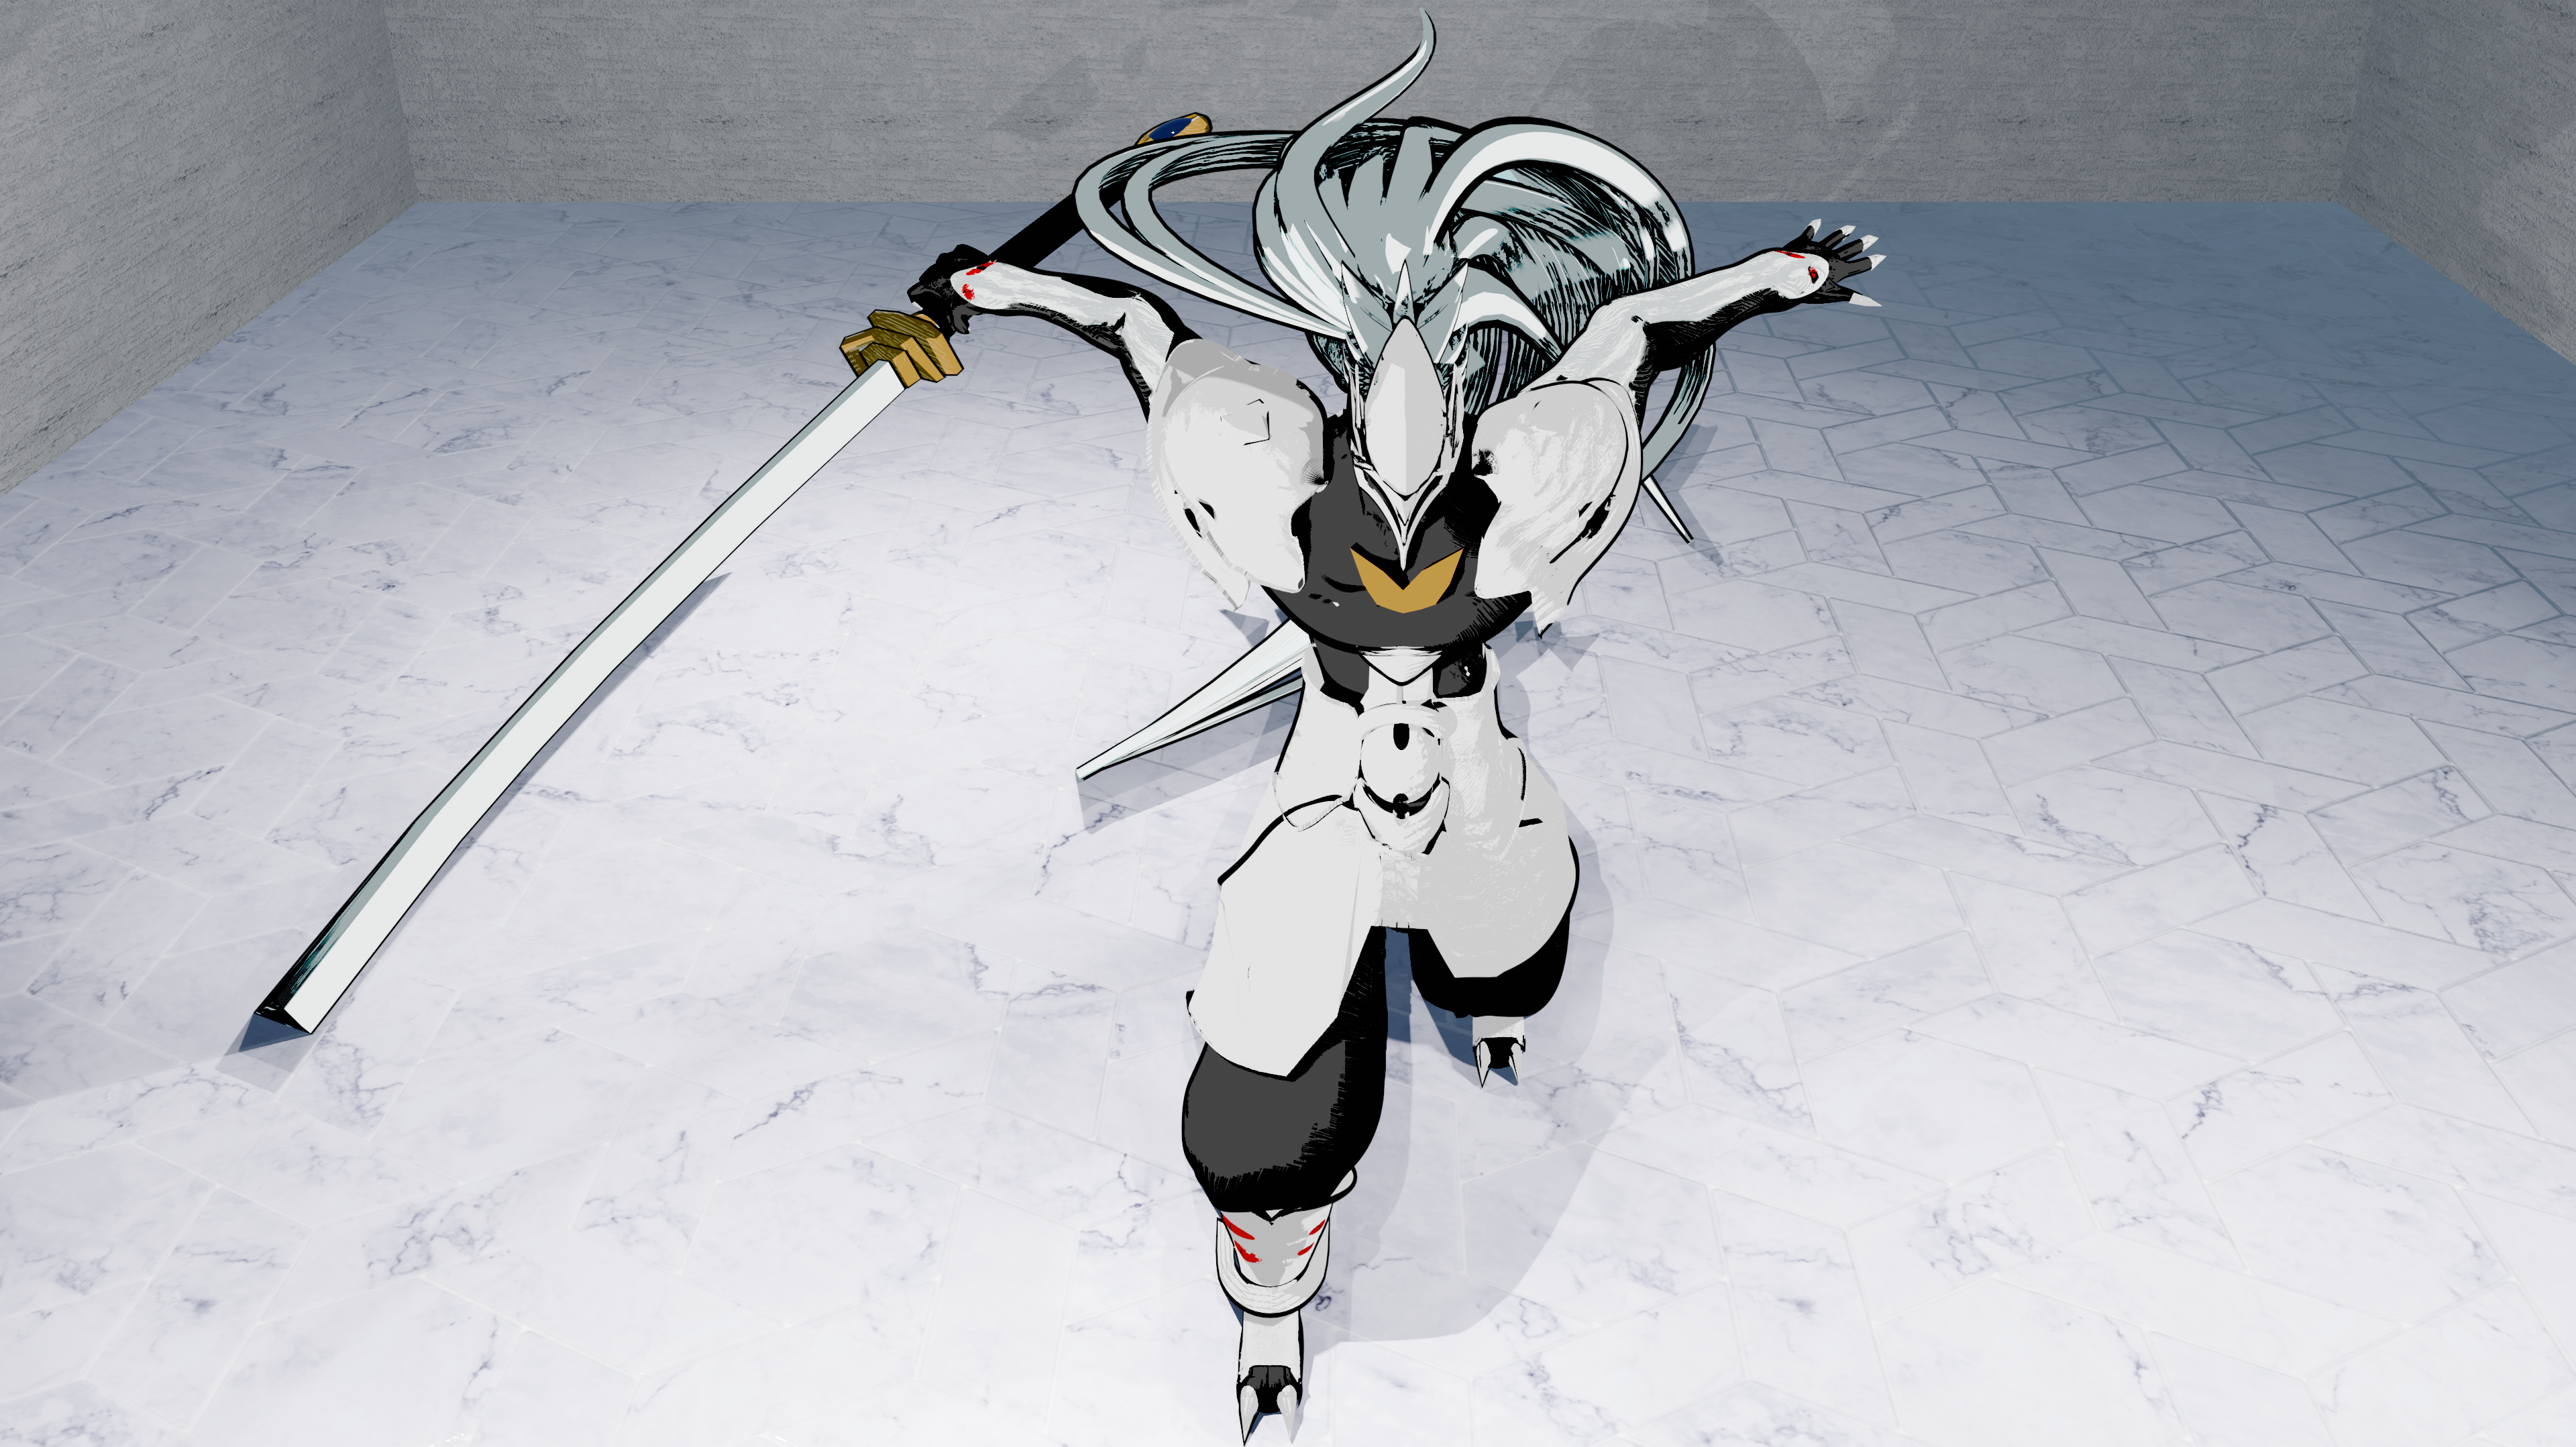
Hakumen - Final Render Image
