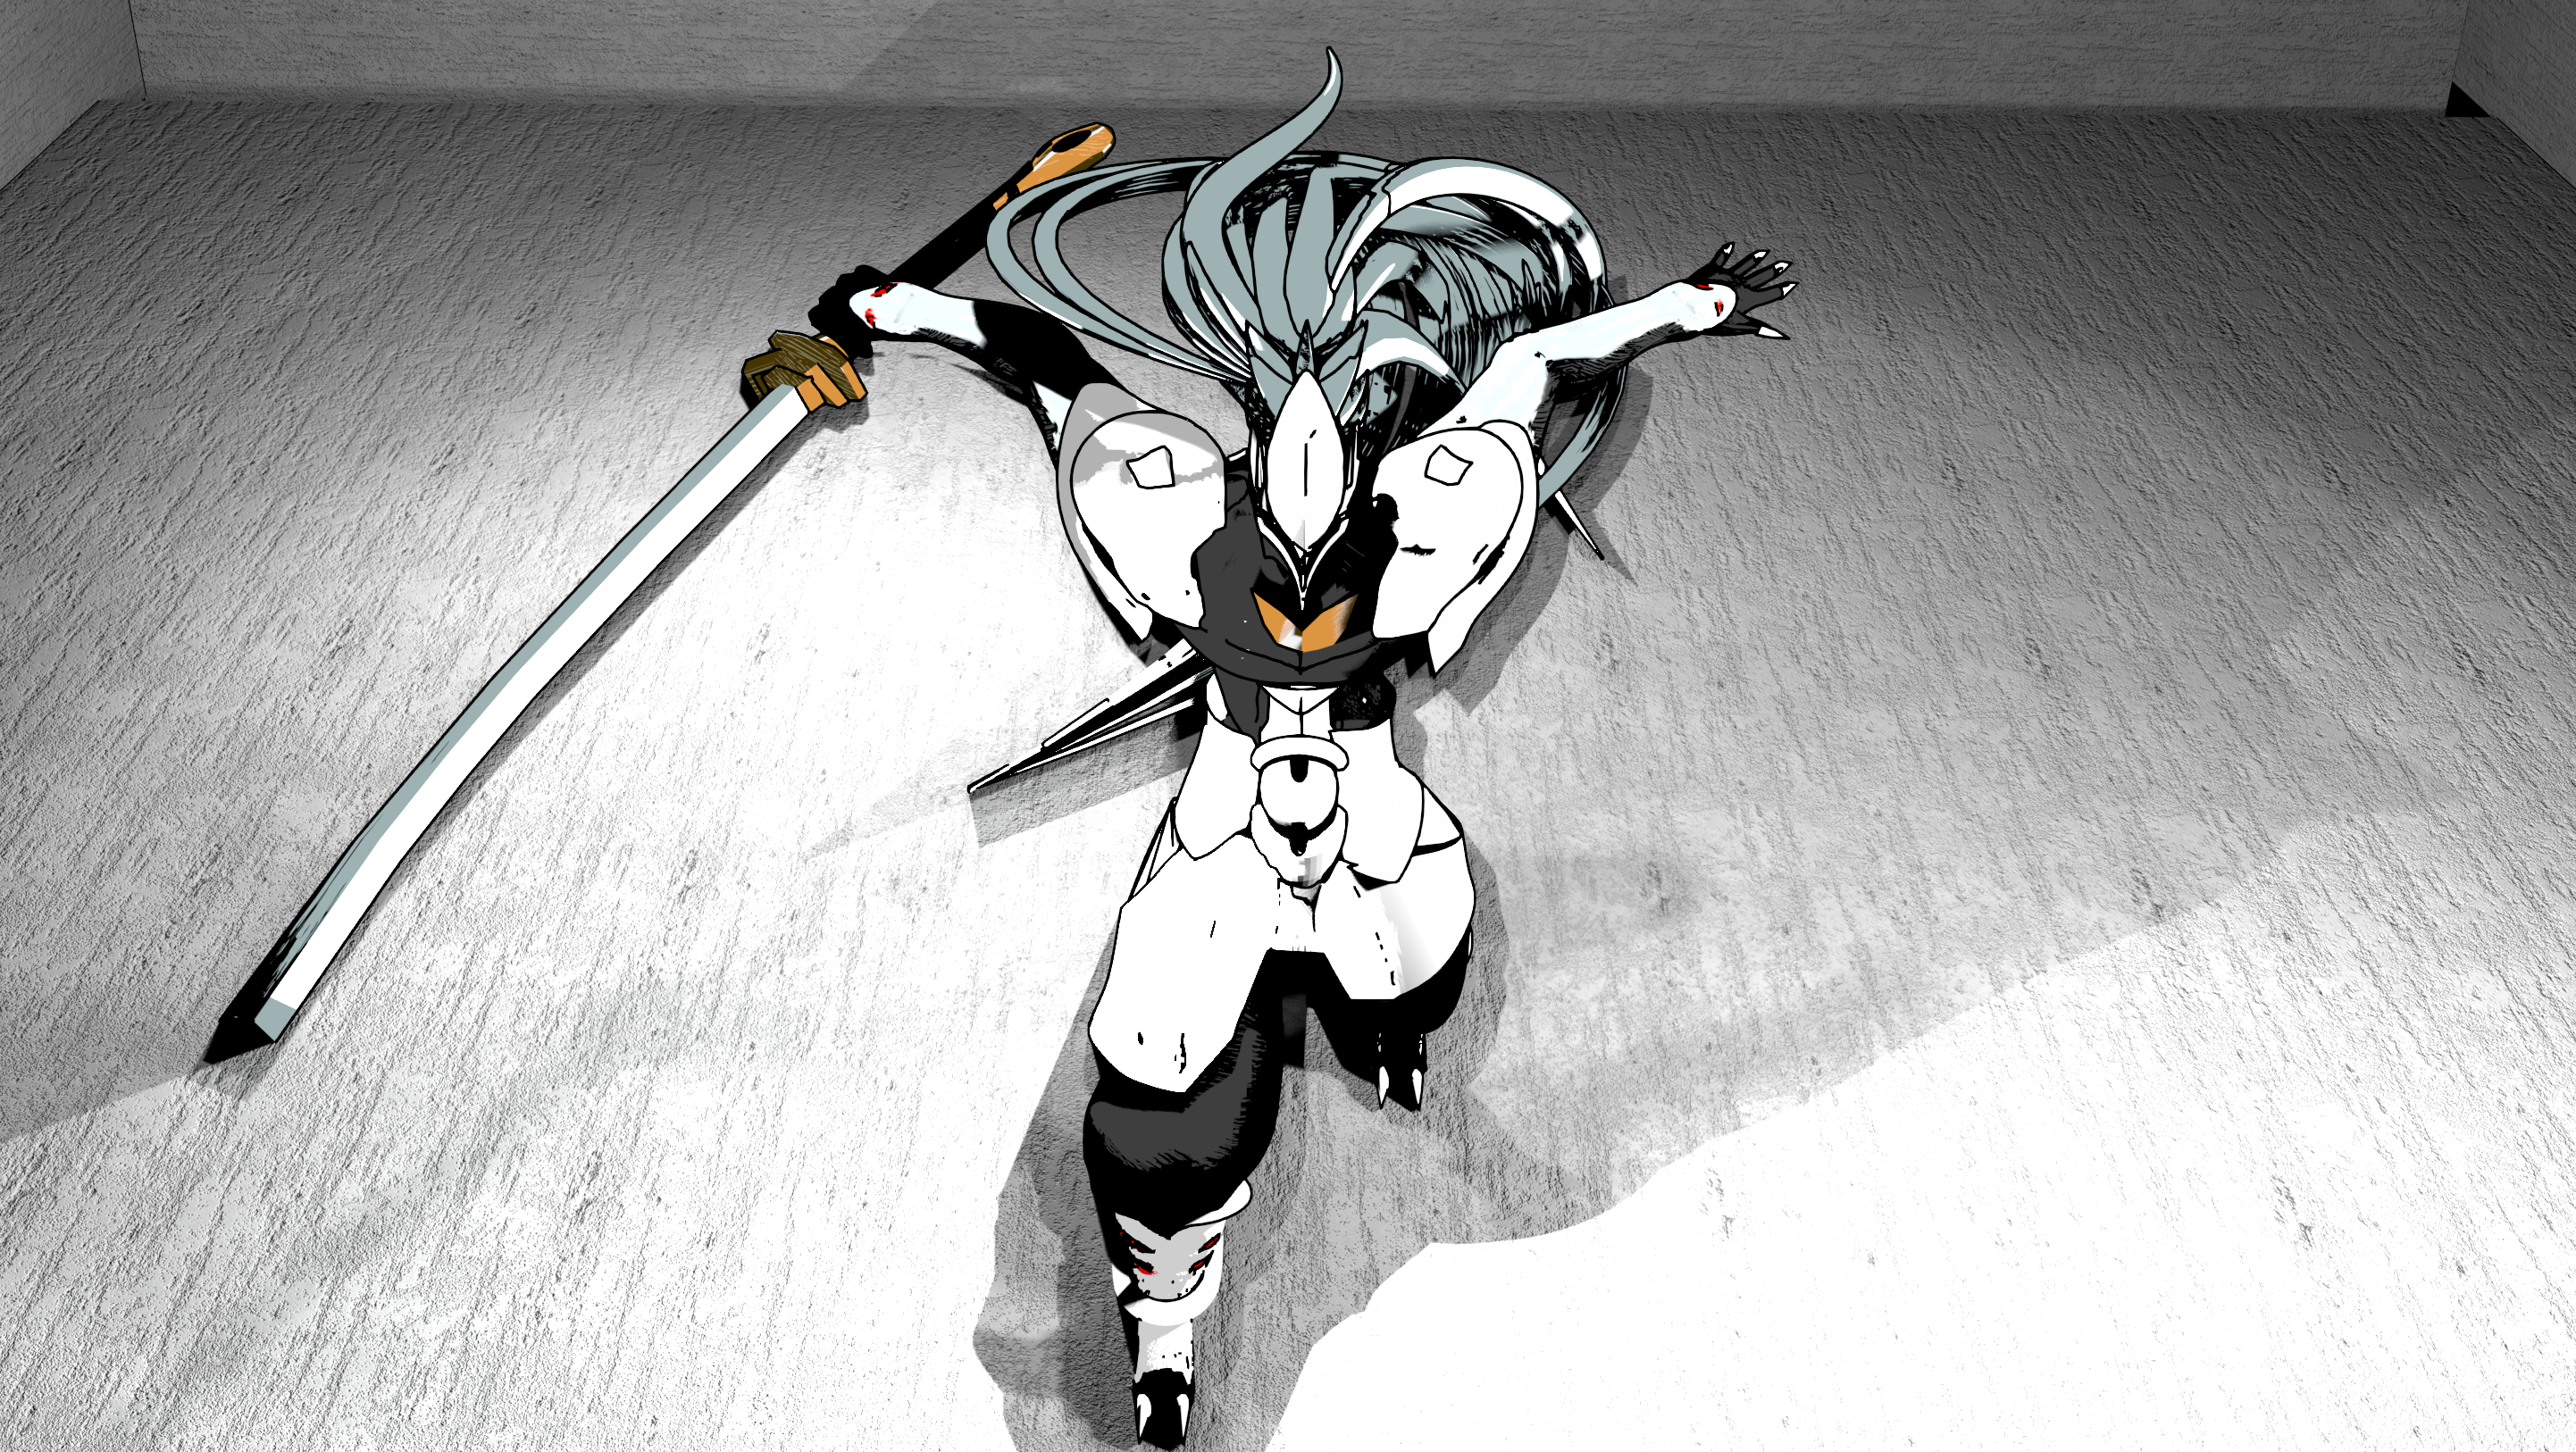
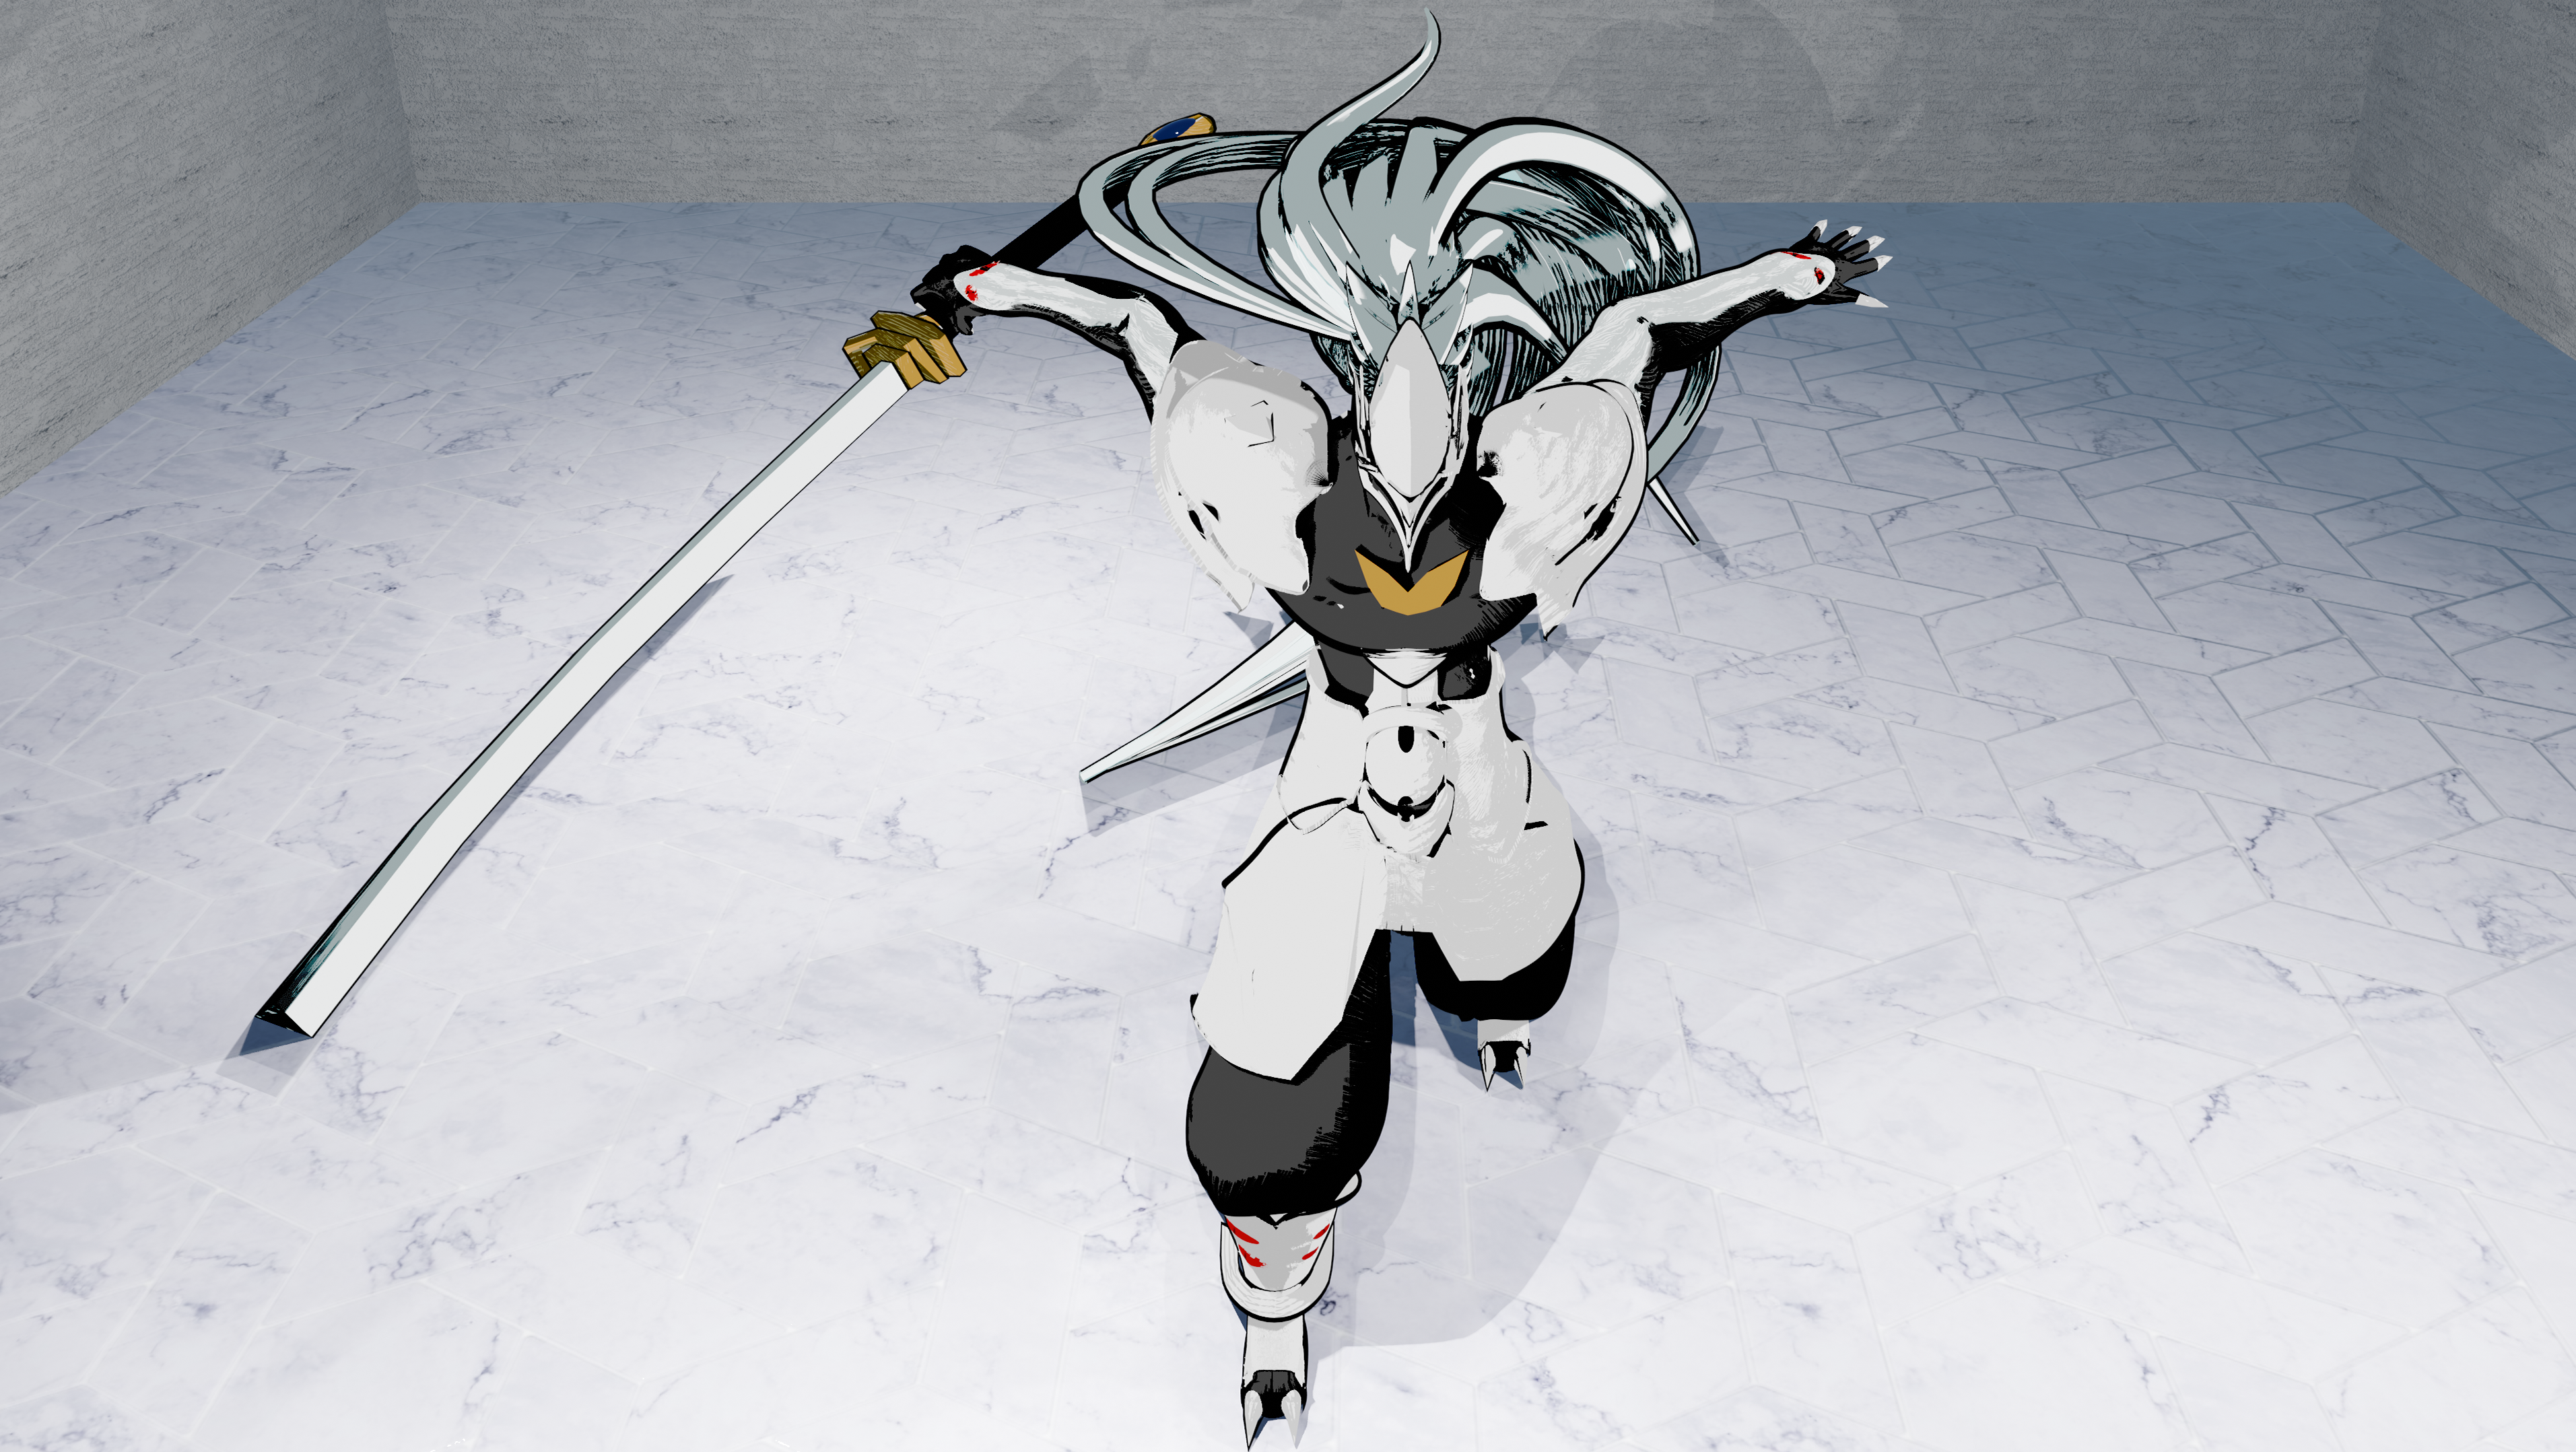
Whip Weed Animation in Unity from Front
Whip Weed Animation in Unity (3/4 View)
Whip Weed
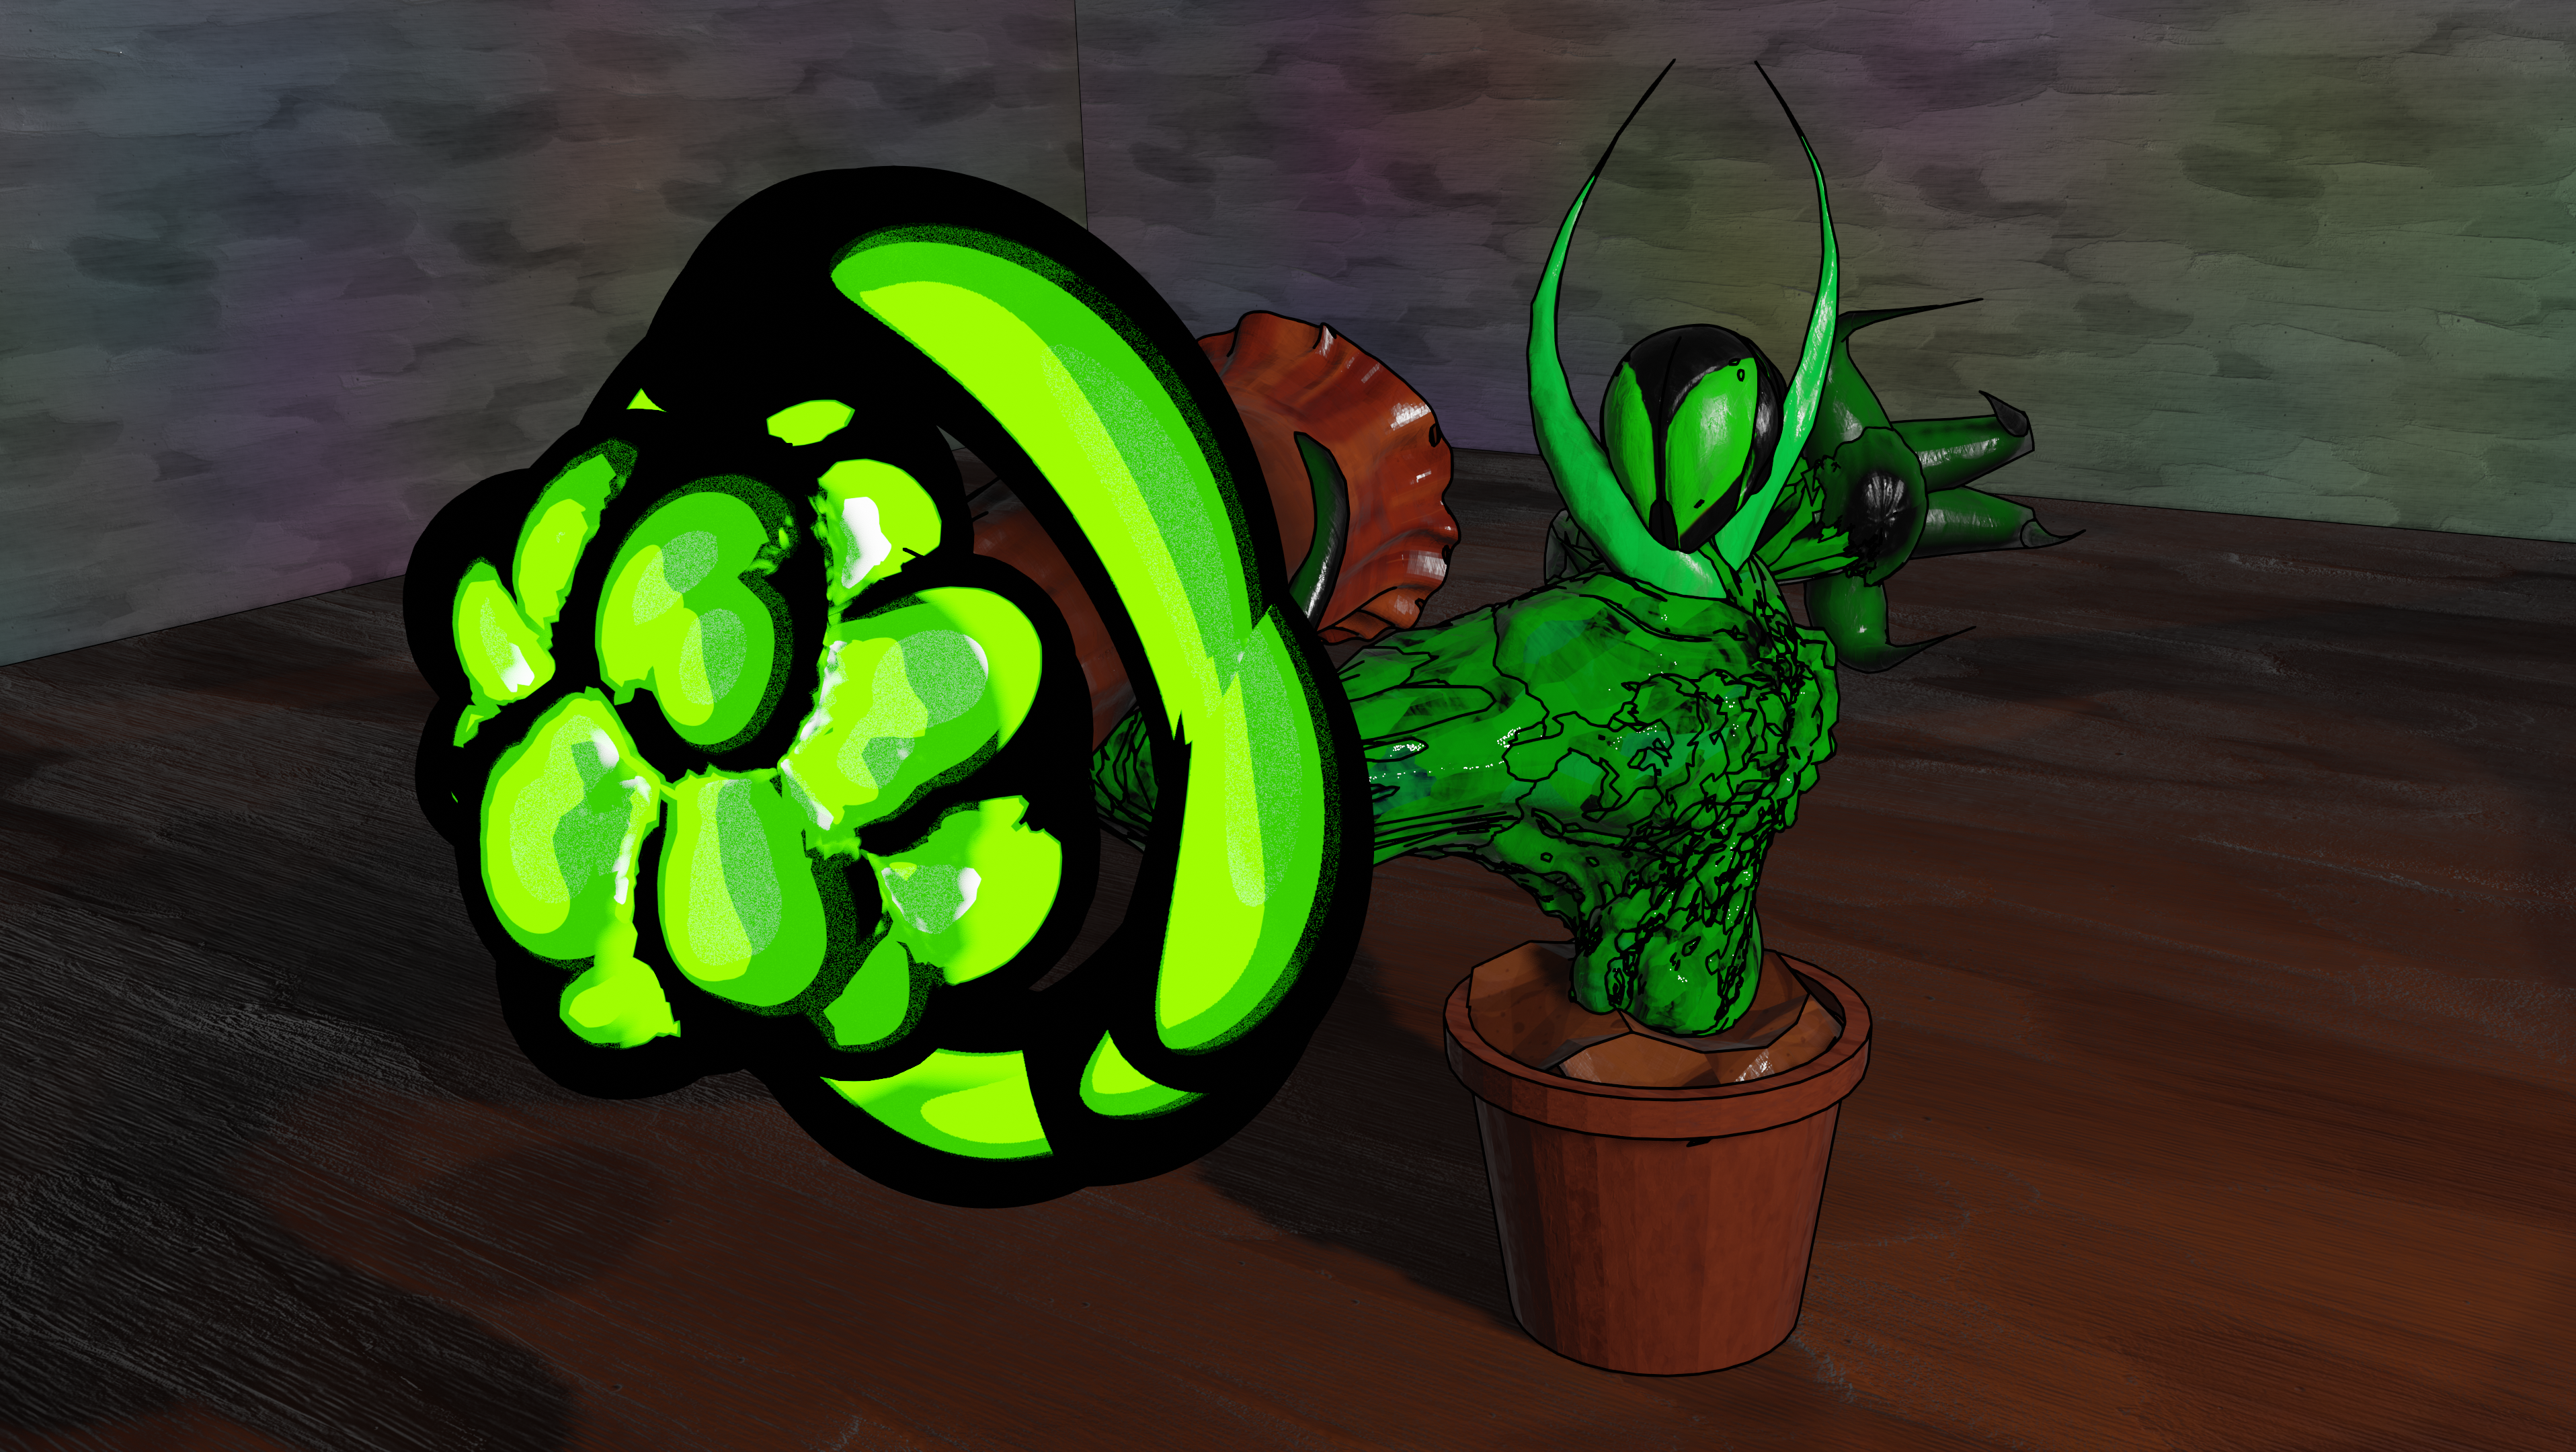
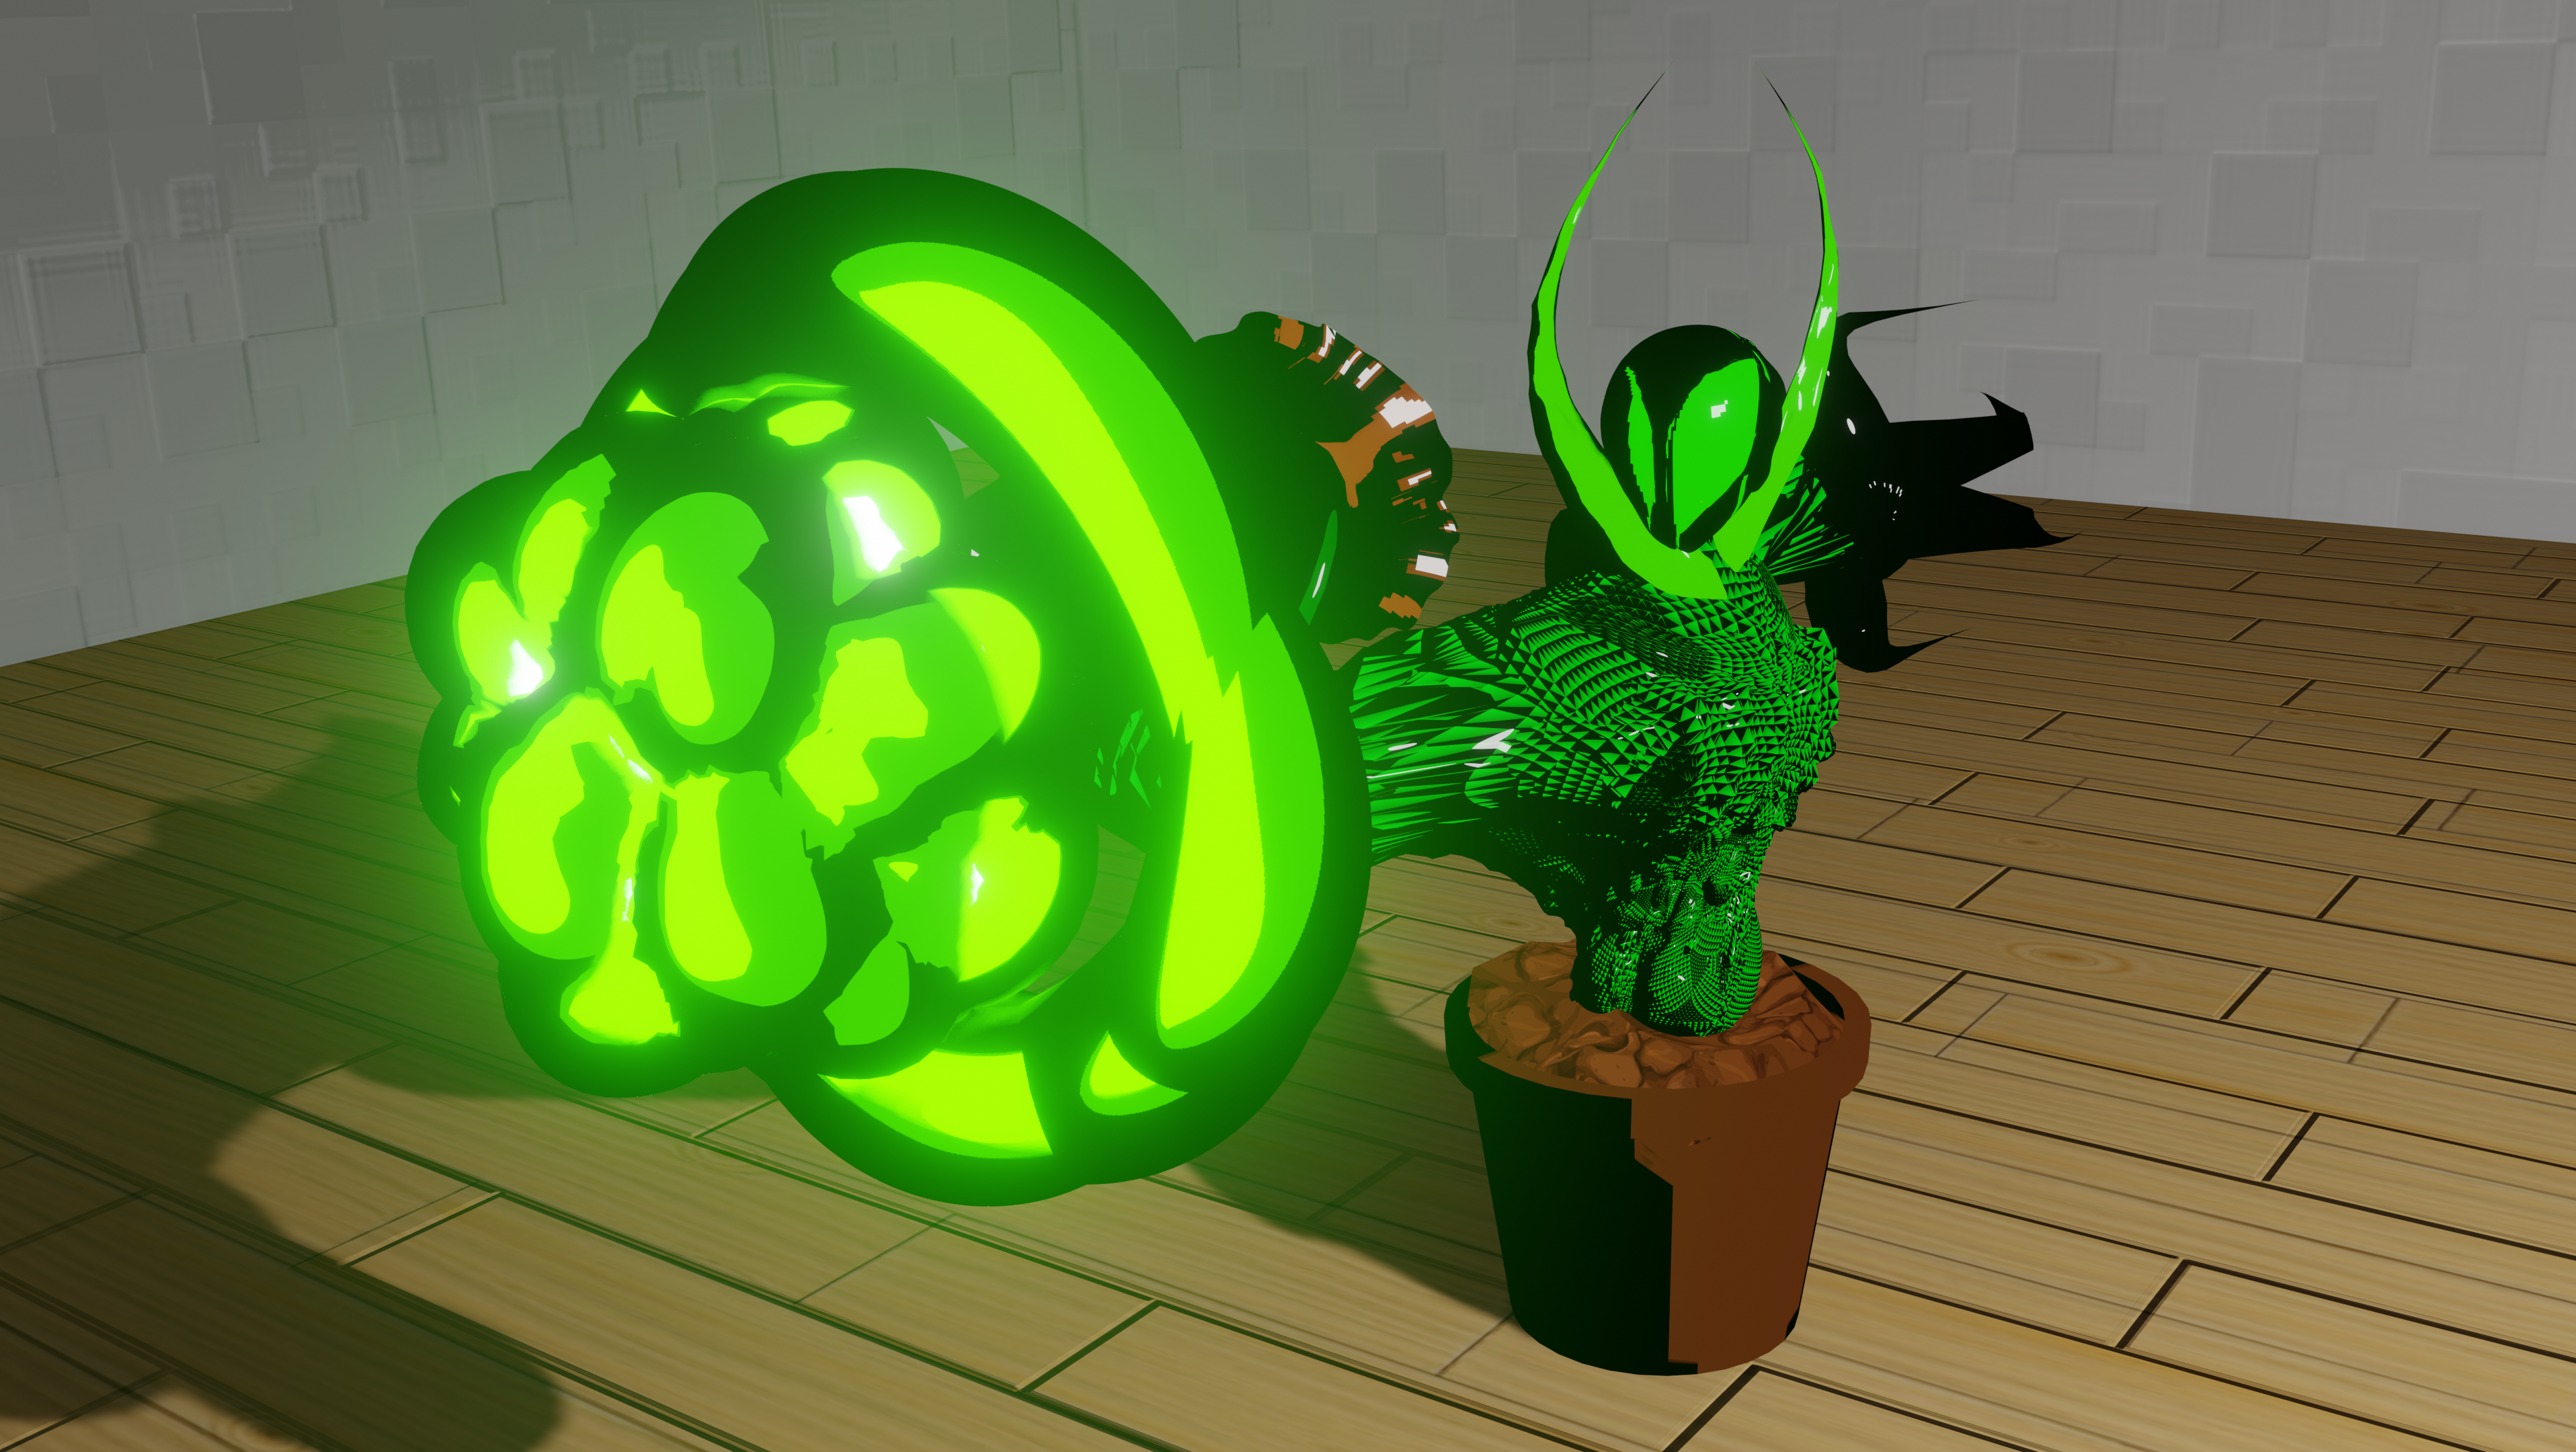
Above is the third monster from my work-in-progress game "Smokin' Weeds". this is the "Whip Weed". It is the enemy with the longest range in the game, but with the lowest health, I wanted the enemy to be distinctly feminine in appearance, while still appearing to be inhuman.
This was the original sketch of the Whip Weed. I had originally imagined it with an hourglass figure that resembled a dress that was form fitting on the top and expanded around the bottom with very scrawny arms. Around this time, I was playing Ubisoft's "Prince of Persia" from 2008 and was particularly inspired by the Concubine's design from that game. This inspired the cloth over the creature's head.

Whip Weed Concept Art
Original Whip Weed
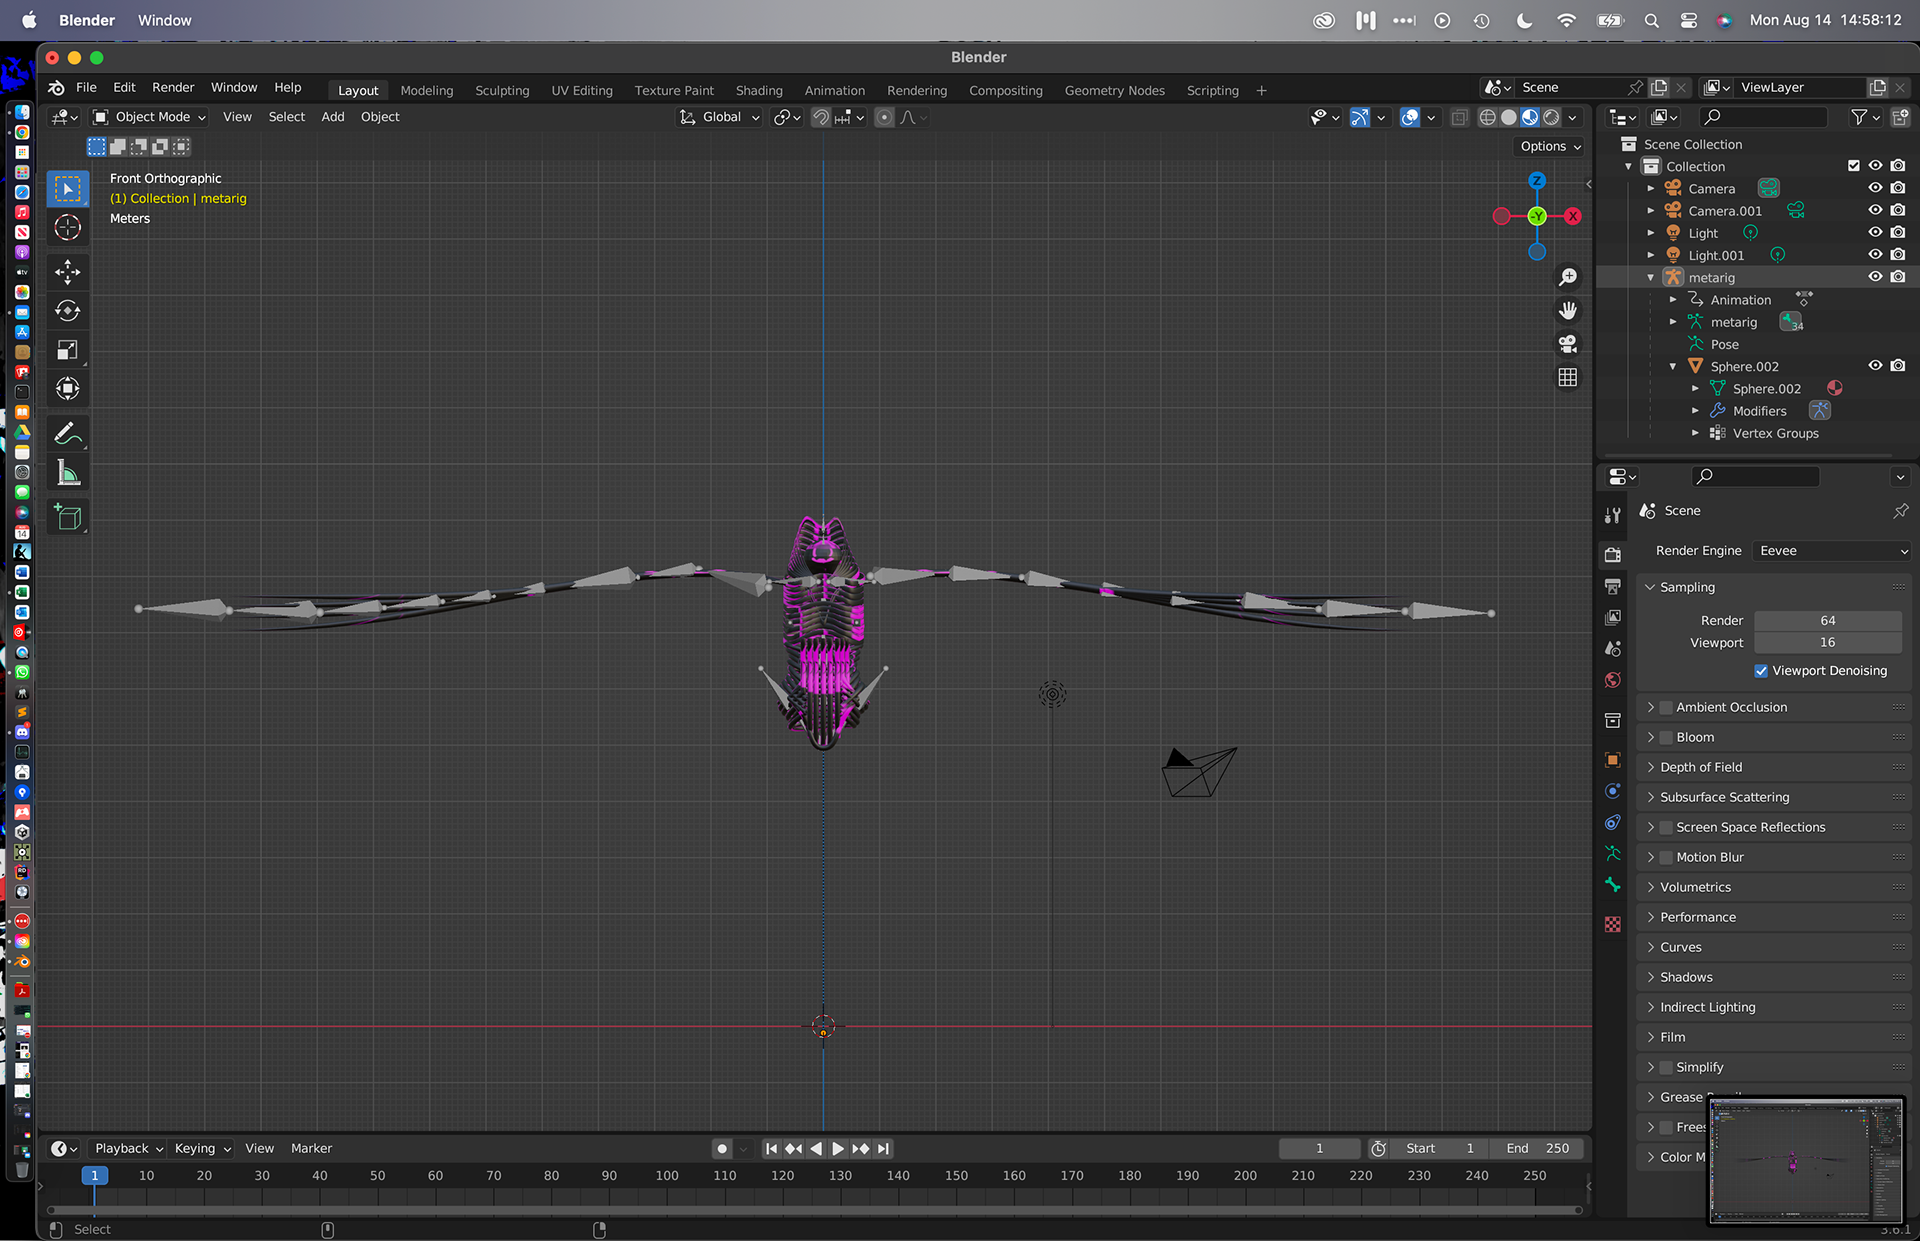
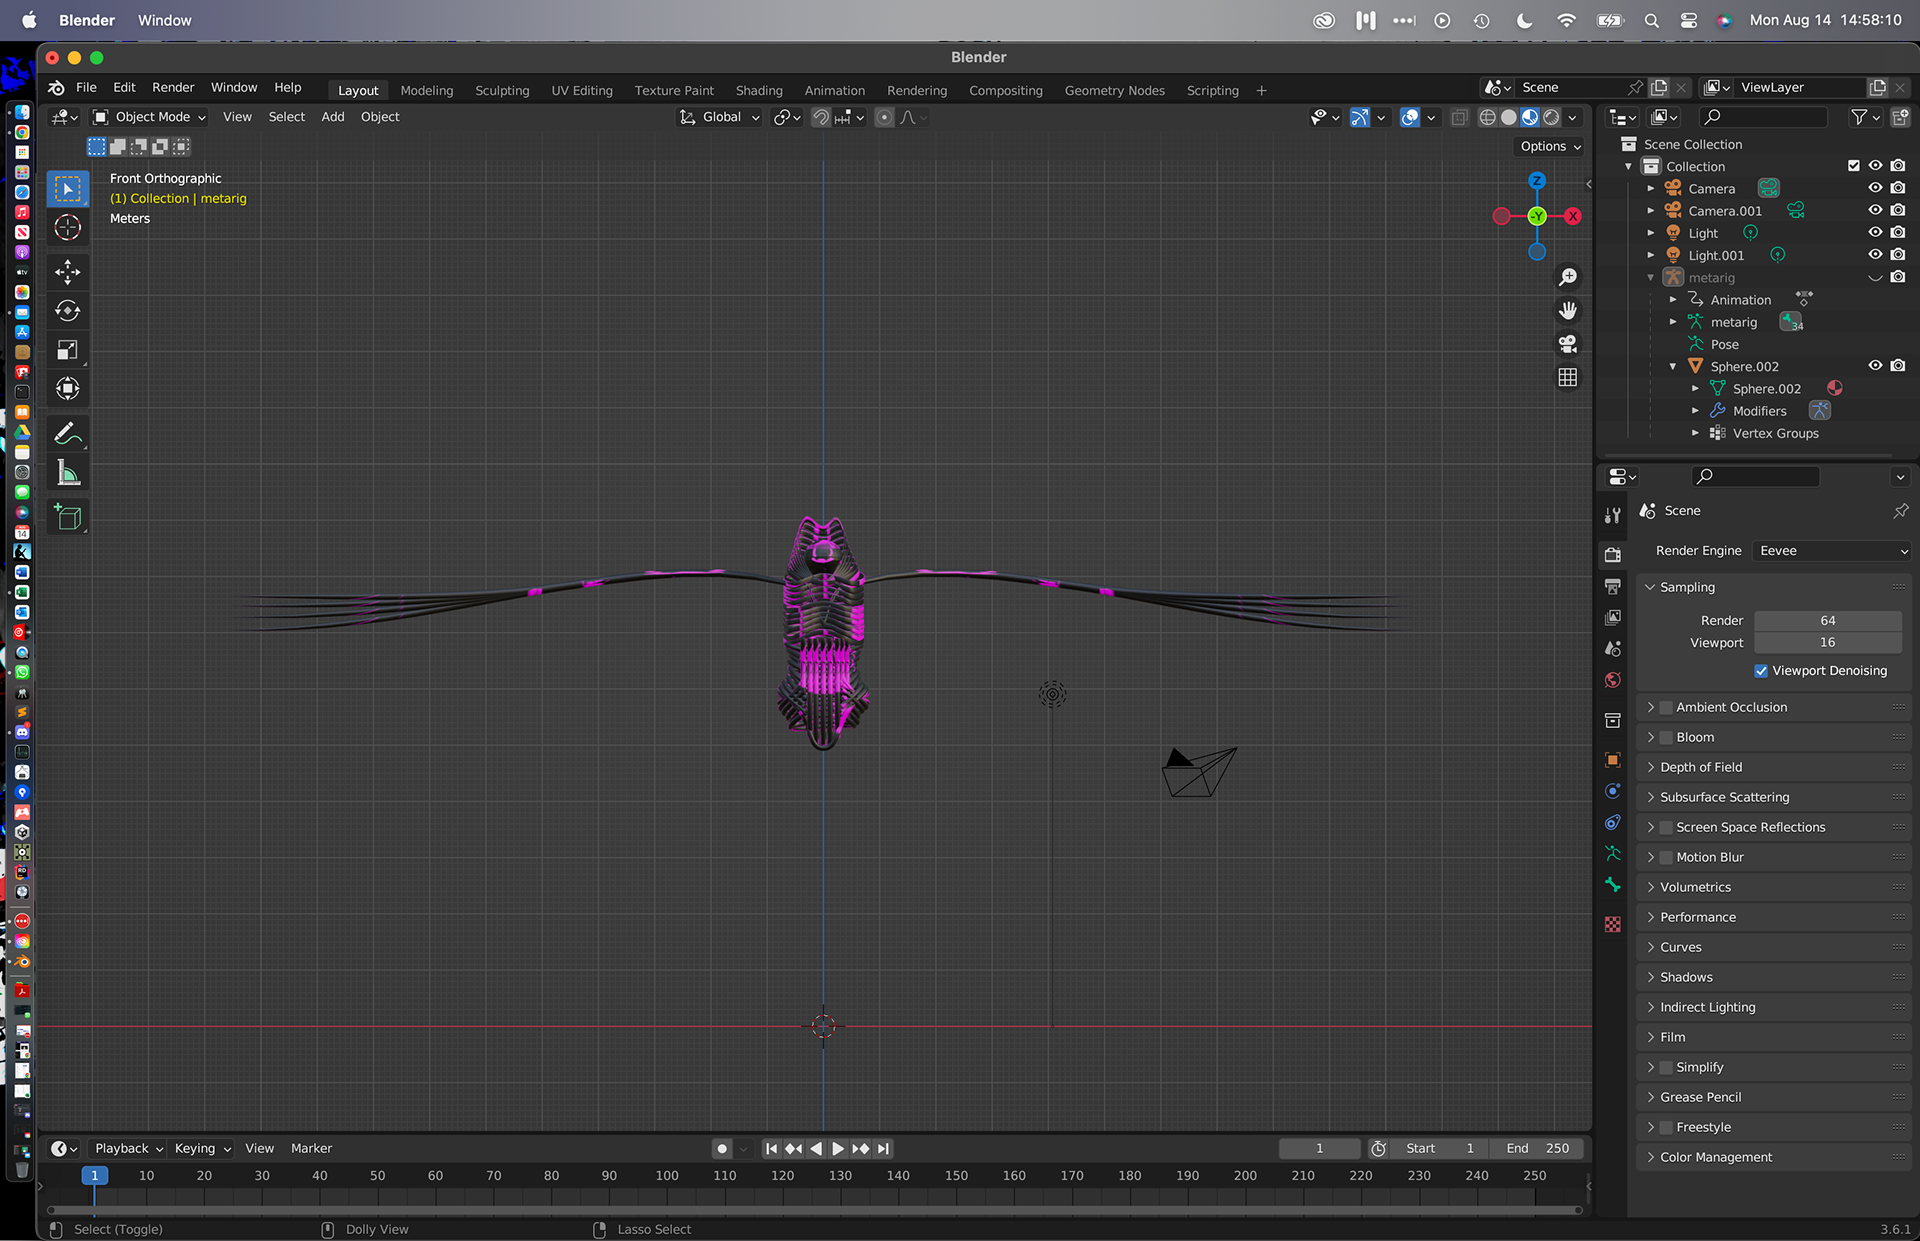
Skeleton of original whip weed
Immediately upon starting to make the creature, however, I threw out the original design. It felt a little too human and I wanted something that would look a bit more inhuman while still working in the way I was comfortable with at the time, which resulted in the model on the left.
I had made 6 animations for this original iteration to reflect its in-game behavior: spawning, idle, attacking, getting injured, dying, and celebrating when the player ultimately dies.
Upon implementing the character in-game and seeing it in motion, however, I did not like it at all. Compared to the knife and club weed, who had very striking and clear designs that conveyed their abilities and roles as enemies, the whip weed felt aimless. In addition, where the other two had exaggerated movements to their animations, this creature just looked silly when animated. I knew she needed to be redesigned in a way that would be a bit more distinguishable and refined, while remaining consistent with the remaining weeds. I used Microsoft's AI Image Creator to generate some possible inspiration and got the two images on the side.
I also took inspiration from a different source of fantasy, one of my favorite shows: "Avatar: The Last Airbender". There is a character in that show called "The Mother of Faces". She is a character who is themed around trees and forests, and, similar to my other weeds, was humanoid with different plants covering up parts of her body. What made her design memorable to me was that even though she looked inhuman, she still had an exposed mouth and humanoid proportions, which made her still feel like a living, breathing creature, and I realized that connection to a more humanoid structure was what I was missing.
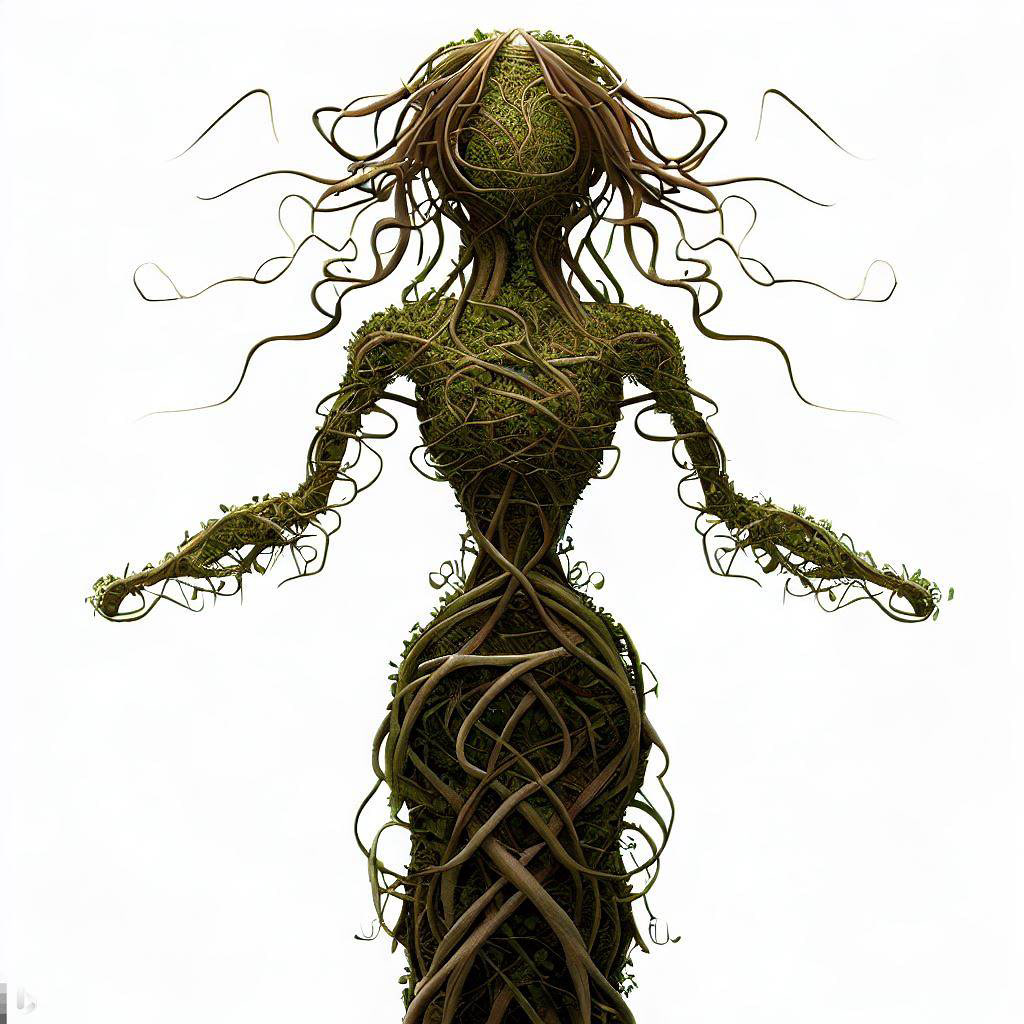
Image 1 Prompt: Front view of a woman made of vines with long tendril arms
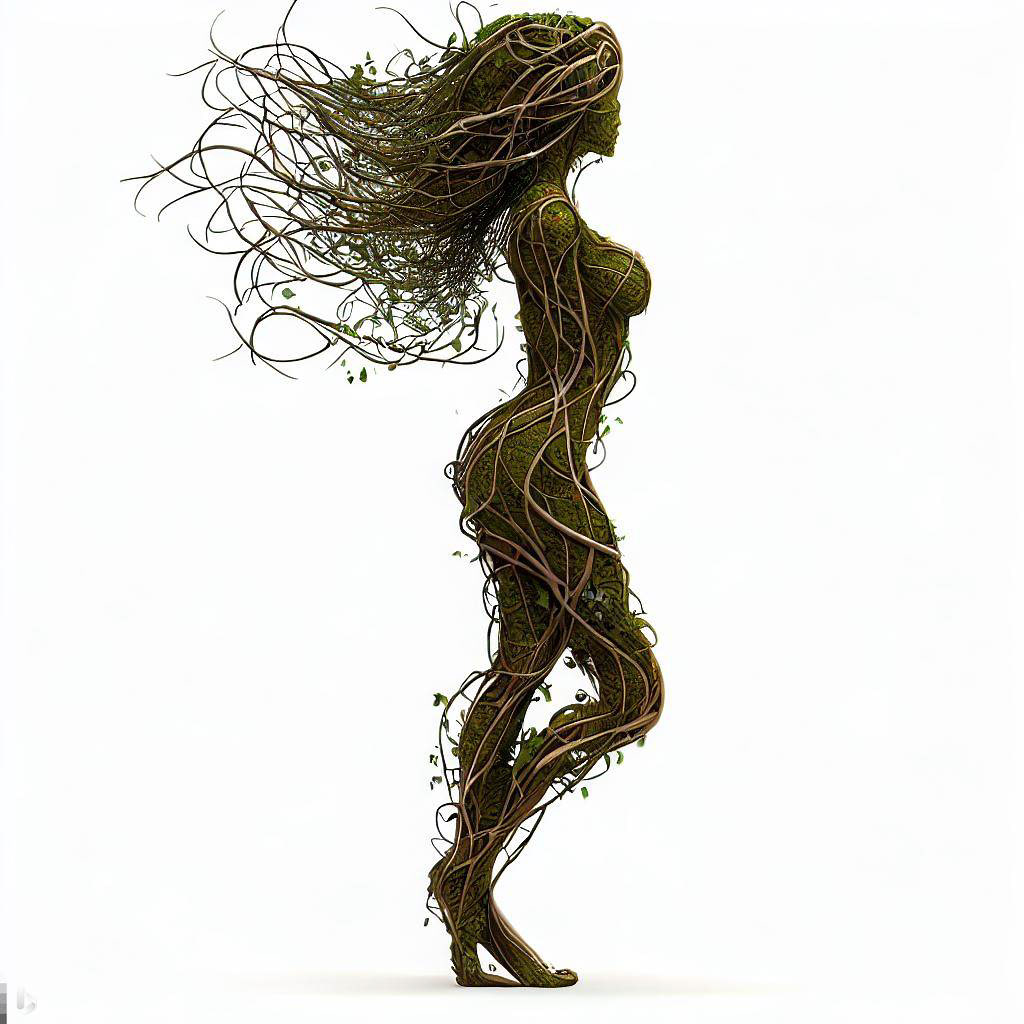
Image 2 Prompt: Side full body view of a woman made of vines with long tendril arms
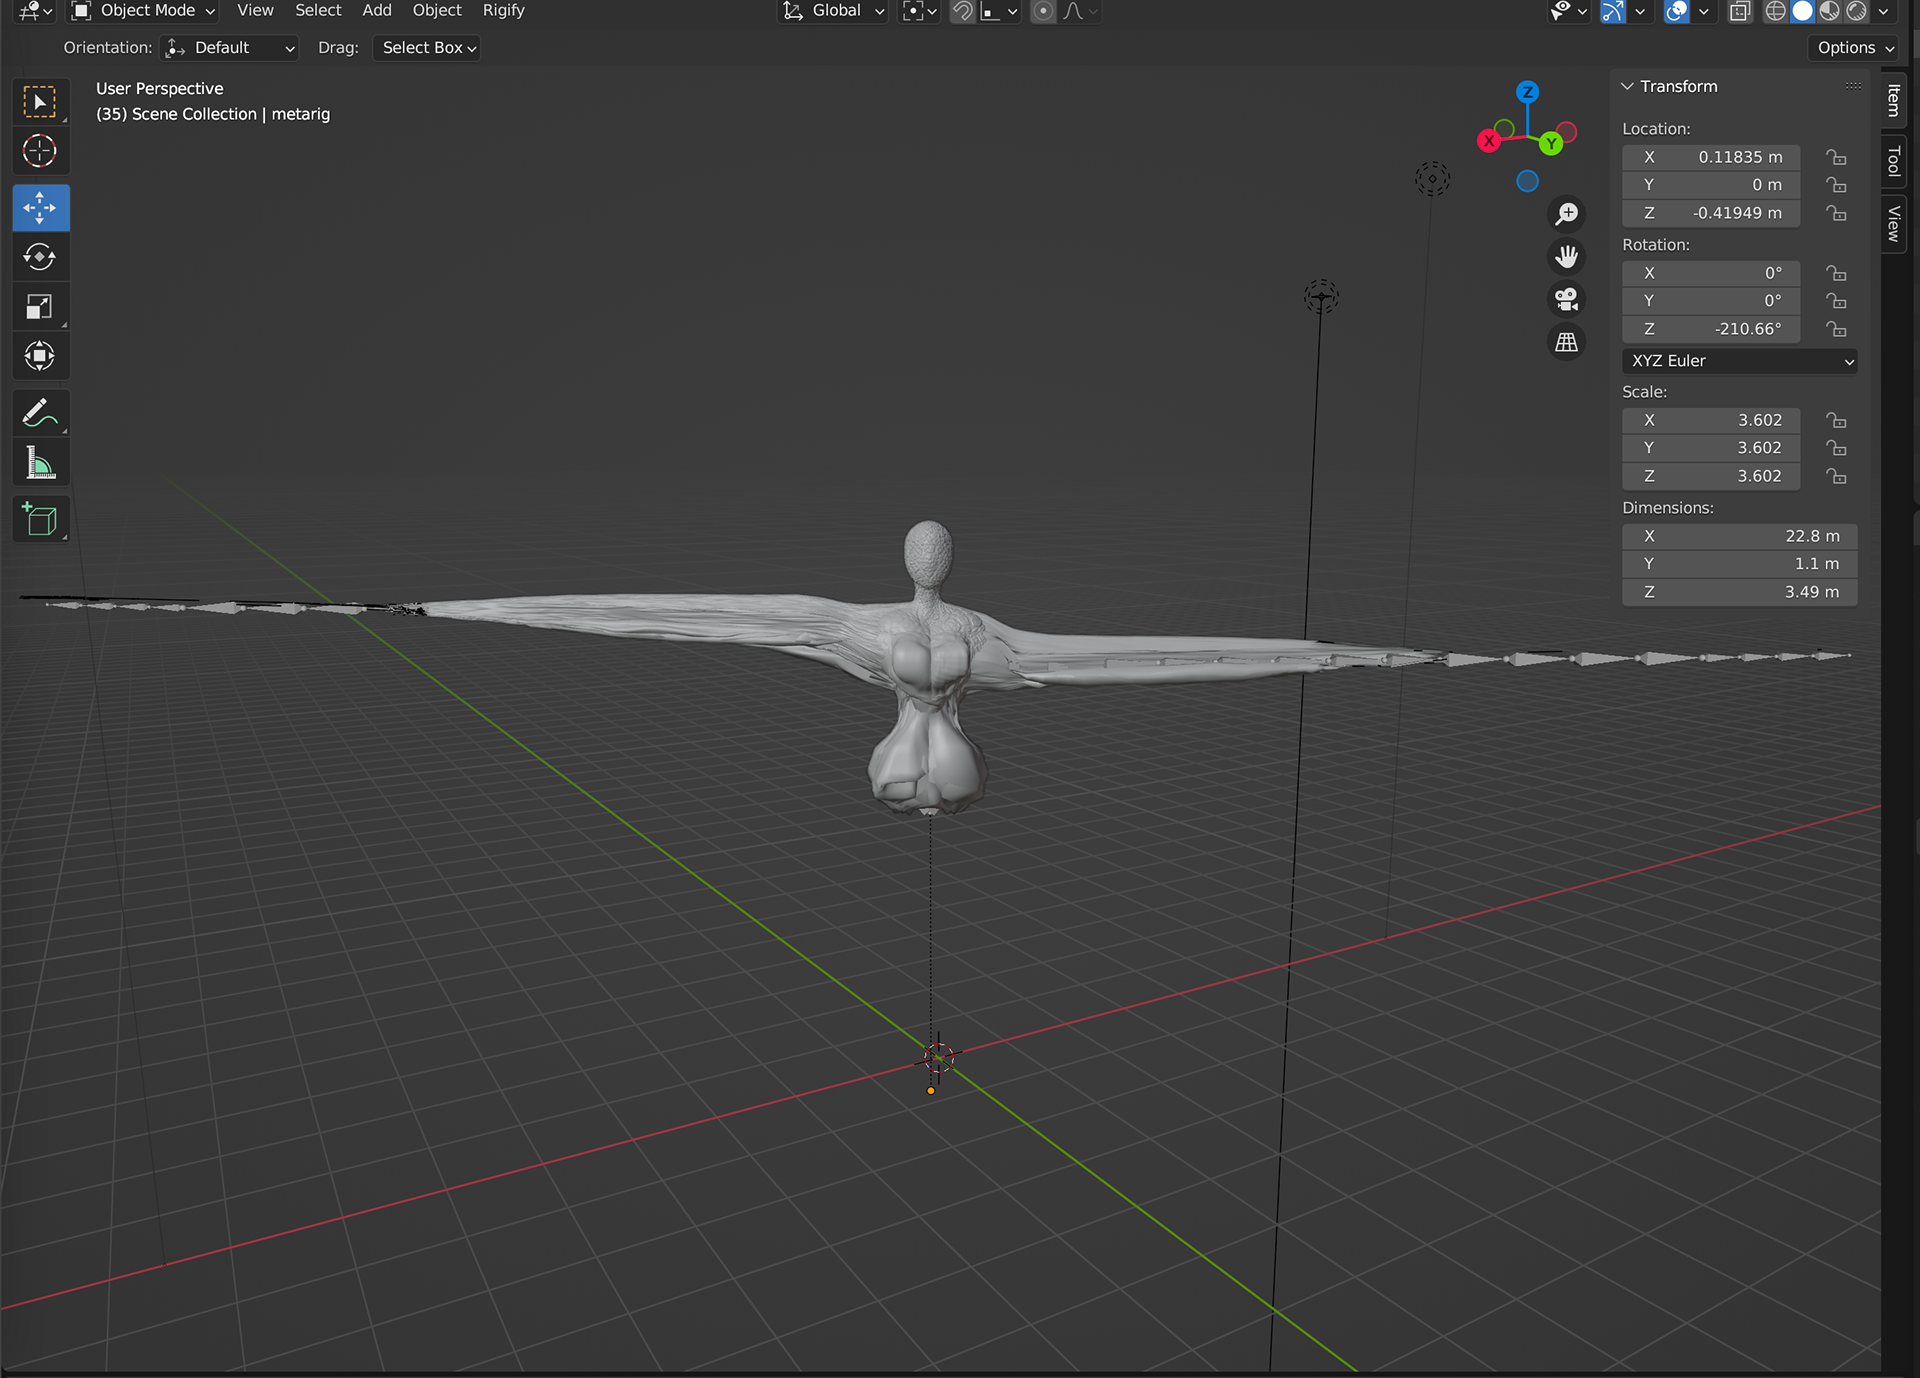
Body Mesh

Vine Mesh

Material Preview
With my new inspiration in hand, and a new handle on how to approach making the creature. I started redesigning her. My first step was to create a humanoid body. Originally, I would have looked into downloading a body from online, but I wanted the creature to fit the proportions that I desired, so I simply used a stock female mannequin head and neck bust and sculpted that using the above images as guides for the proportions. I then stretched the shoulders out to create arms for her, resulting in the model on the left (Body Mesh). To add some additional detail to the model, I used a displacement modifier to make the skin look a bit more bumpy.
The next step was to create the vines that would cover her. I wrapped an extruded spiral around her and used a shrinkwrap modifier to get it to cover her. For her head, I just used a bunch of tapered bezier curves and put that over her, and for the arms, I used the same technique I used for the body.
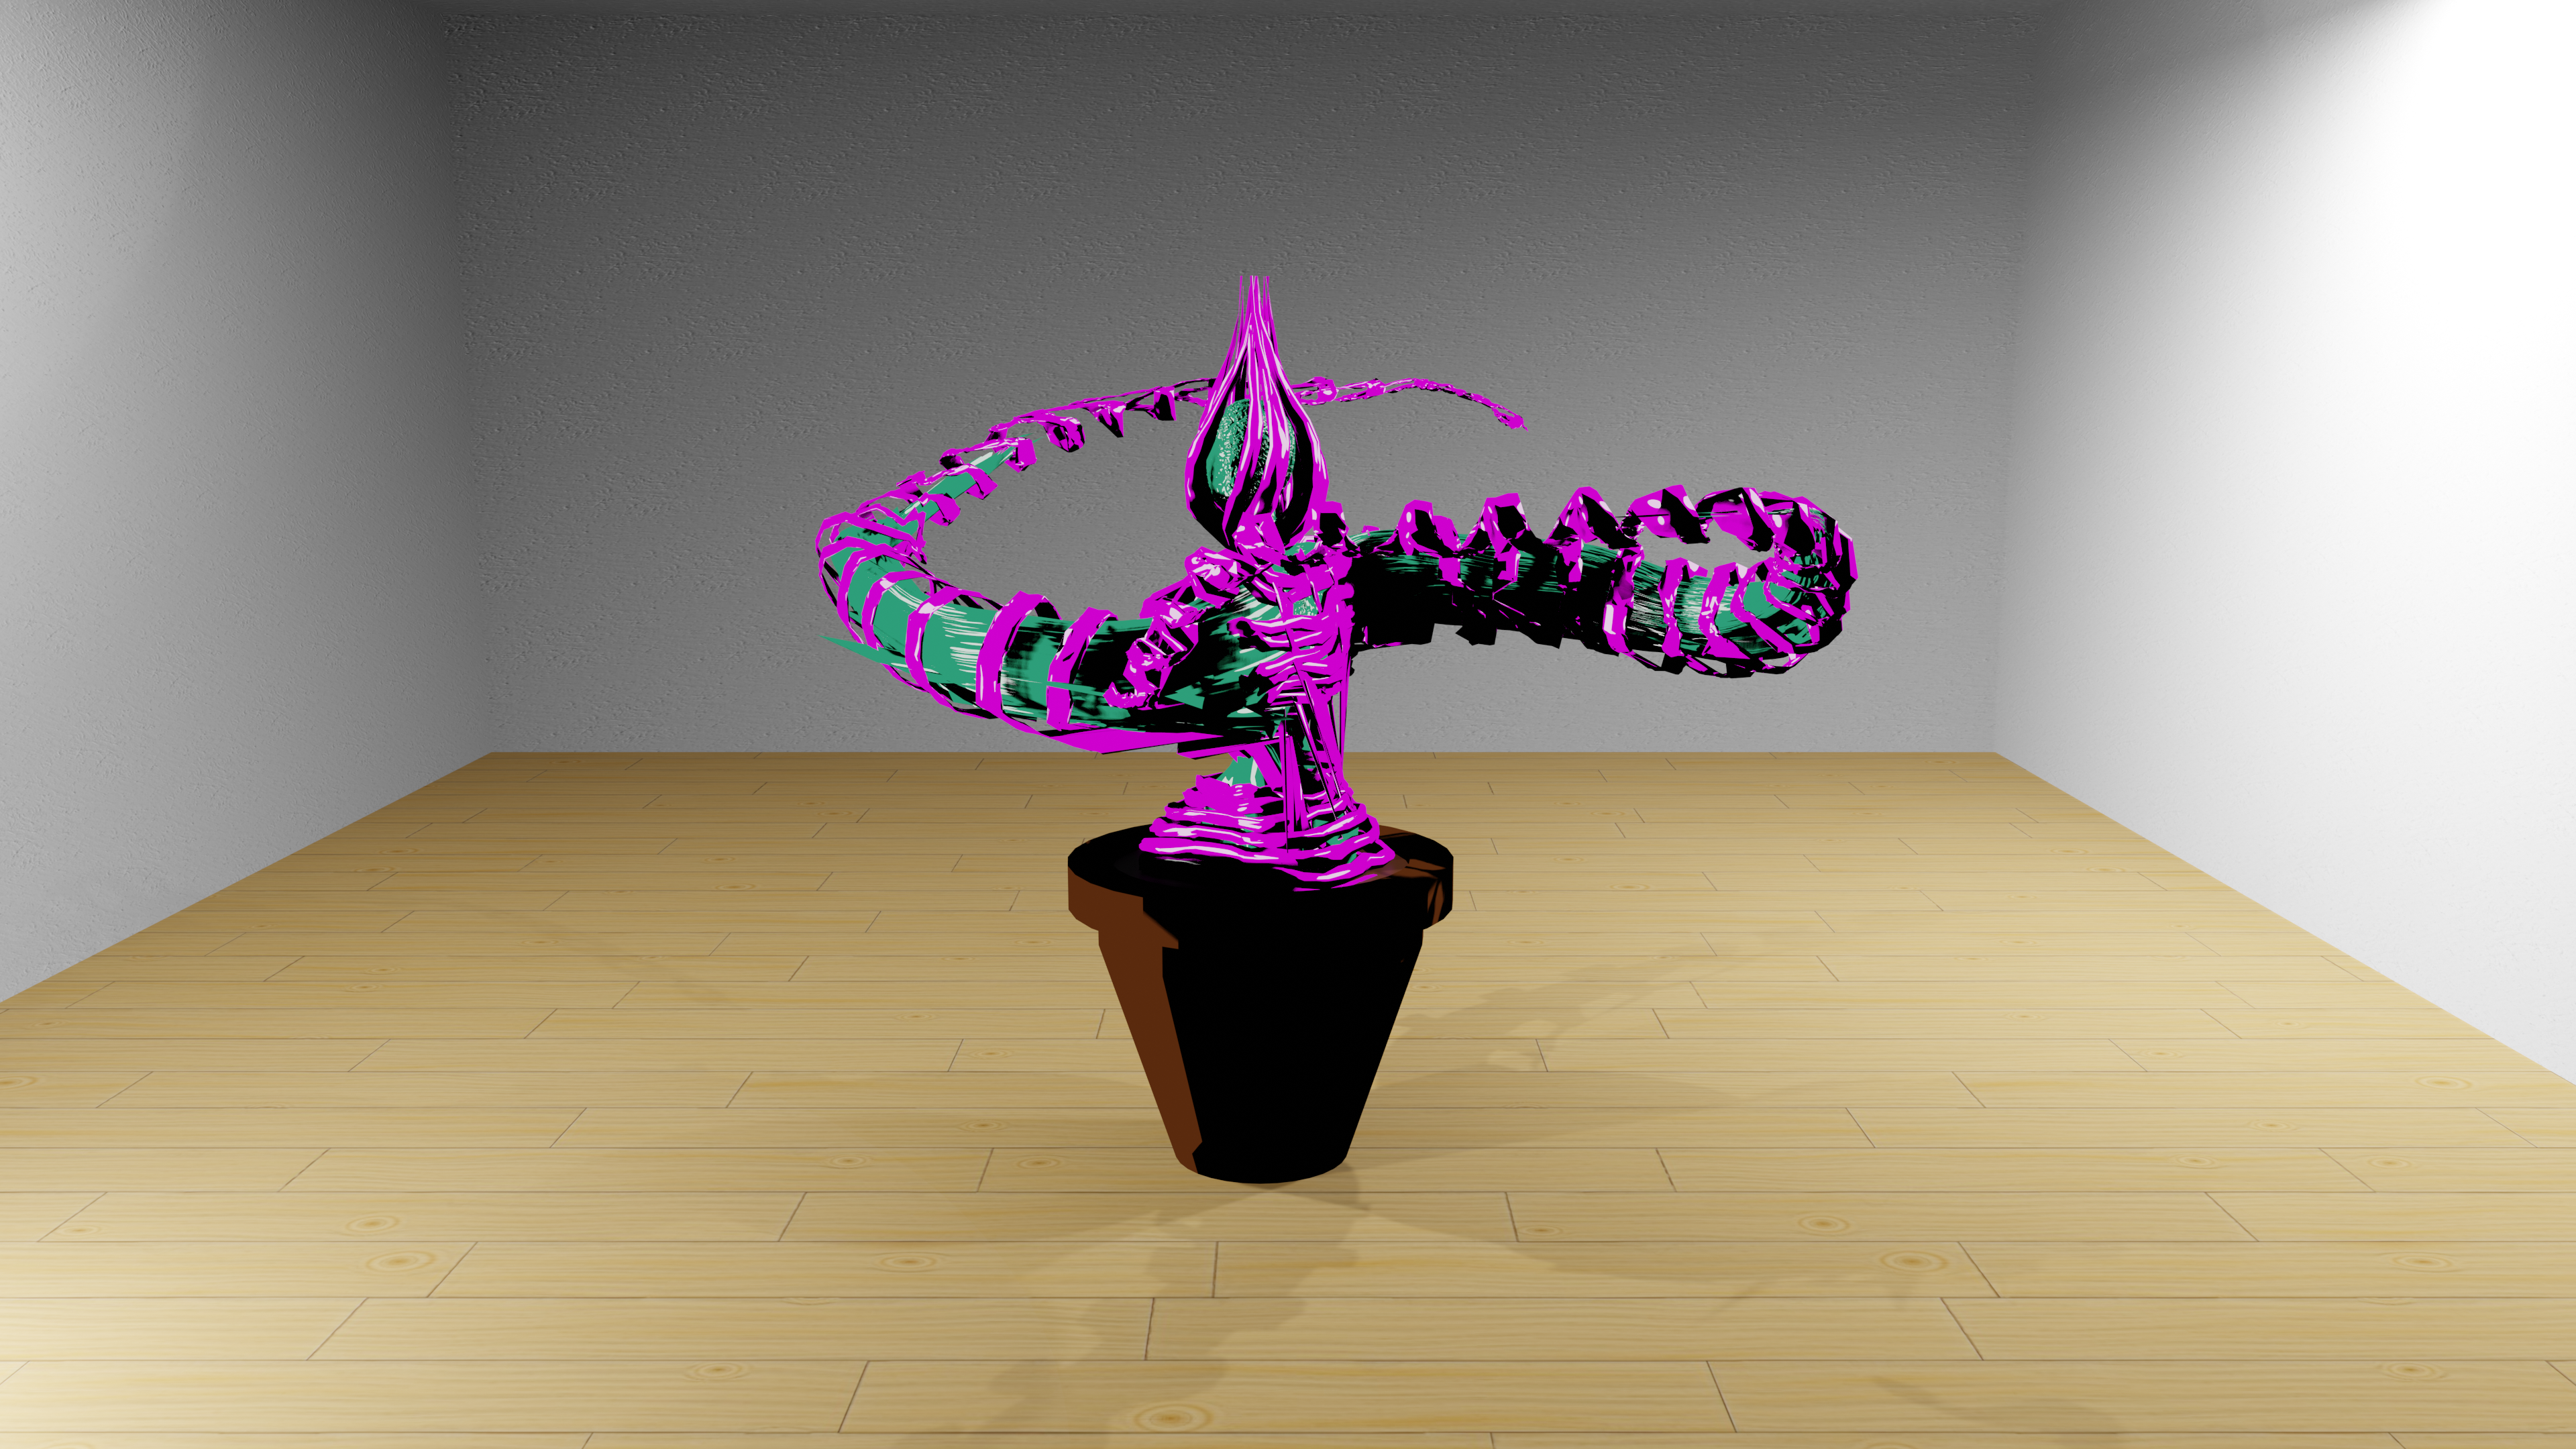
For materials, since I was using a custom shader in Unity and her face was blank, I knew I would be able to get away with simpler colors, so I chose a magenta for the vines and a green for the underside.
In regards to animations, this version would still retain the same animations as her predecessor's, but they needed to look better. To play into the plant aesthetic, for her spawn, I had her arms grow bit by bit so it looked like they were growing out of her body gradually rather than just appearing. Everything else, save for the attack animation, was generally quite standard.
For the attack, I wasn't nearly as certain how it should be done. I knew that it needed to have a feeling of momentum when doing the attack, and I'd started with using Inverse Kinematics, however, I did not like the way it looked. I looked at God of War for good momentum-based animation with the Blades of Chaos and used that as a guideline for how the character should move. I started by just rotating the body the way I wanted it to and then just moved the arms into key poses based on where the weed's upper body was located.
When I put her into Unity, the first thing I knew I needed to do was to create a new shader. I wanted to create a toon shader for the characters as that's how I had rendered them in Blender, and it's how I wanted them to look in game. I wrote a custom toon shader which would allow me to adjust the brightness of the shader, as well as the amount of shades that the shader would display.
After creating the new shader, I created the animation controller, shown to the right.
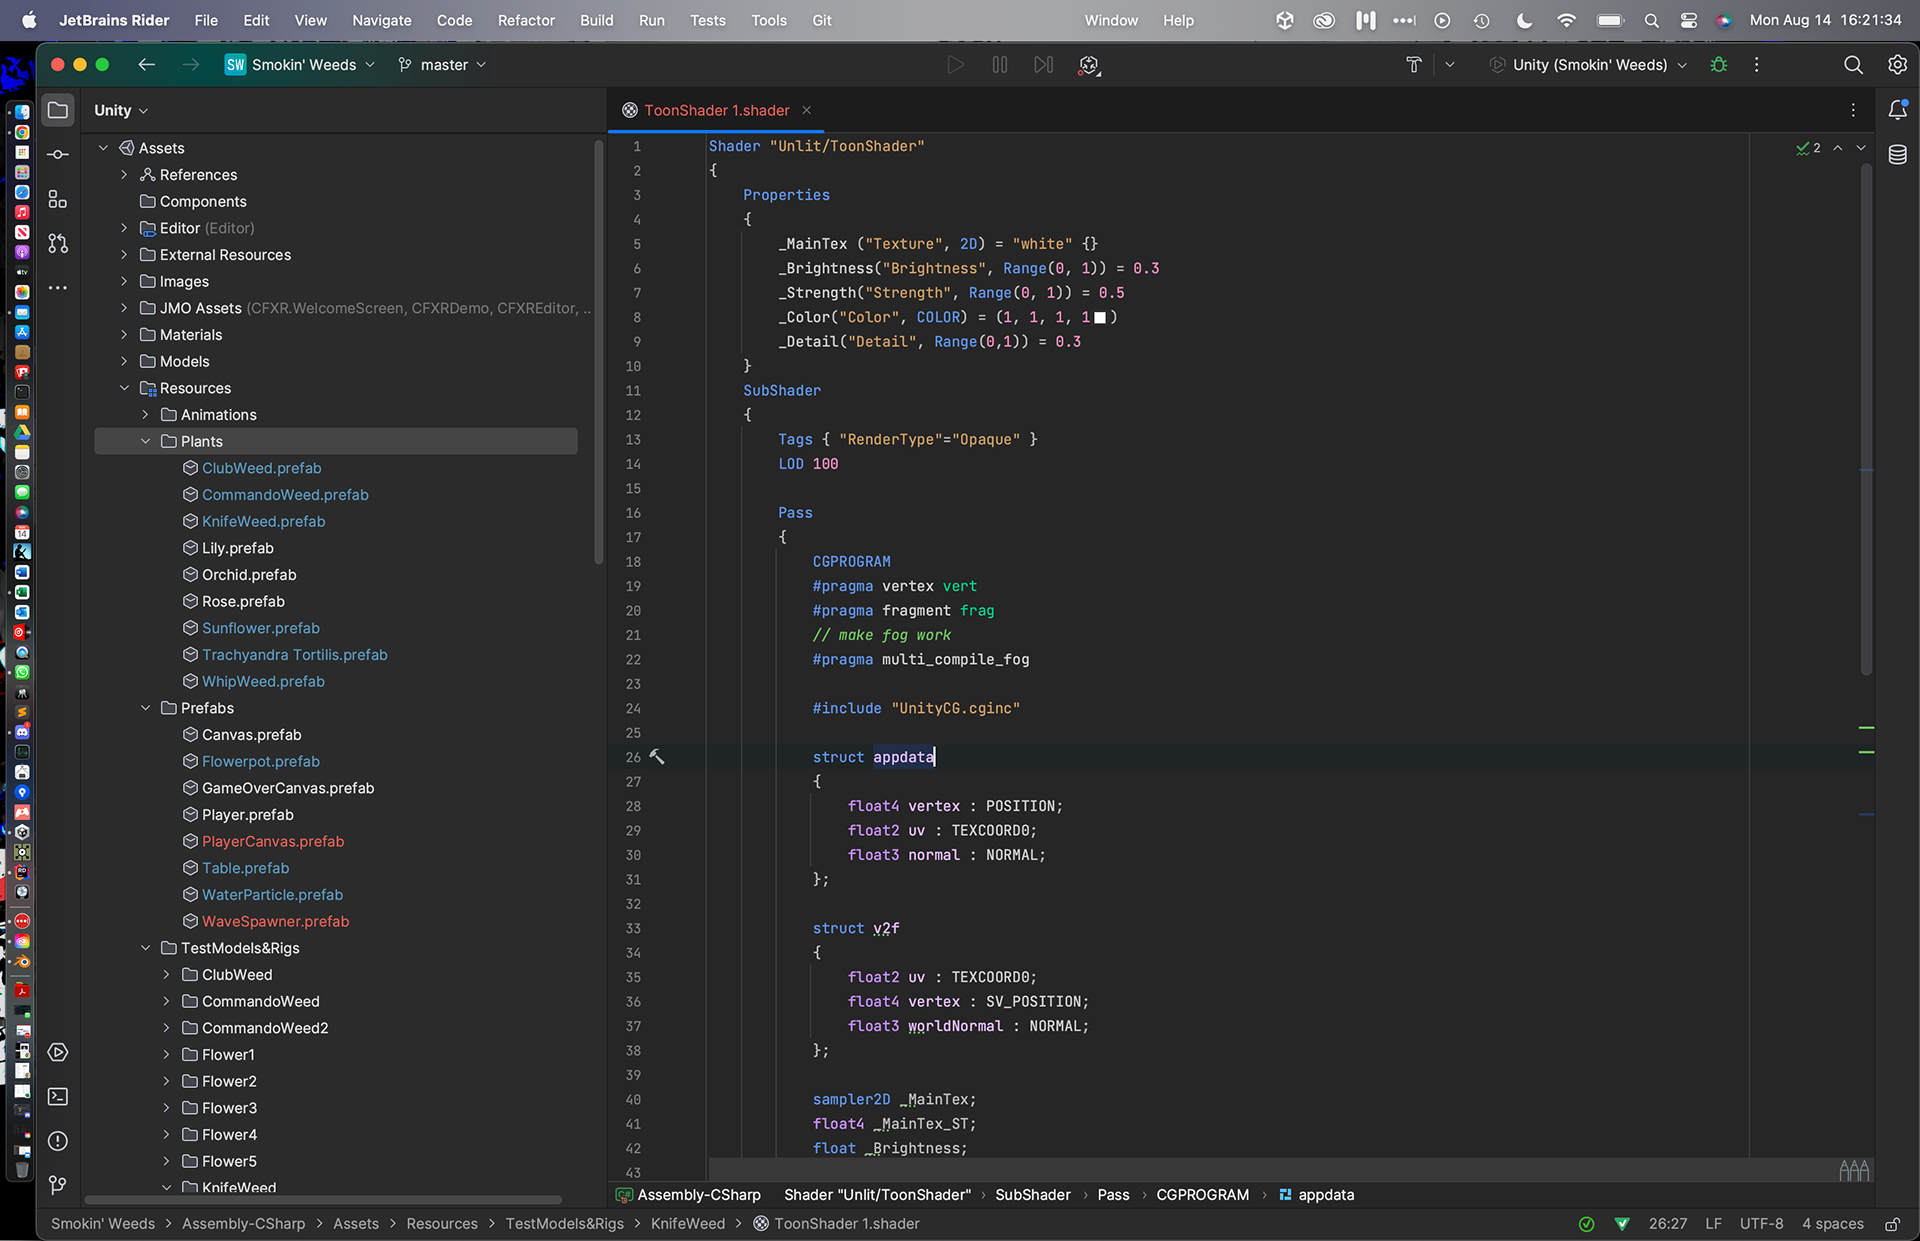
Toon Shader Part 1
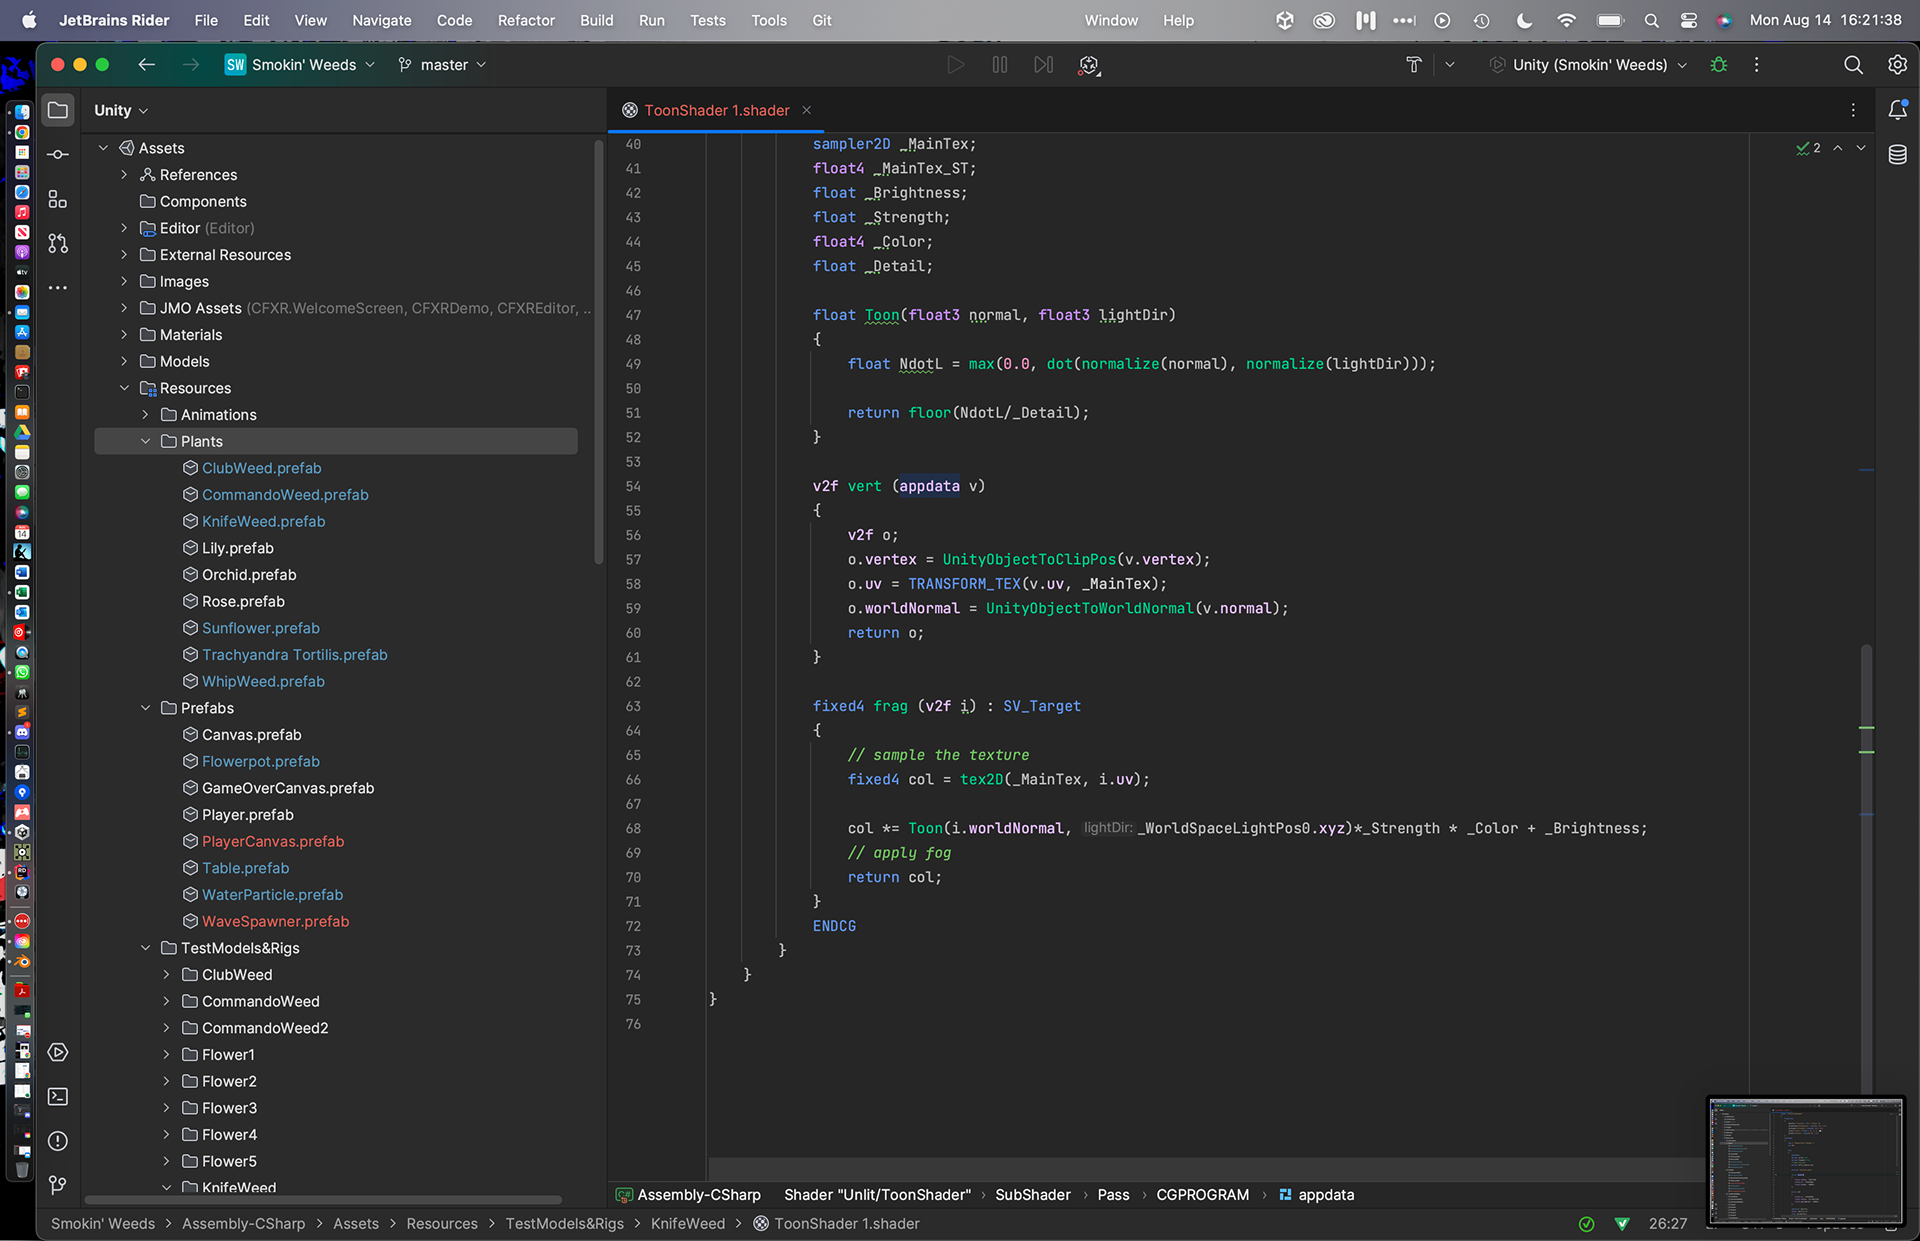
Toon Shader Part 2
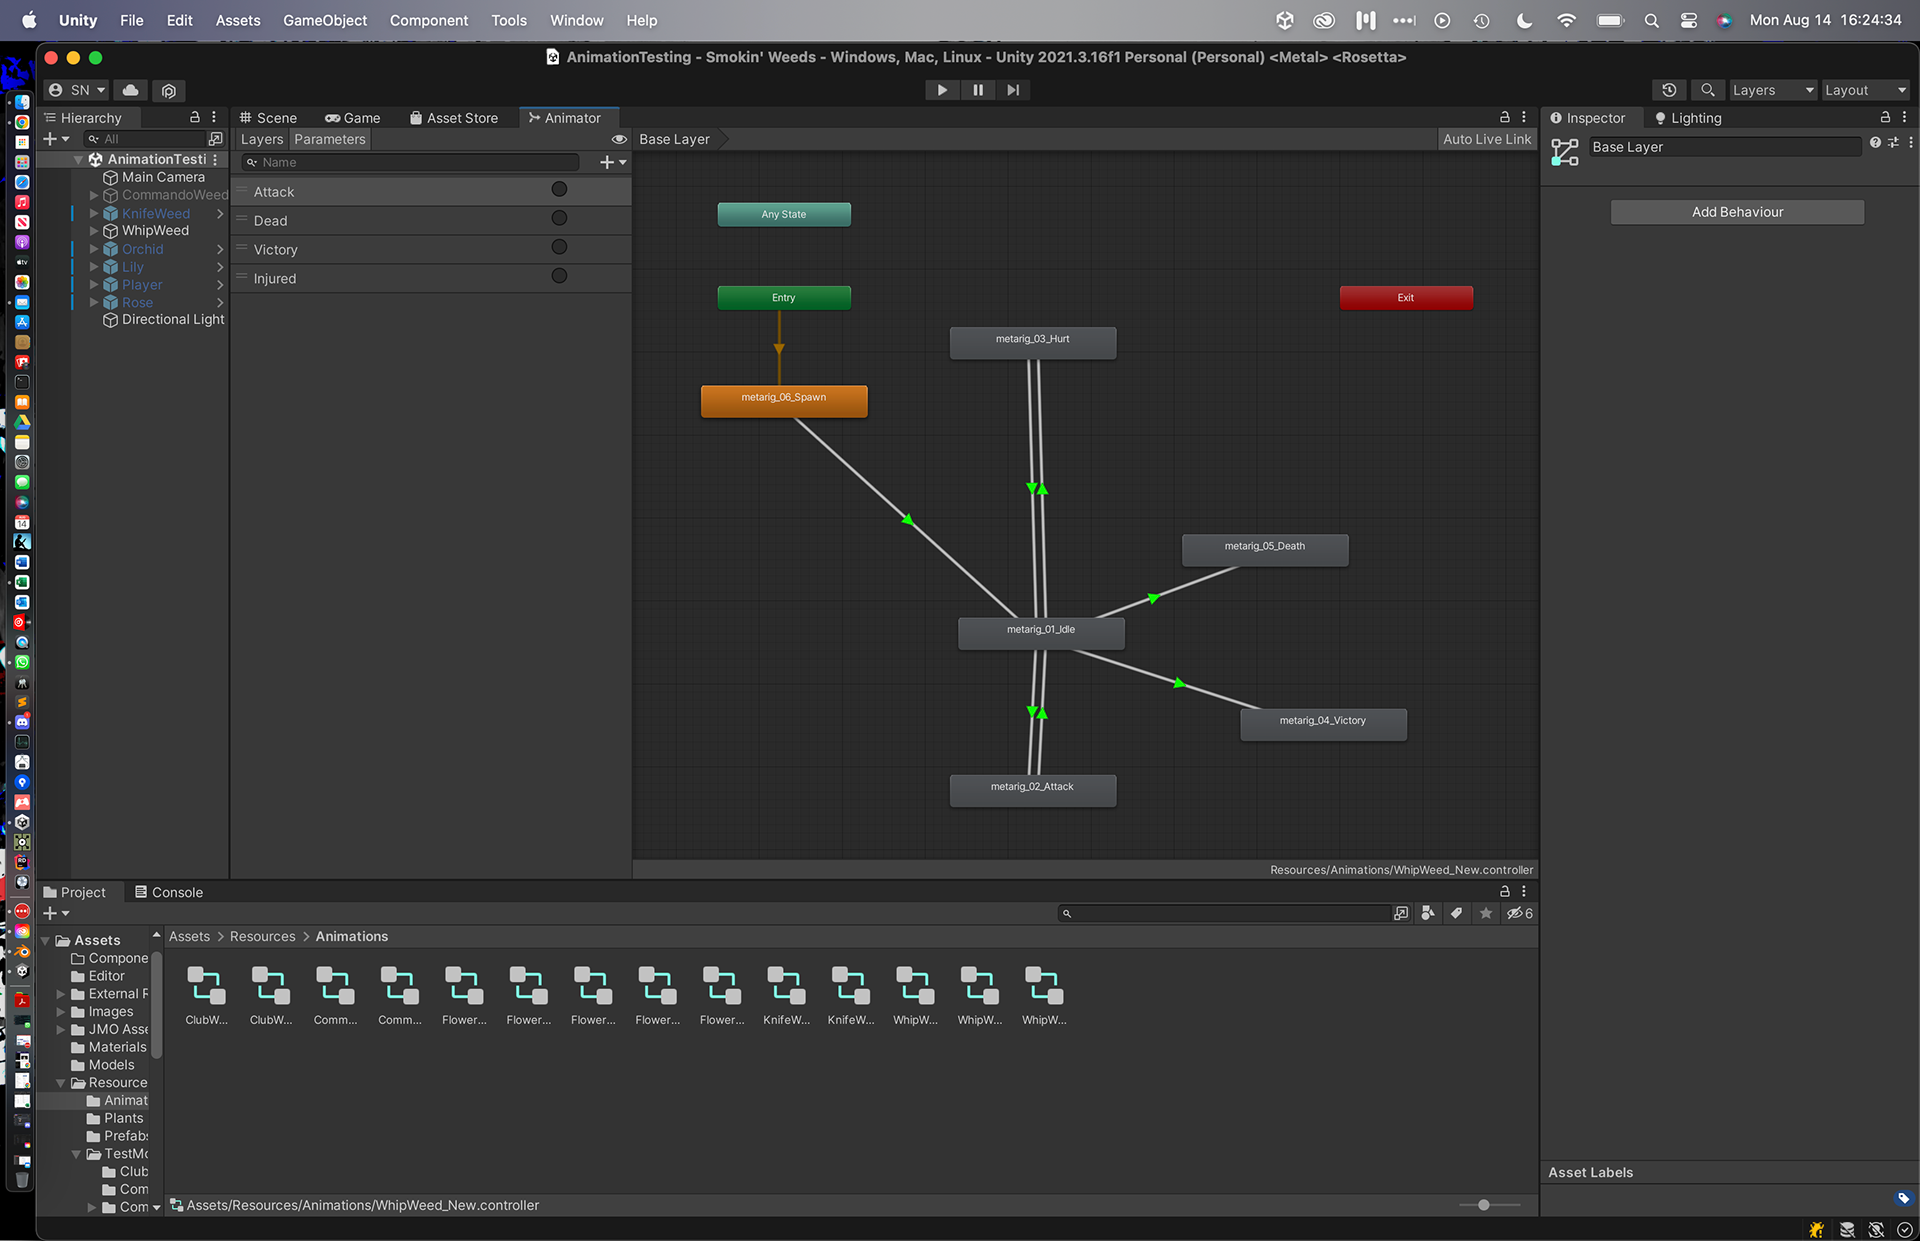
Animation Controller
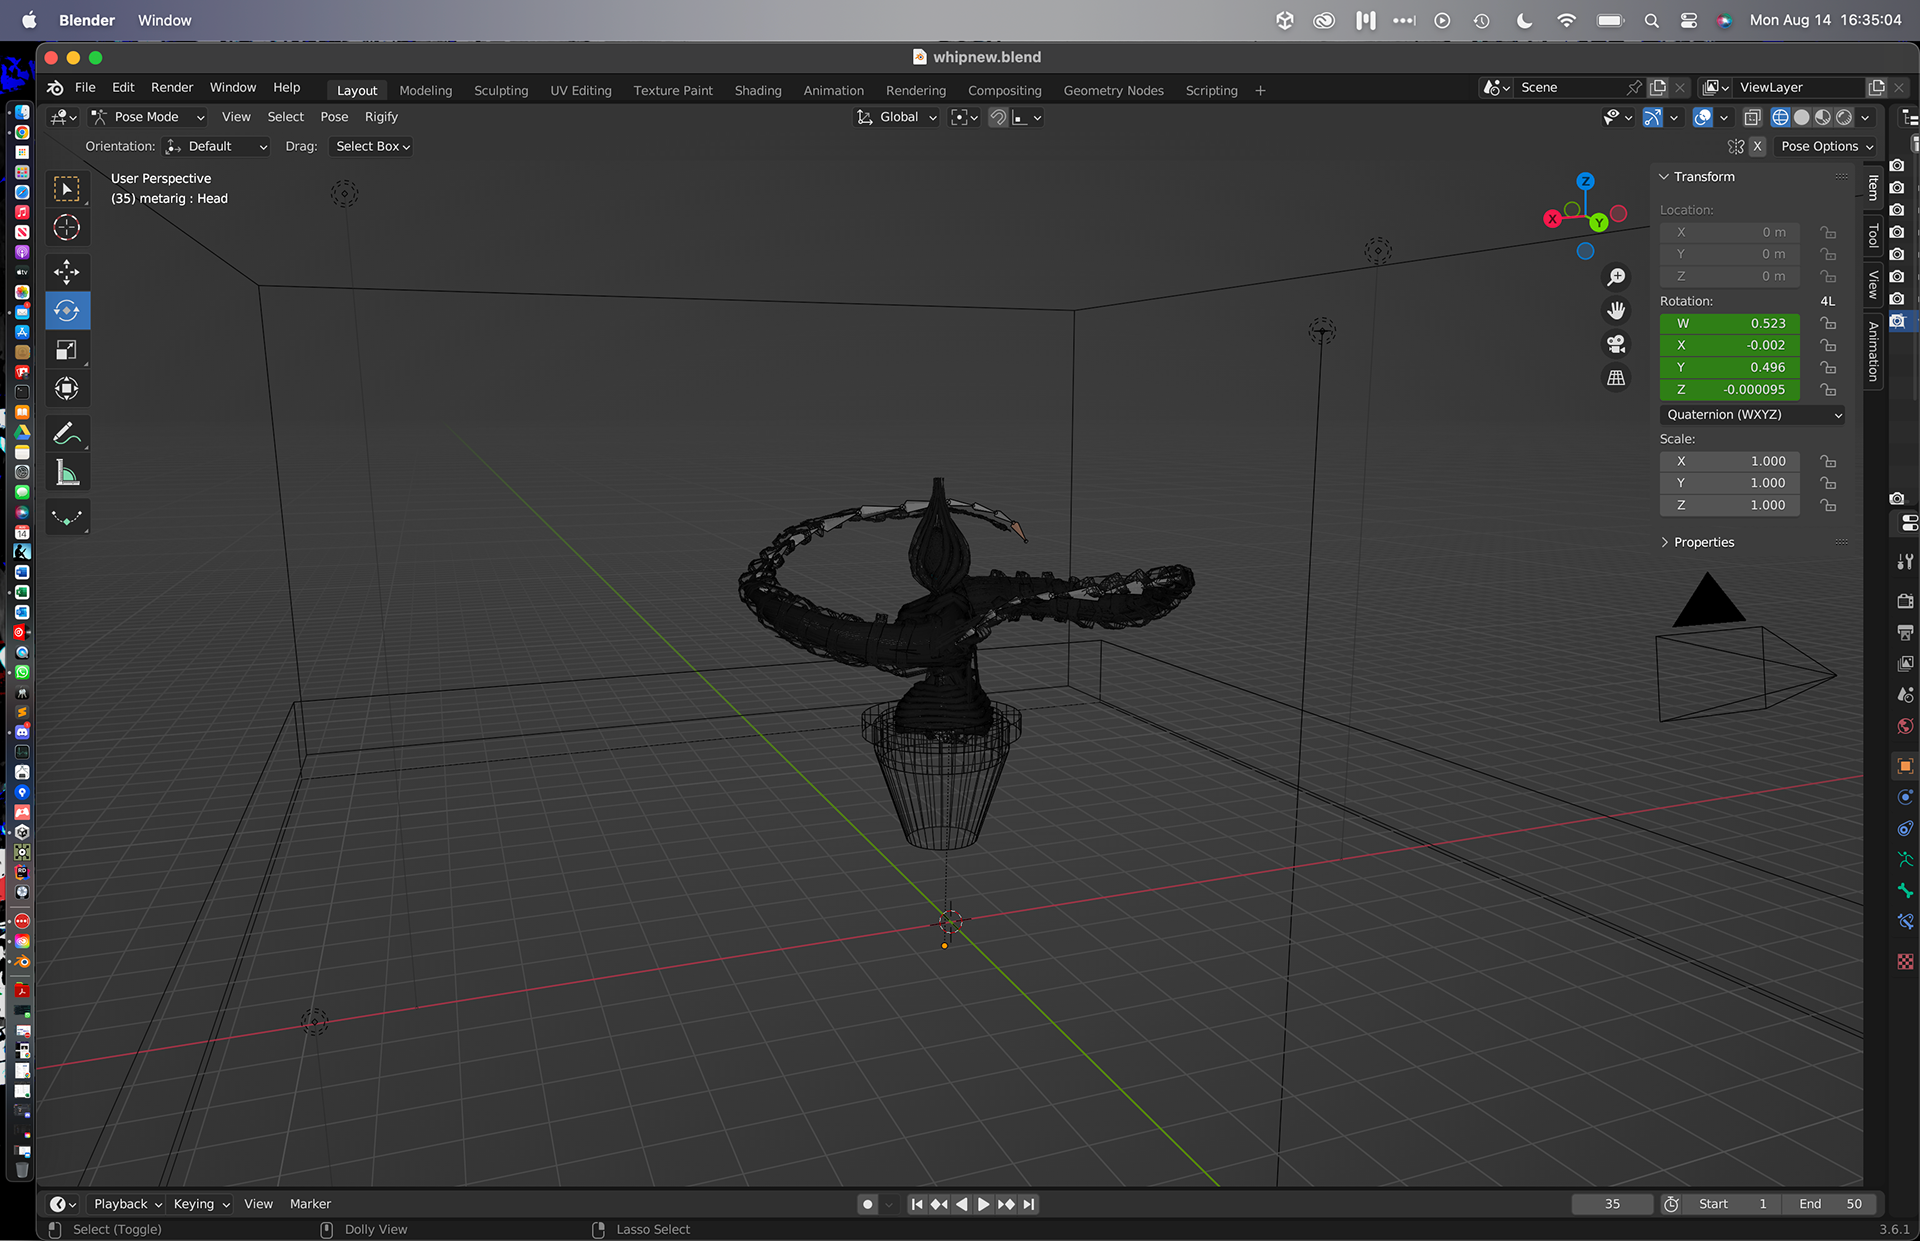
Model - Wireframe
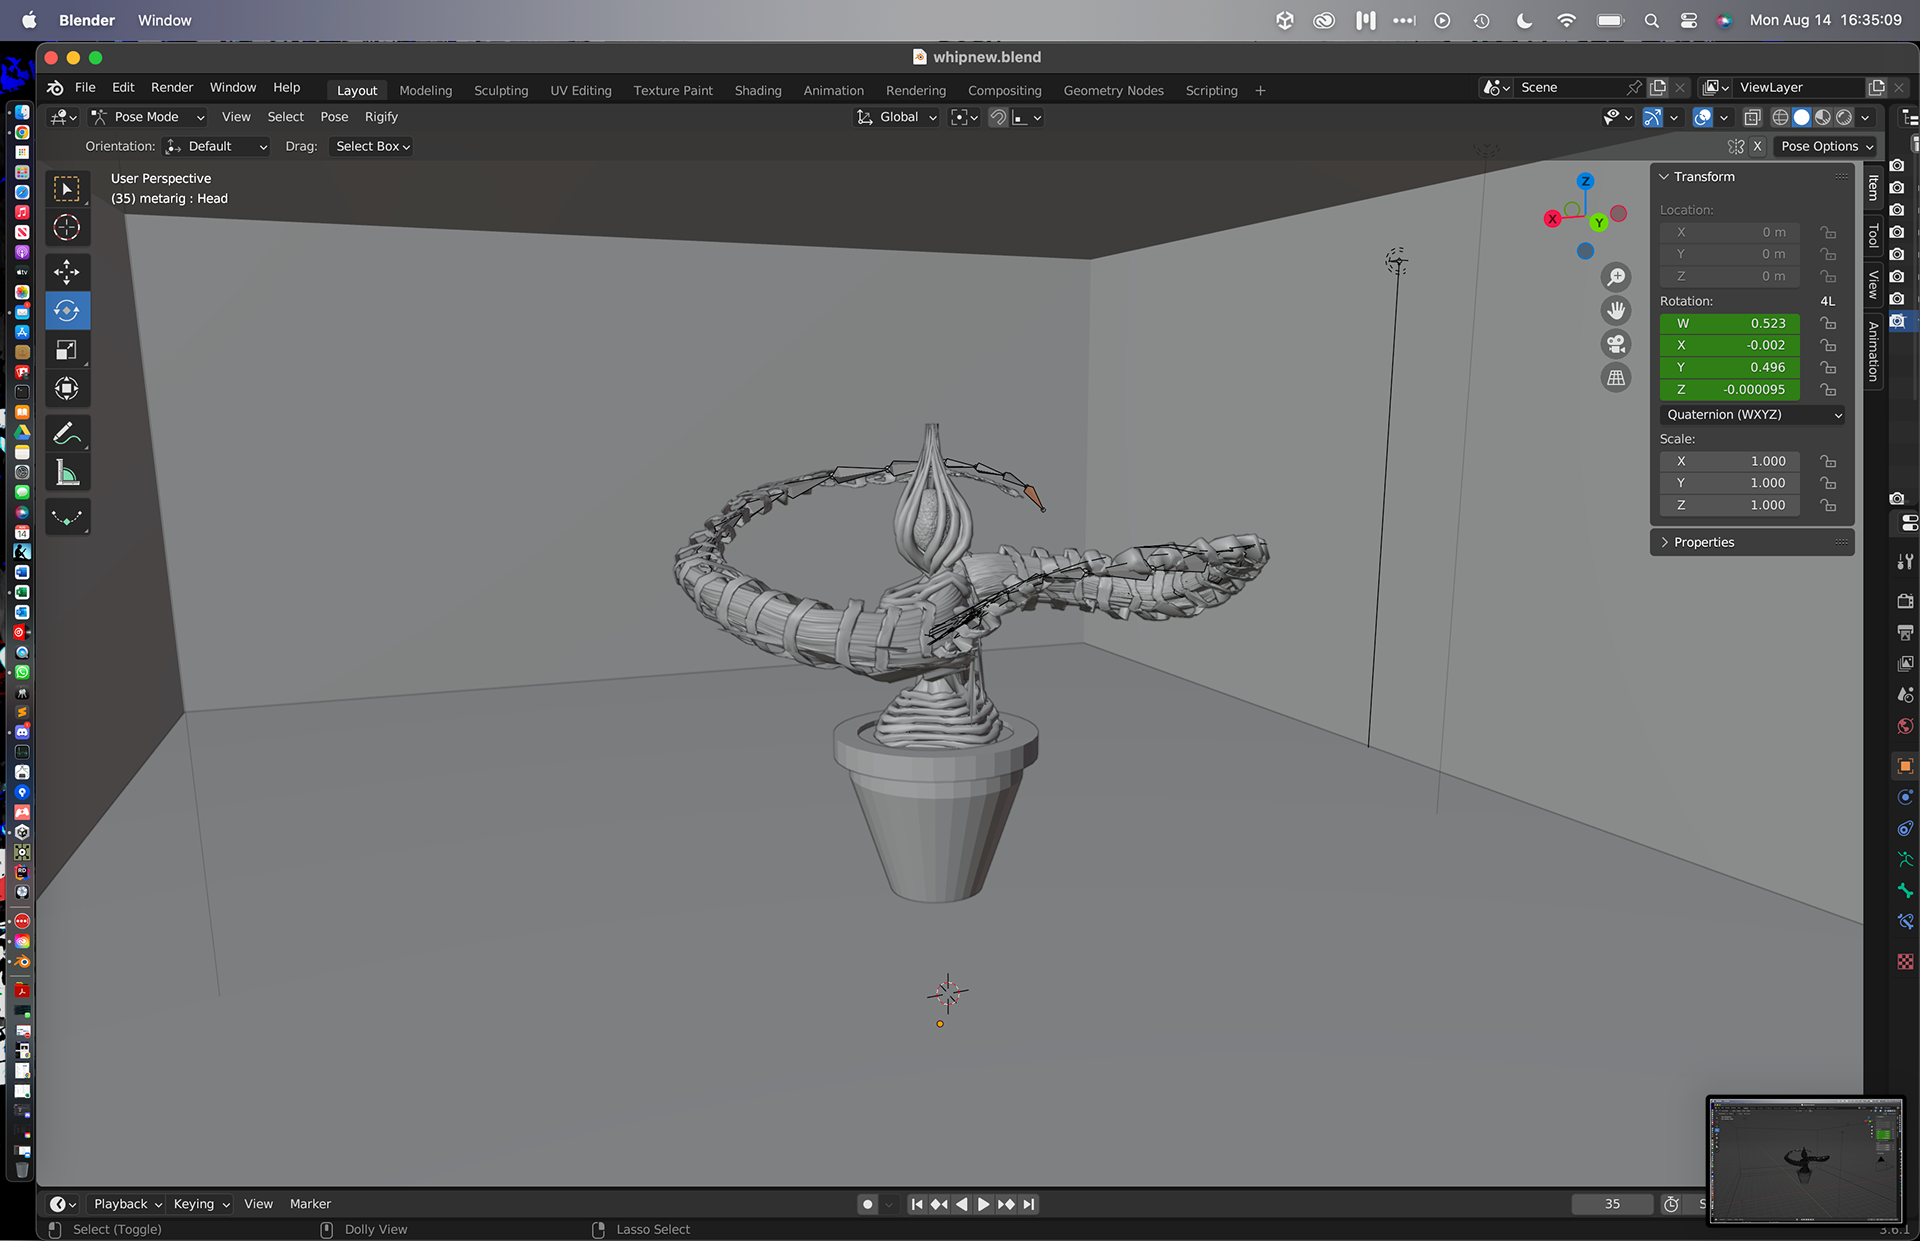
Model - Flat Shading

Model - Material Preview
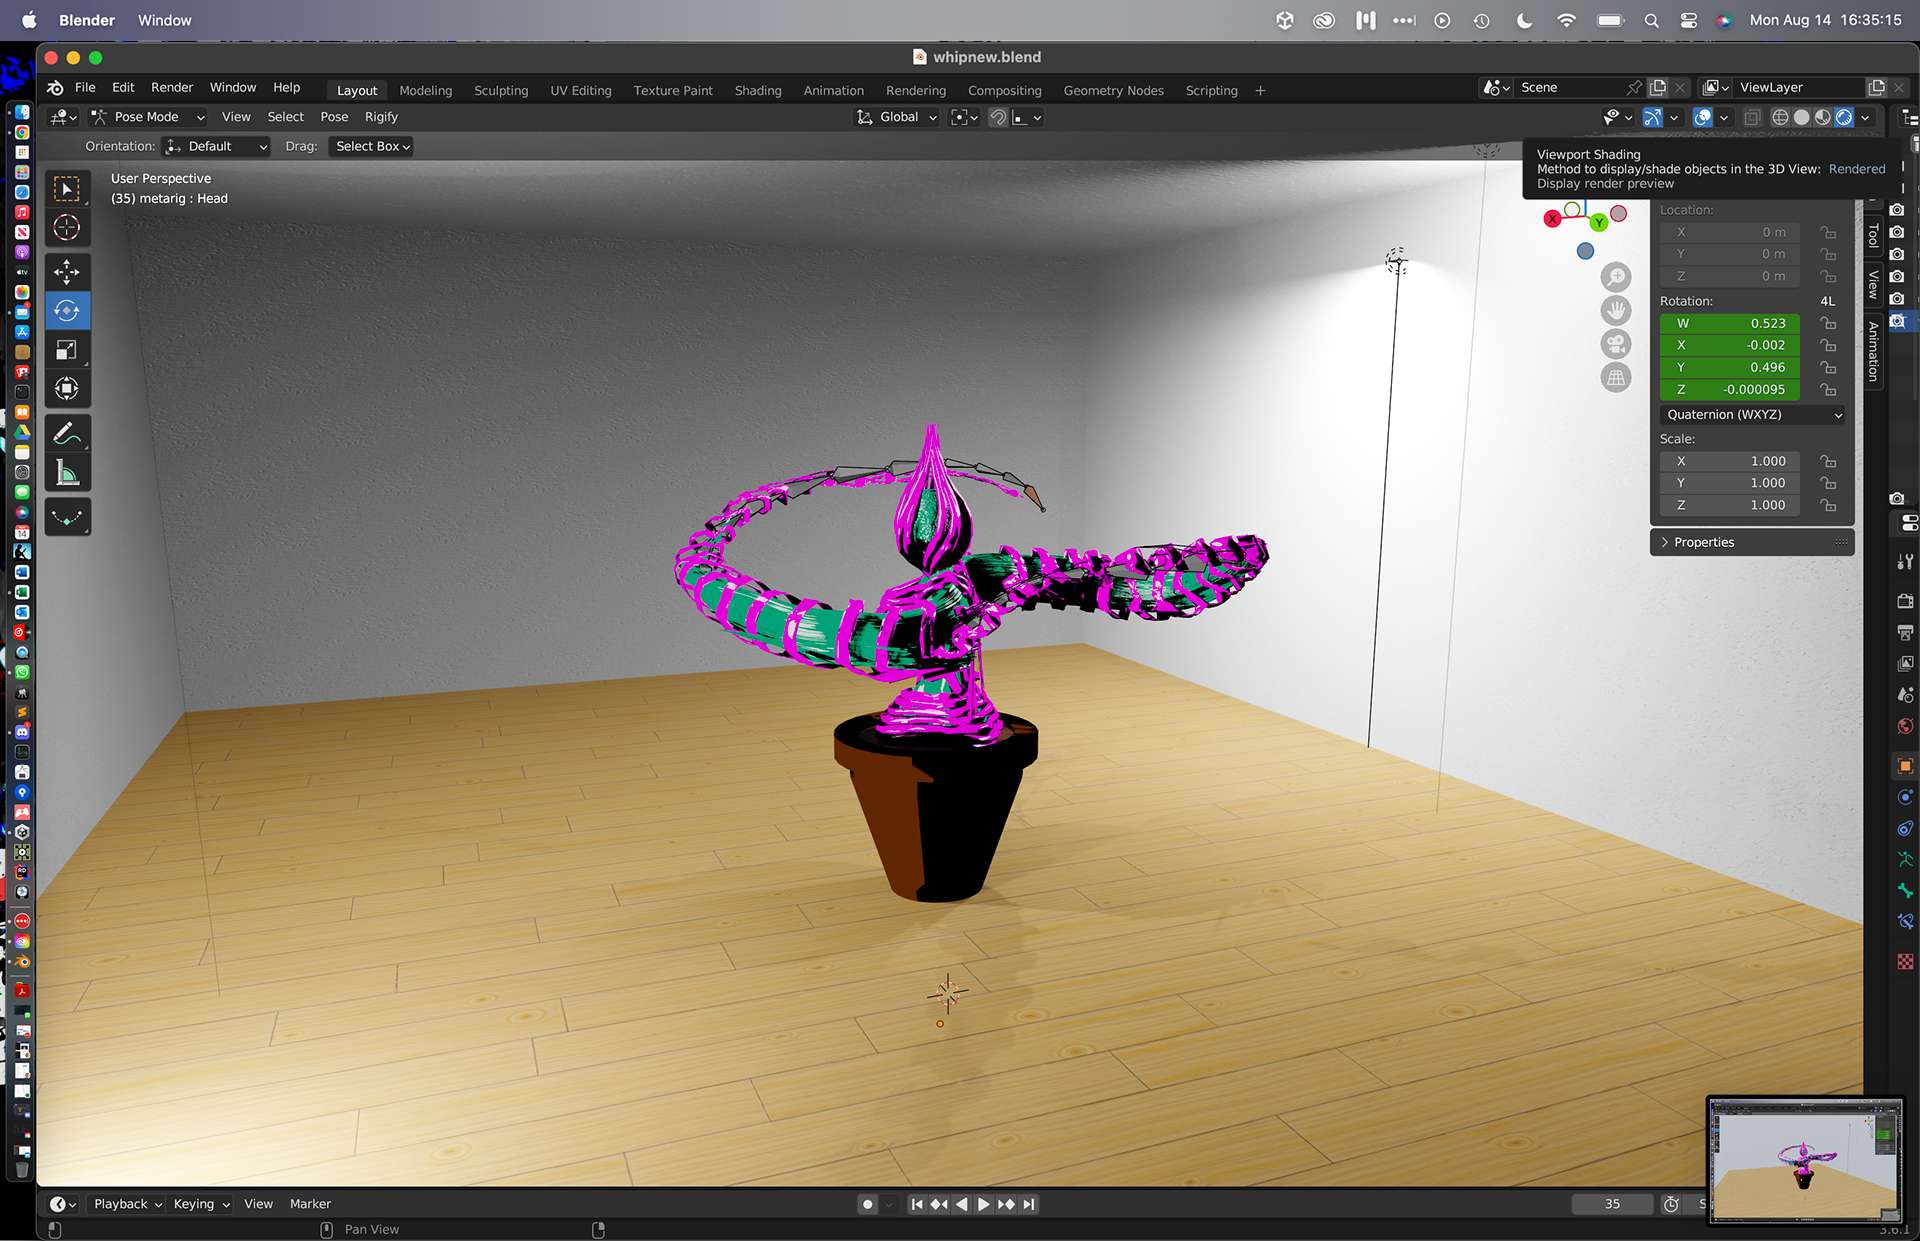
Model - Render Preview
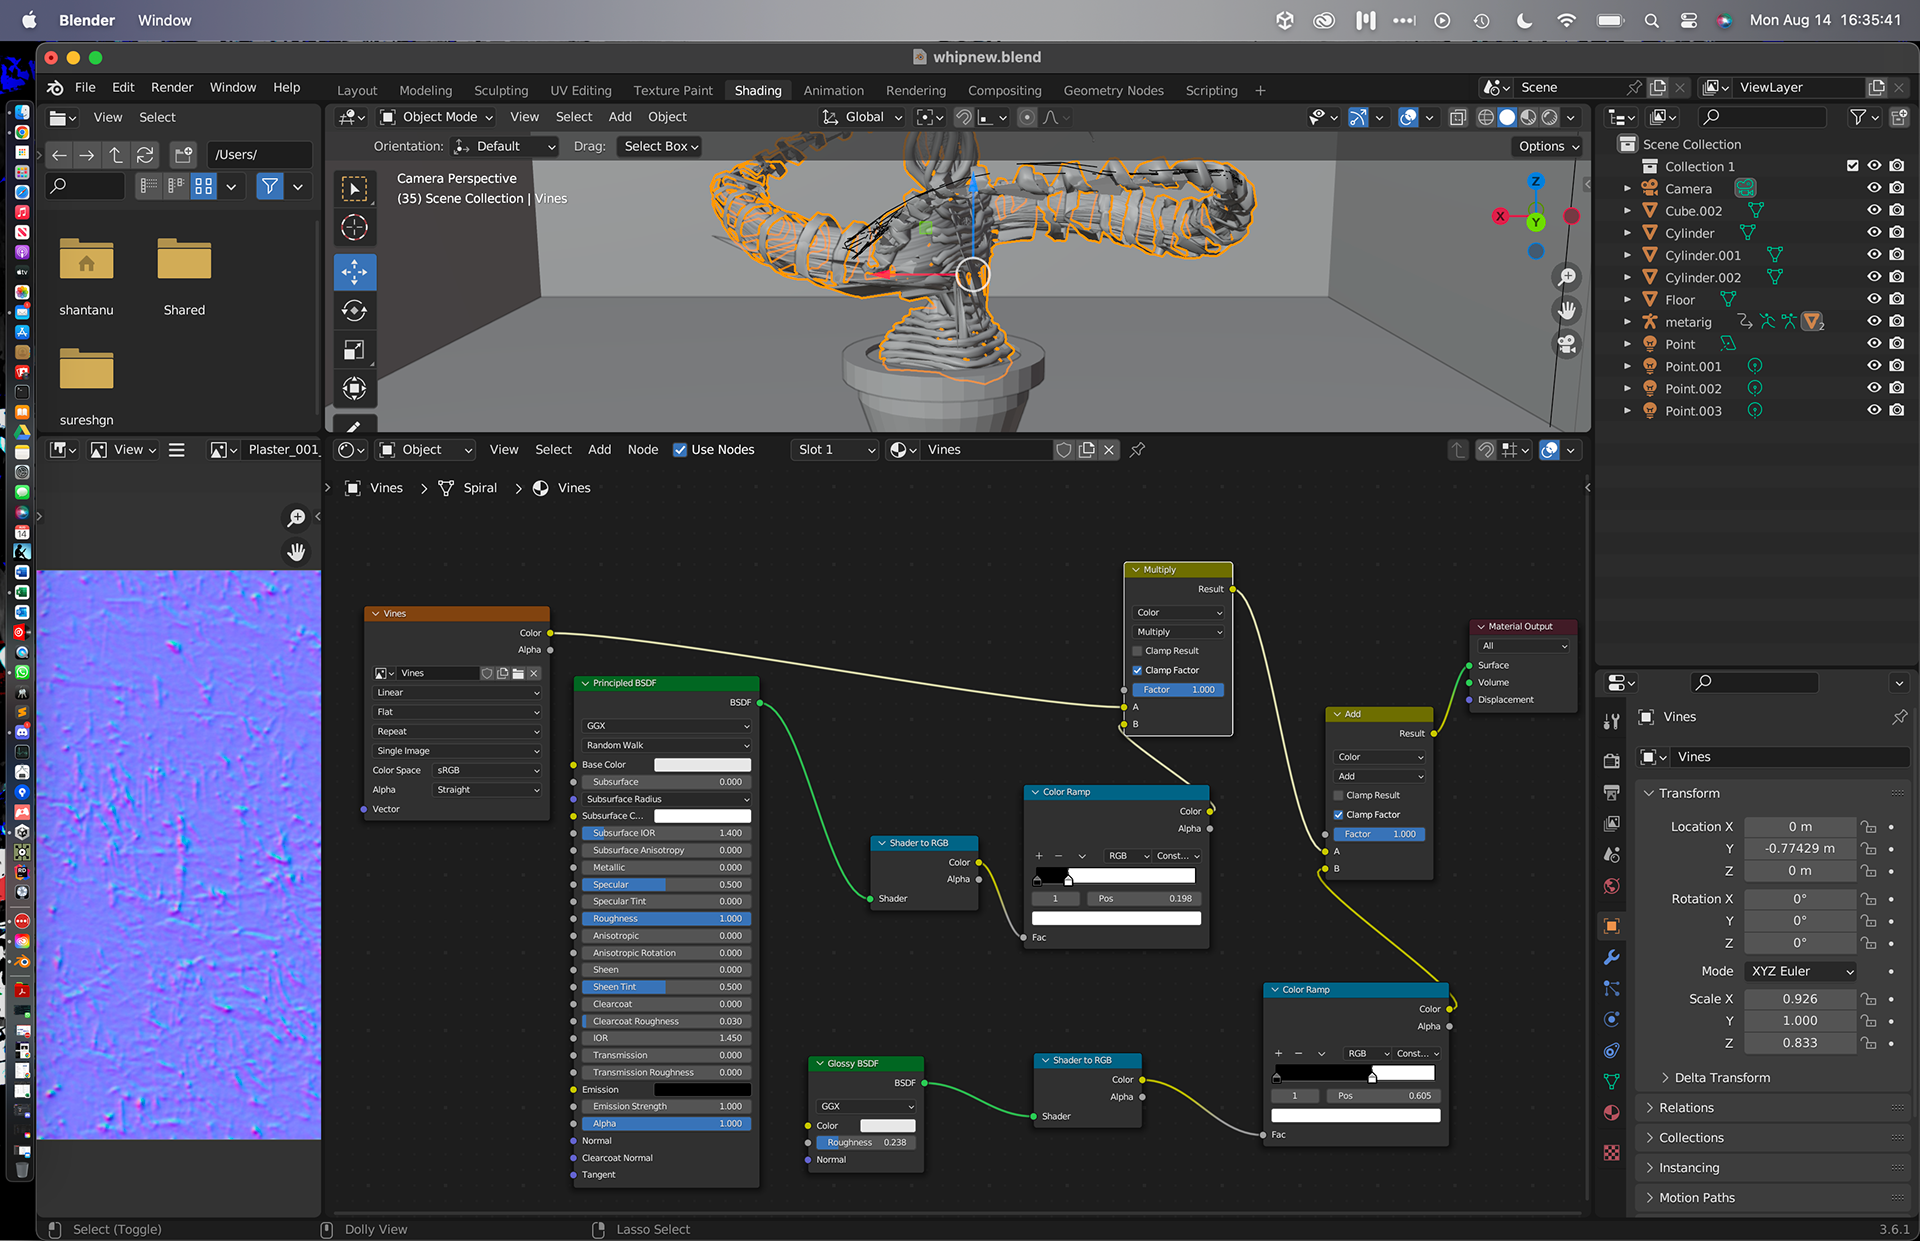
Shader for Weed
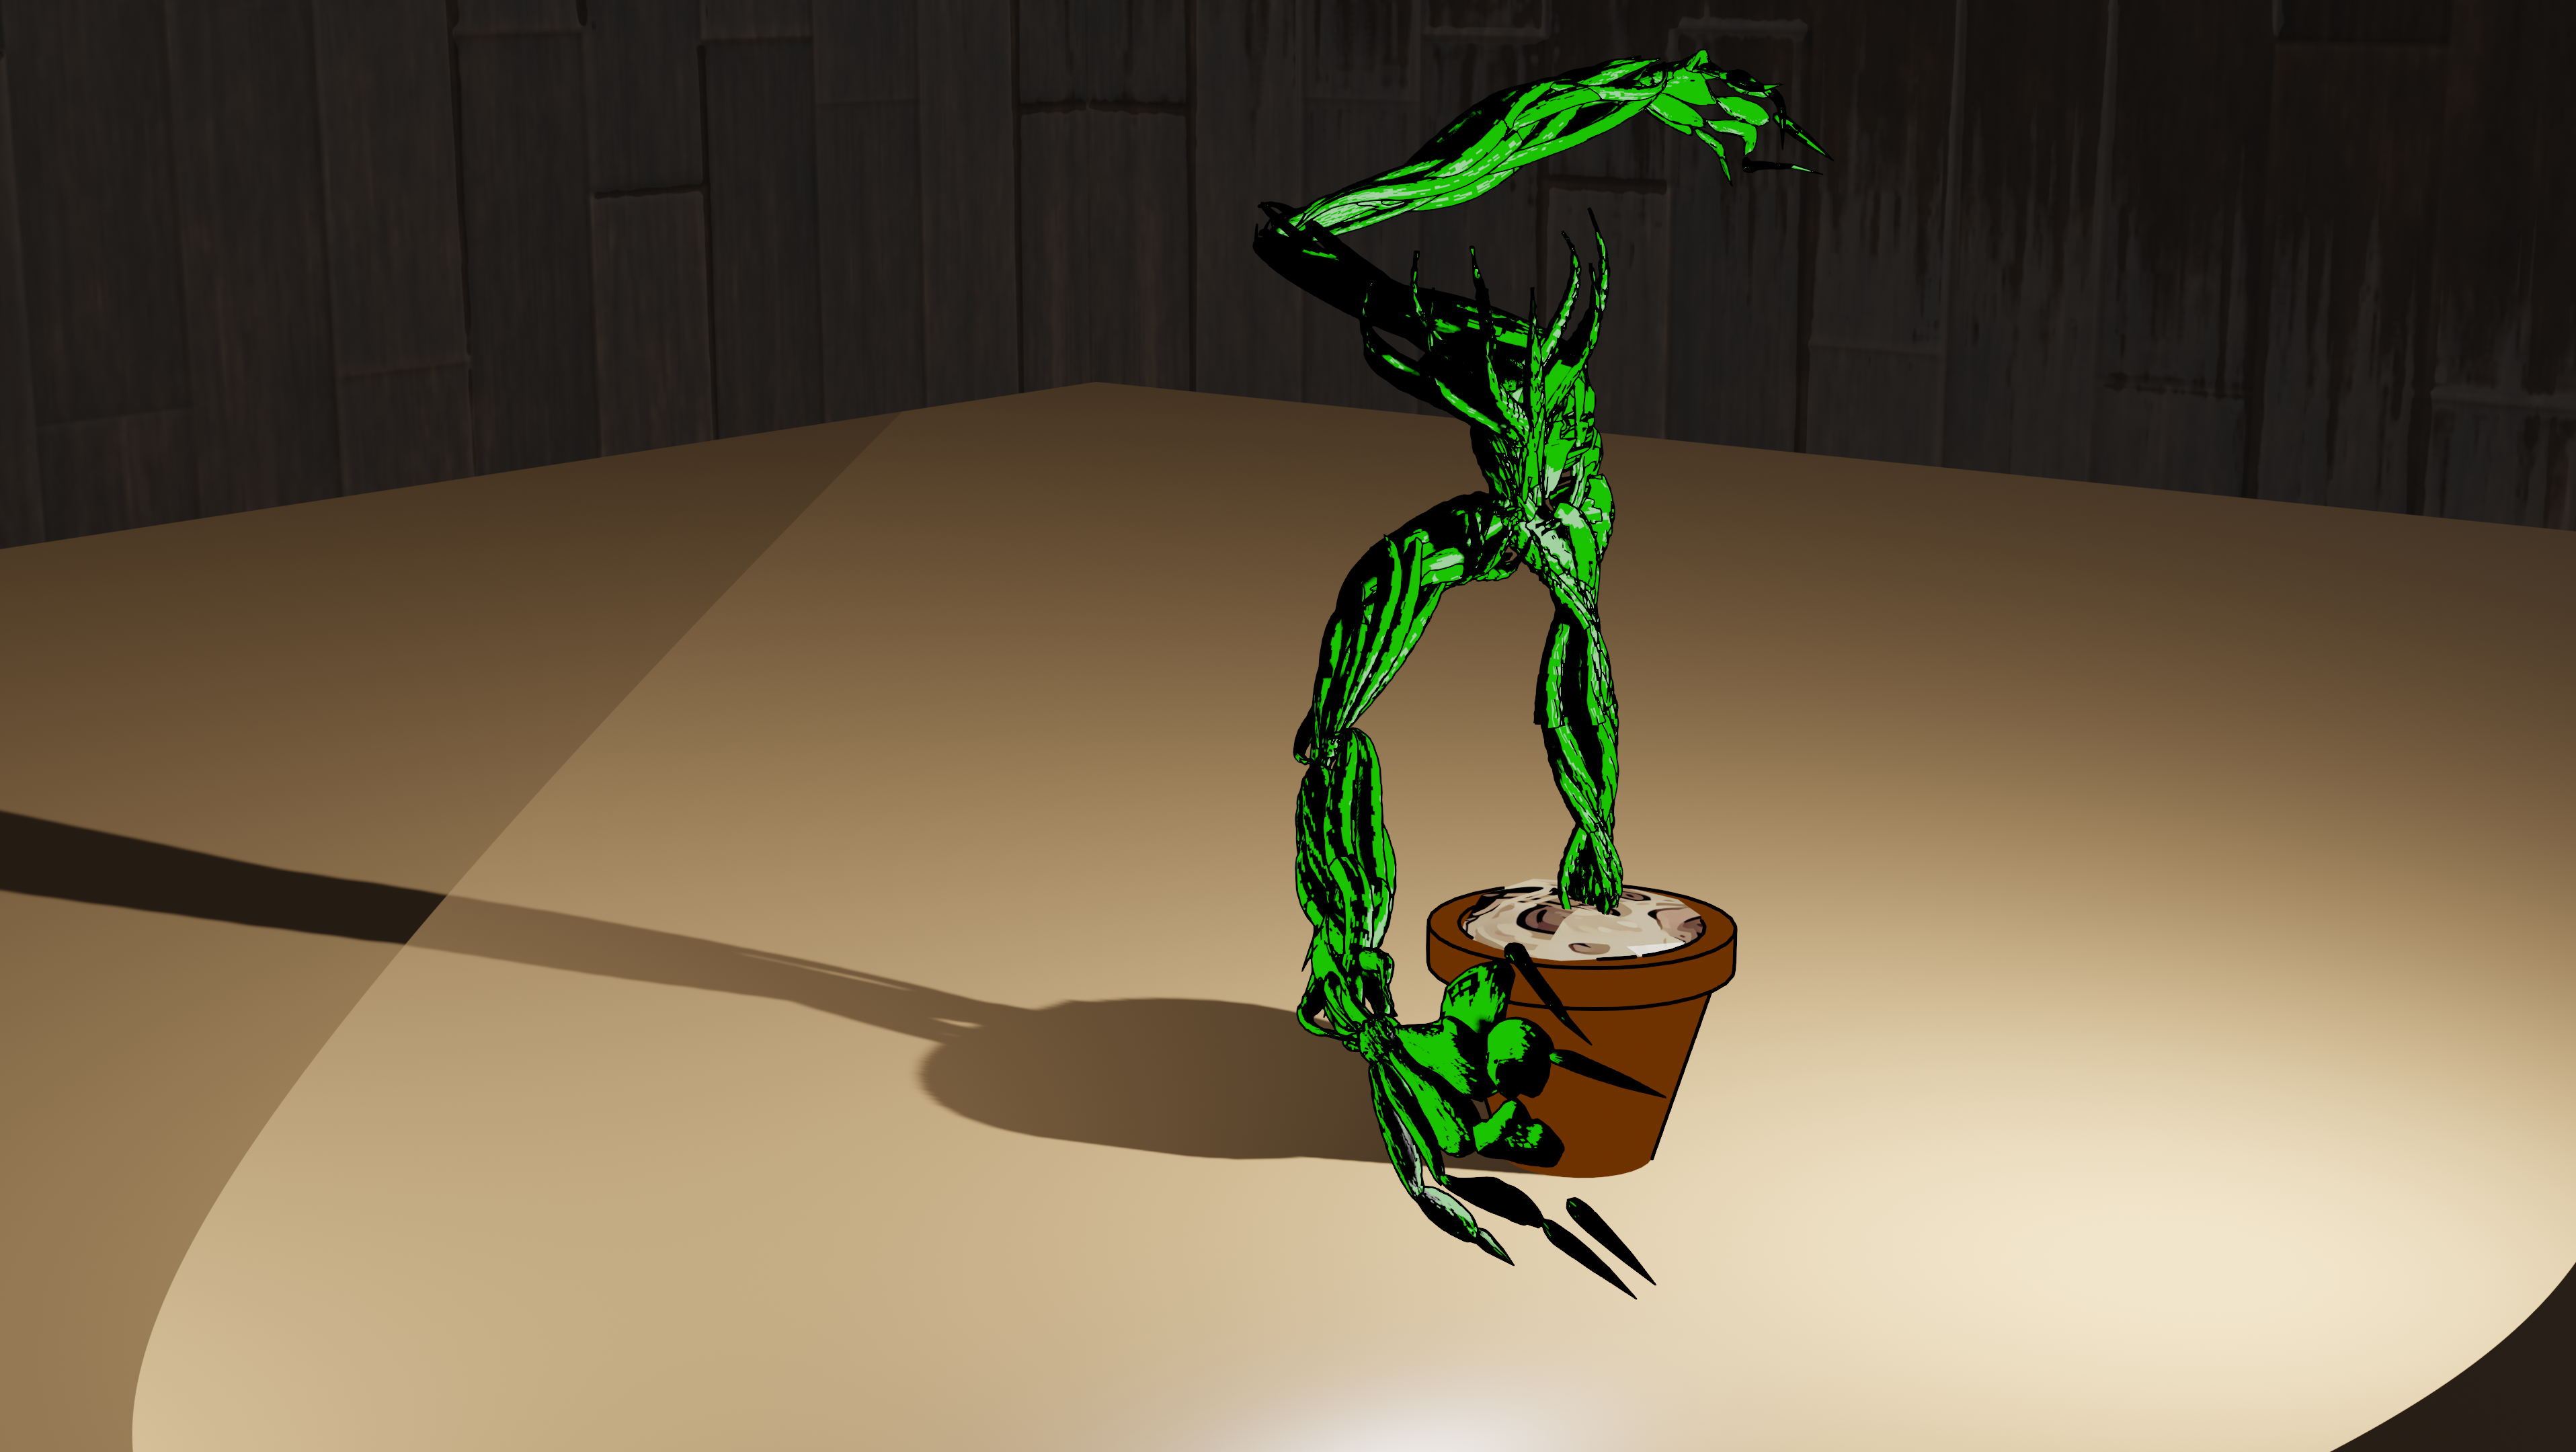
With the implementation in Unity complete, I went ahead to create an image render in Blender. I created a pot and a room for the character to be in. I made the walls out of marble and the floor out of wood. I replicated the Unity Toon shader in Blender for the plant and the pot, while the rest of the scene used the default Blender shader and textures downloaded from 3dtextures.me. I put the character in the middle of the attack animation. put the camera where I wanted it to be, and produced the result below.
