Draugrskrækr
One of the first franchises I got invested in of my own accord was 2005's "Ben 10". Even though I really enjoyed all the transformations, my favorite was always "Ghostfreak", a sample of an "Ectonurite" from the planet Anur Phaetos. I enjoyed the transformation so much that even my parents remember how disheartened I was that Ben loses access to him in the second season of the show. Given how I really enjoy the character and I was in the mood to make something I can finish relatively quickly, I started making this. However, it went from being a project I intended to finish fast to a project I got to have a lot of fun experimenting with.
I started this project by sculpting the character. My experience with sculpting some of the monsters in "Smokin' Weeds" made me very comfortable in making this. Similarly to all my other models based on existing characters, my main goal was to make the model look as close as possible to the source material without compromise. I wanted Ghostfreak to look like a high-quality action figure from the show.
Reference material was fairly easy to find given how popular this show was. I was able to find a full turnaround of the character and immediately start modeling.
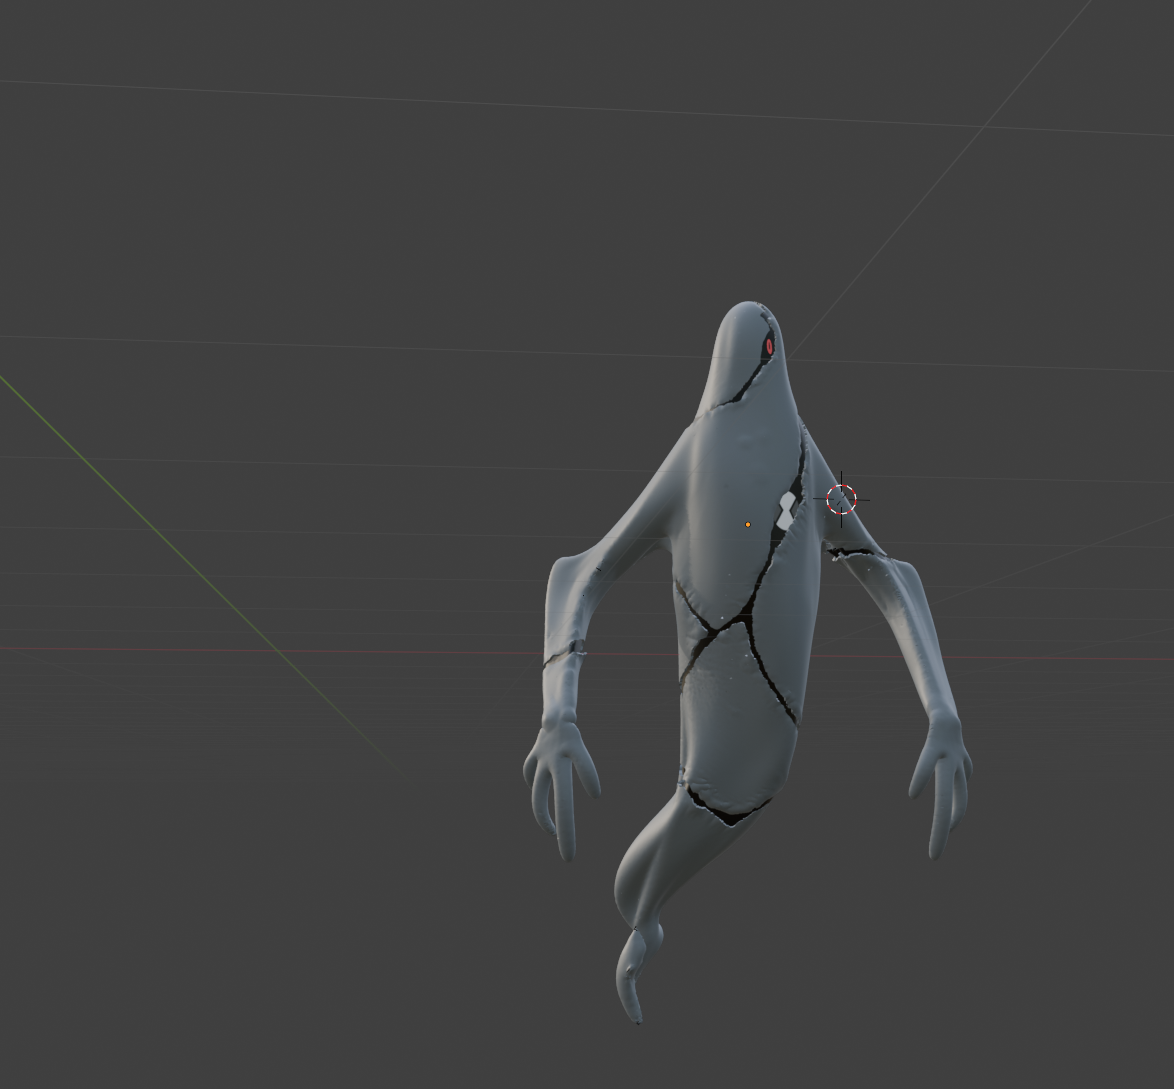
Unlike most of the other models and characters I have made, this character was designed to look like a single curve or stroke. A lot of his movements in the show involve him moving his entire body. Since his body was one long stroke. sculpting it was very straightforward.
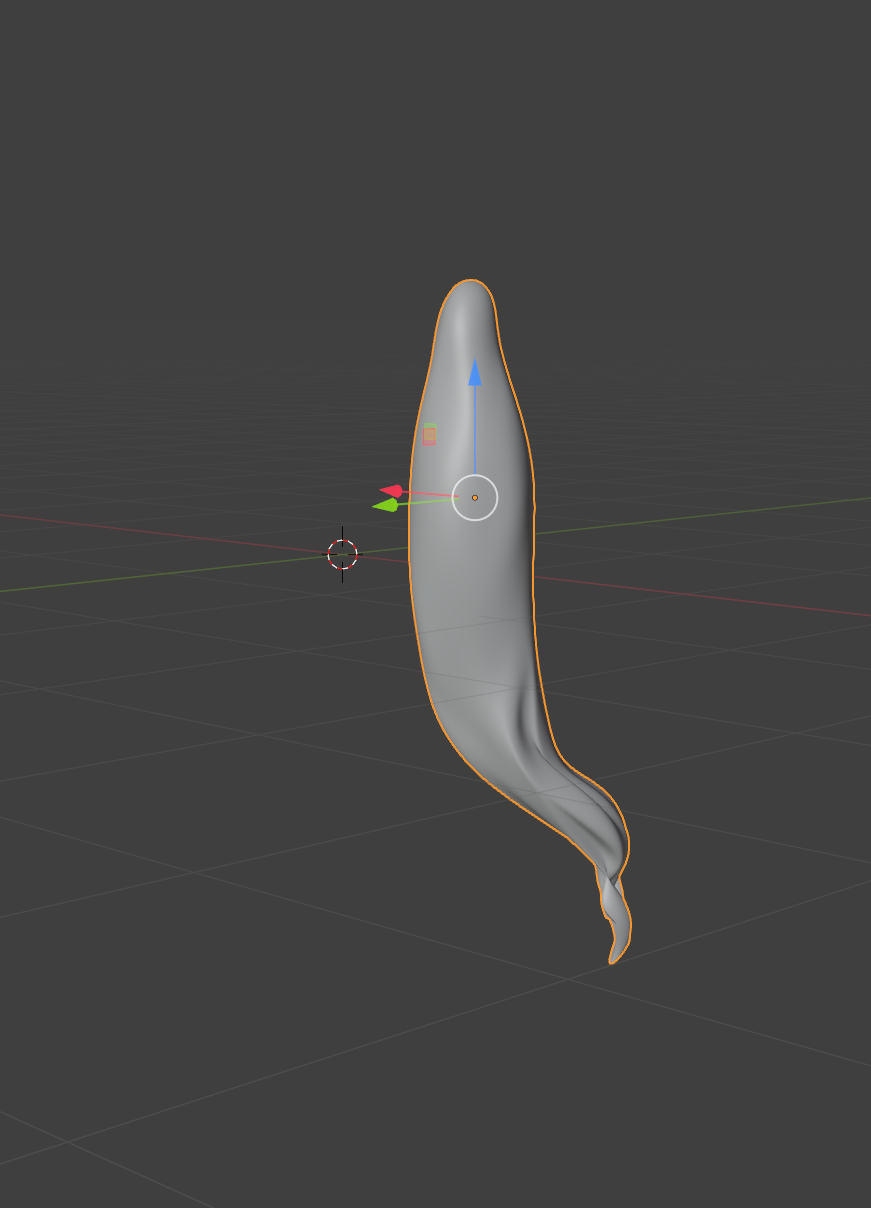
Body sculpting
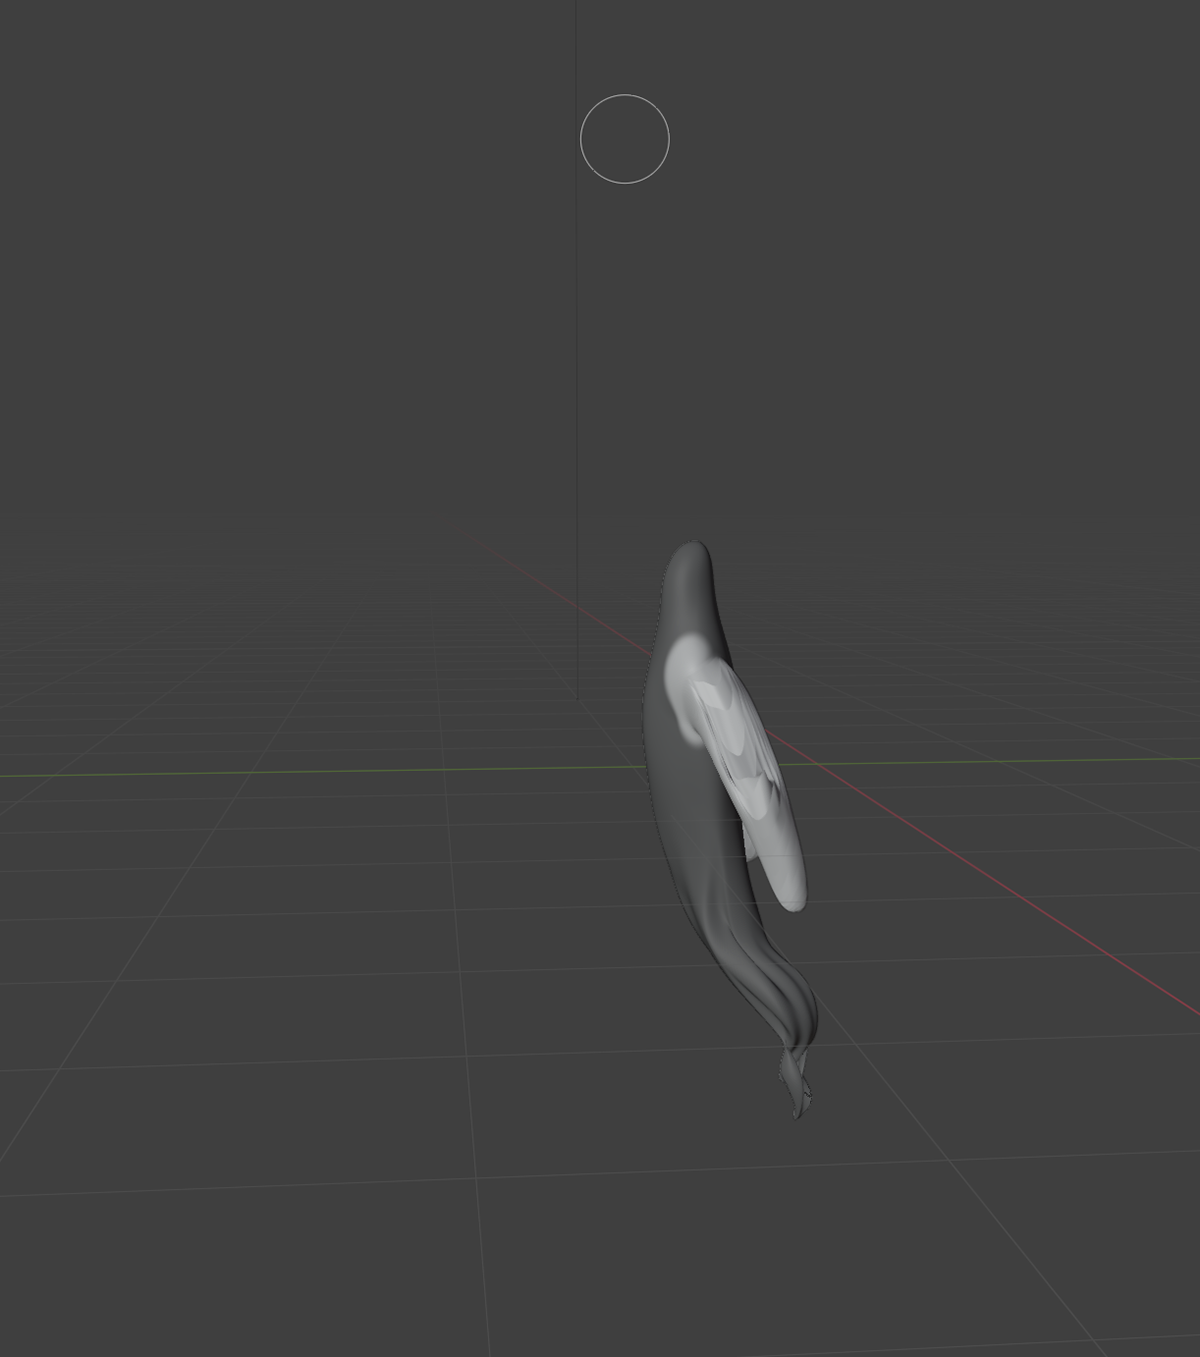
Initial Arm Sculpting
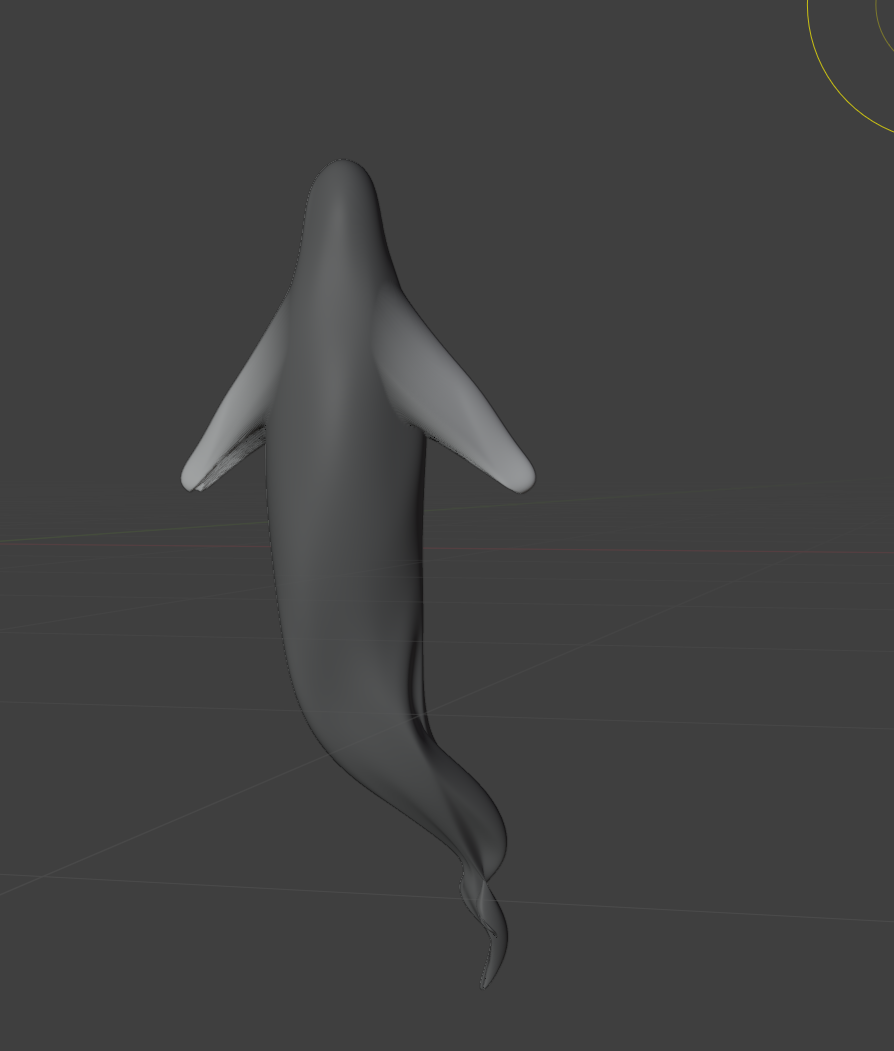
Arm Sculpt Retry
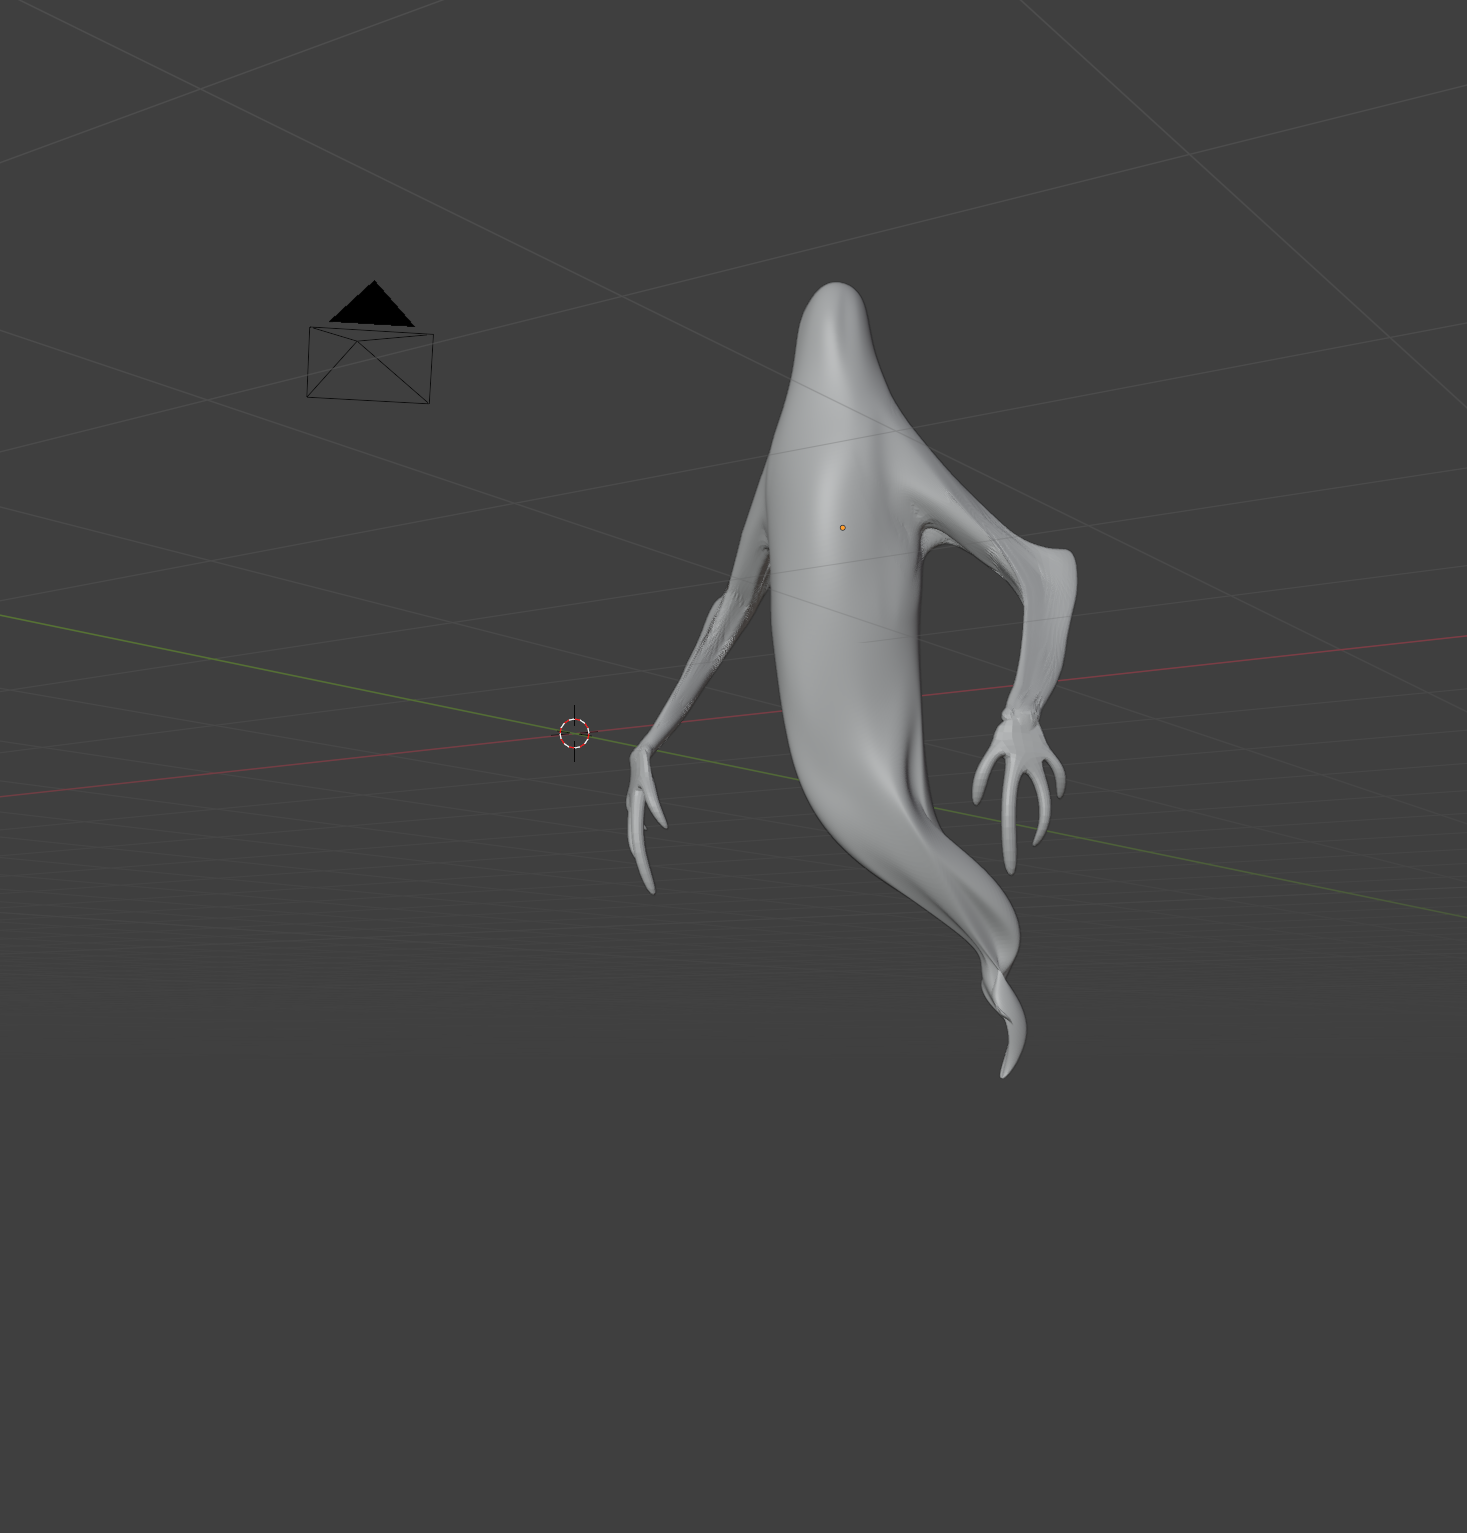
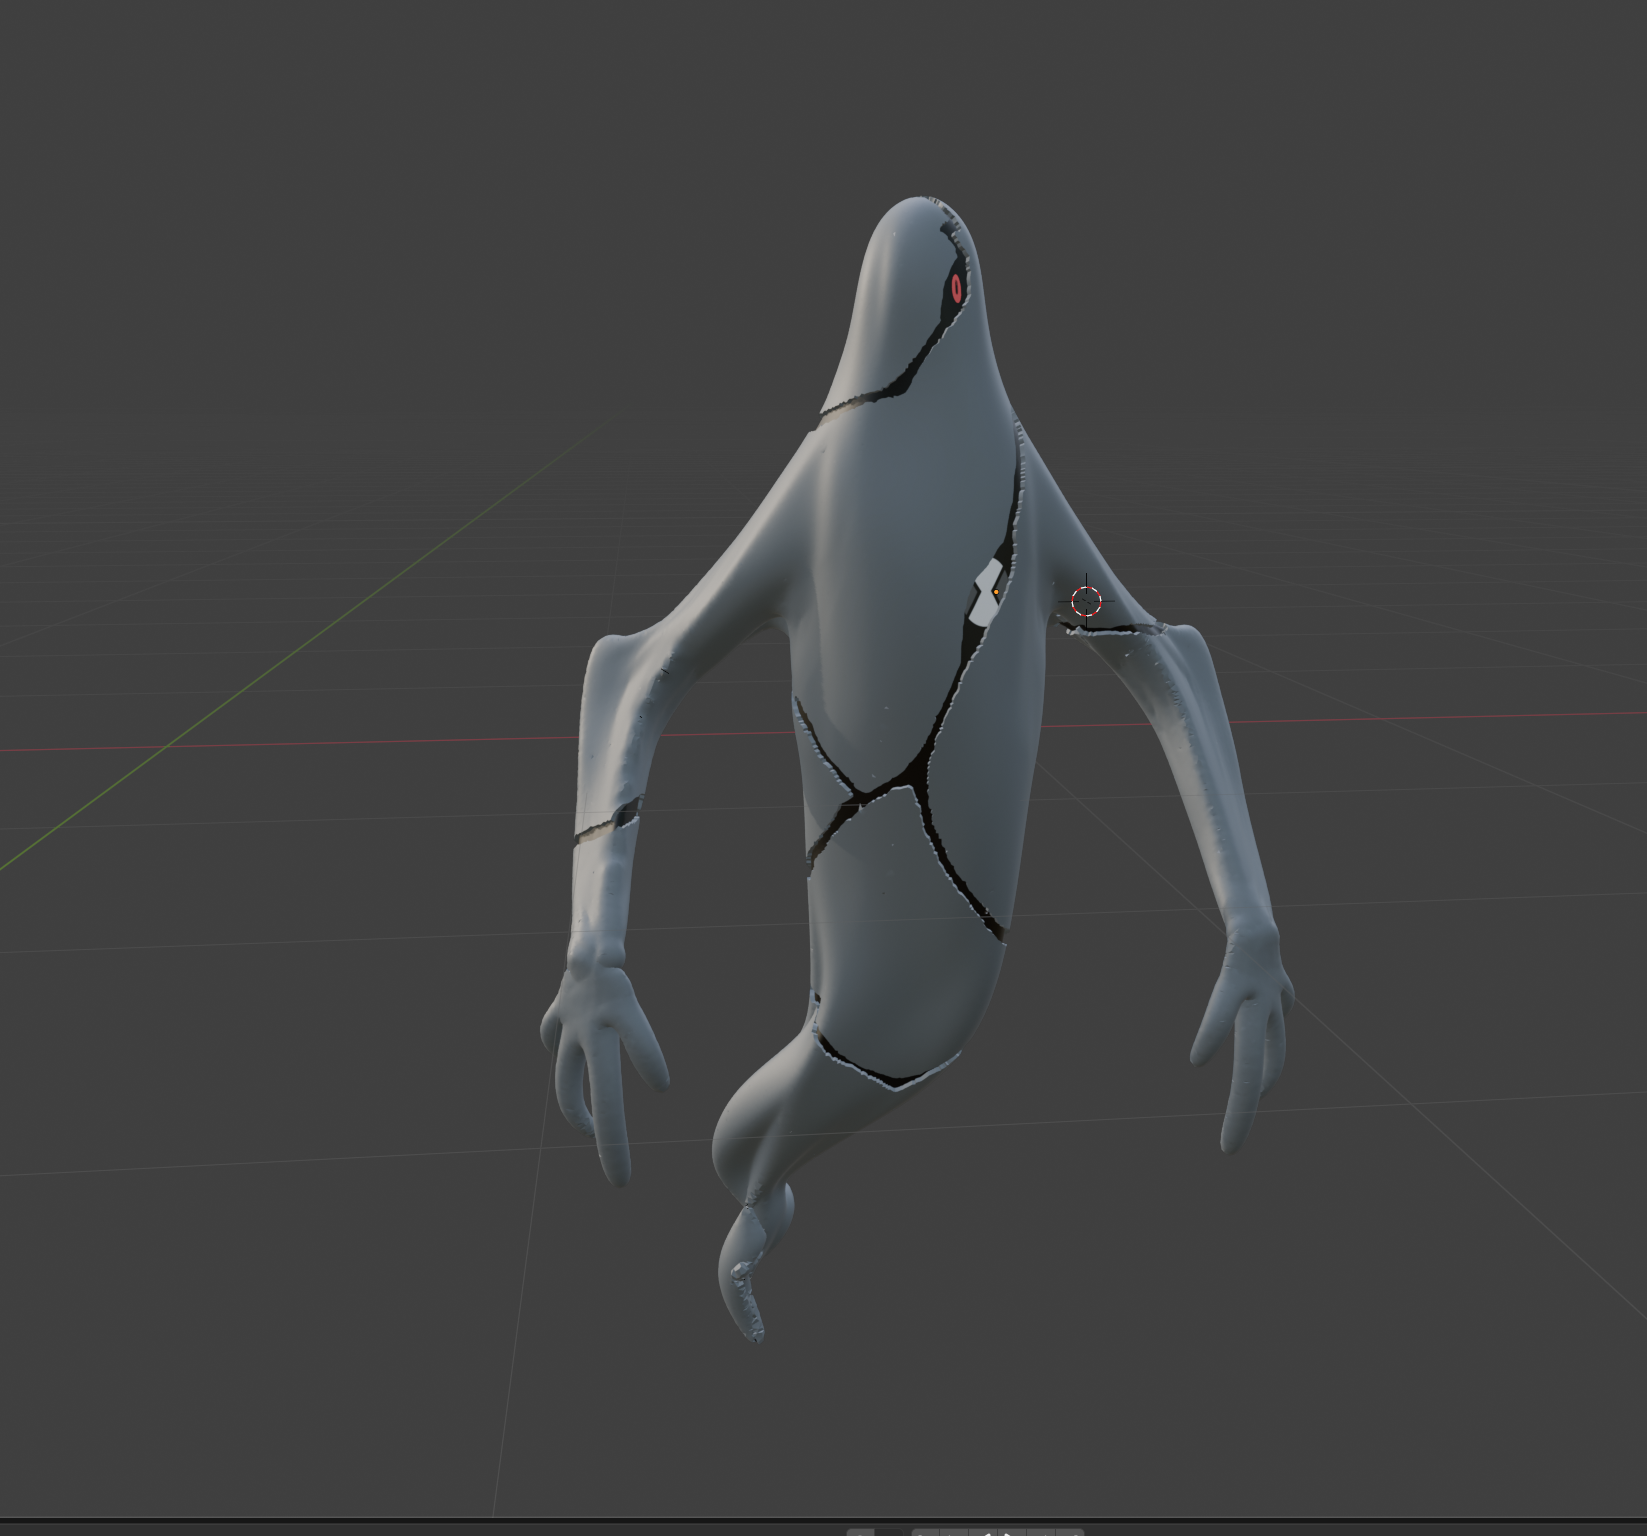
Final Arms with Hands- Shape Sculpt Complete
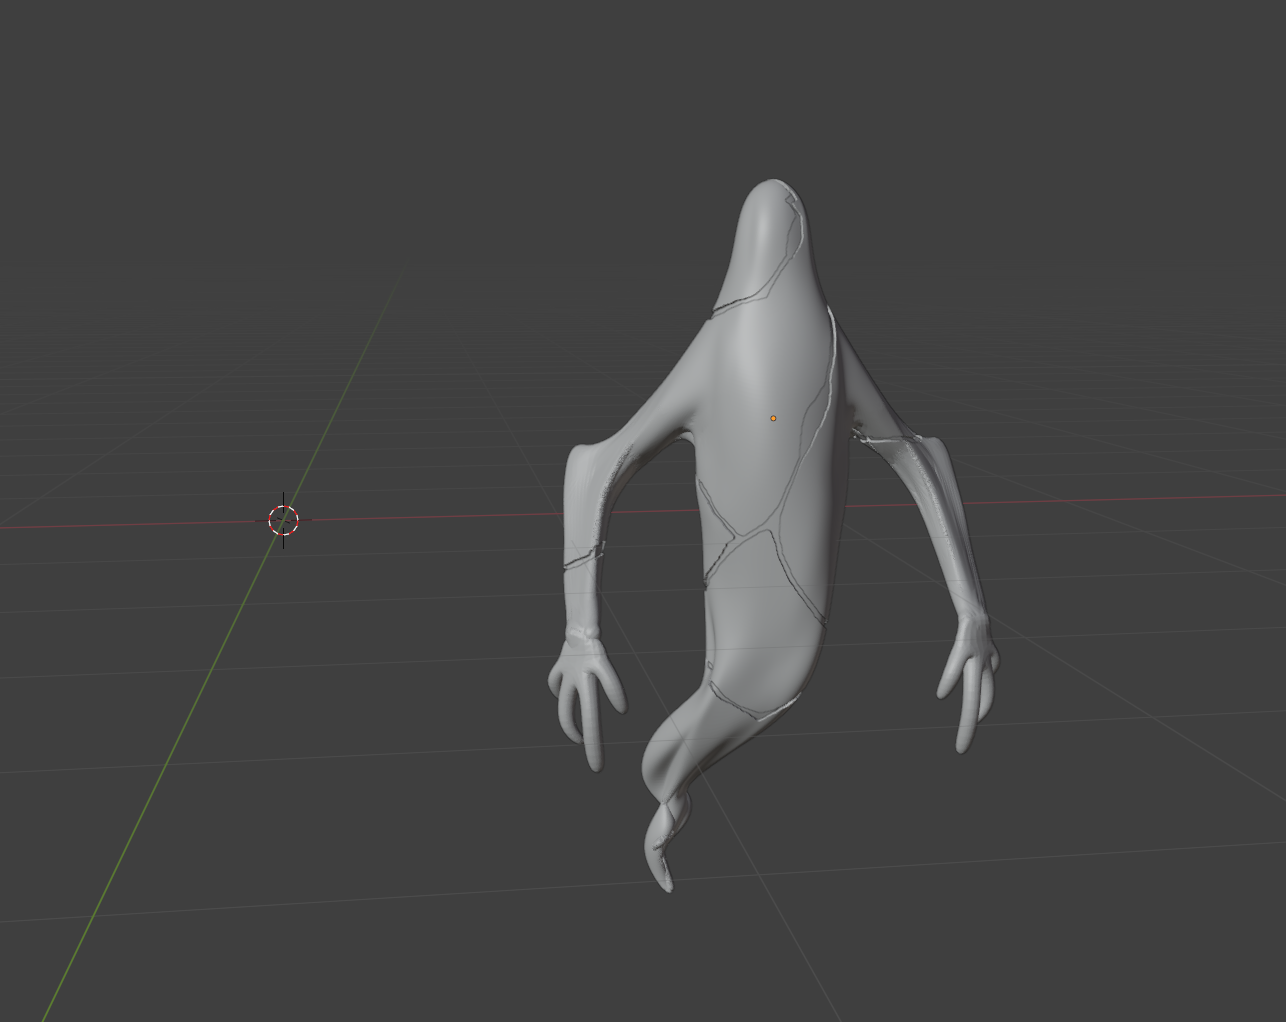
Creating etch lines
The arms and hands were a bit more of a challenge to sculpt, particularly the hands. I initially tried to sculpt both but there wasn't enough geometry to make that work. I opted to increase the level of detail and try again, which worked out well for the arms.
The hands were more of a challenge, I was having a hard time making them extensions of the arm, so I looked up a tutorial on how others modeled this character for inspiration. I settled on modeling the hands separately from the body using subdivision surface. I merged them back with the arms and just smoothed everything in between to make it seamless. This completed the main silhouette.
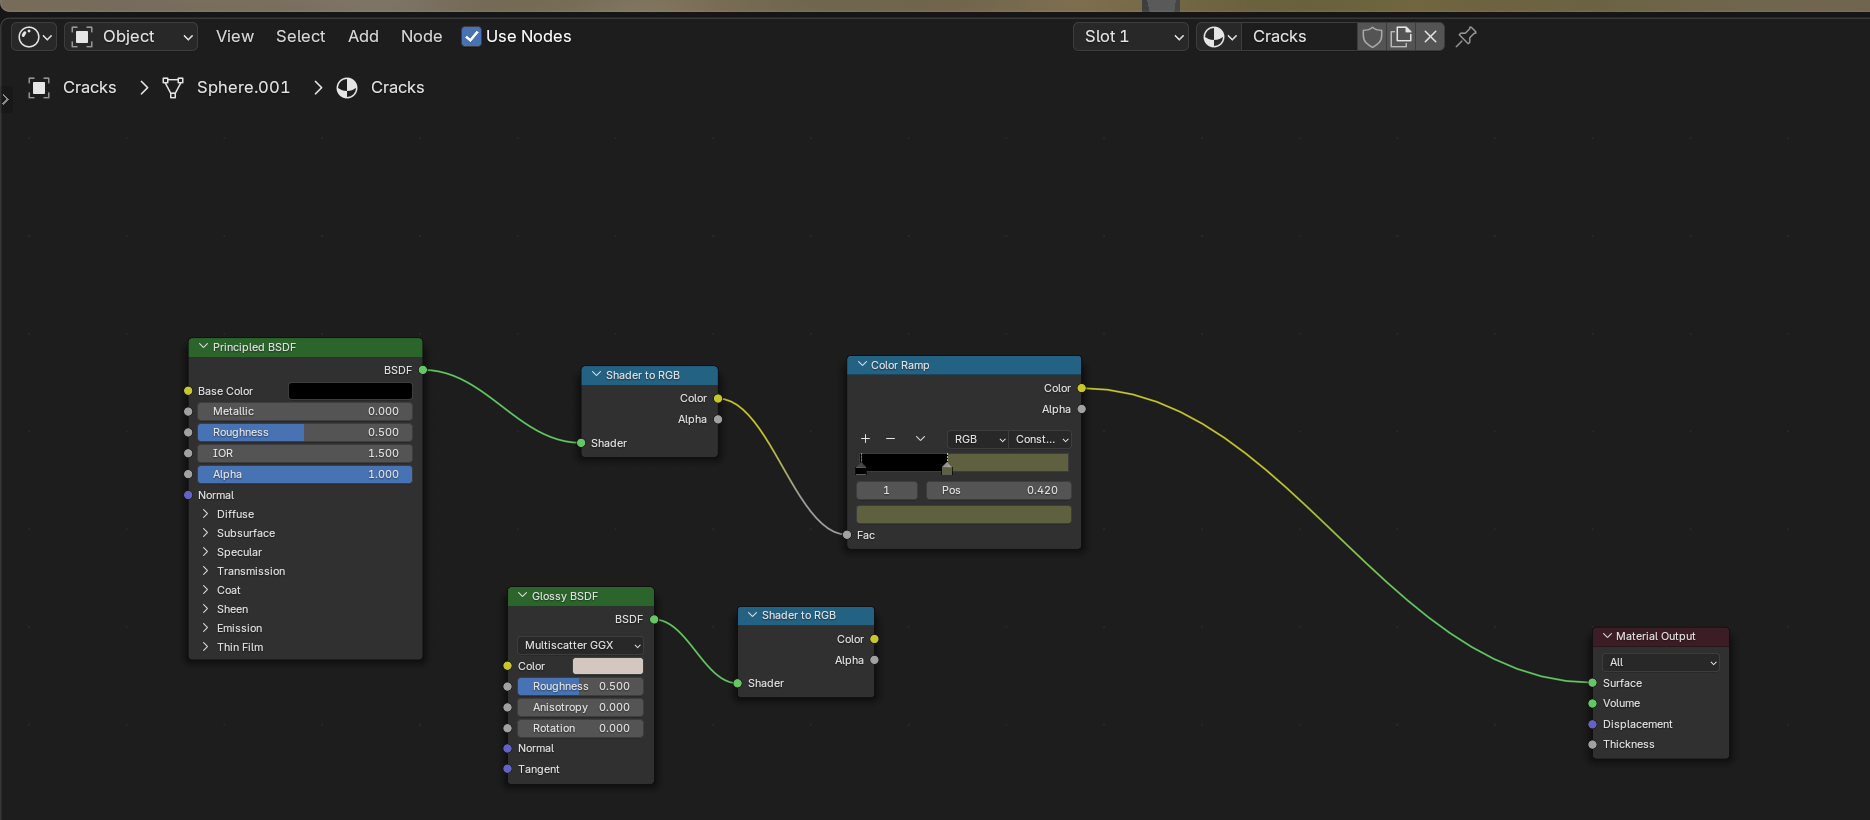
Following this, I started to make the cracks, which I wanted to be engraved beyond his skin. I traced out the lines in a sculpture using a mask. The back was a bit of a challenge because the reference material doesn't have a direct shot of Ghostfreak's back, so I did a close enough approximation, removing any stray lines to ensure there are no problems. I then did a mask extract and that created the underlying mesh to use for the lines.
I intended to make both the rig and materials in conjunction, but because I wanted to solidify the look for this character, I chose to approach the materials first. Of all the models I have made so far, this character has had the most straightforward materials, because of that, I actually wanted to be a bit more adventurous when it came to the colors. The first version of this character just had simple flat shading.
The next step I attempted was to create the logo for the Omnitrix. This was actually a bit of a challenge as I wasn't completely certain of the best way to go about it, my initial version was to use a shrinkwrapped cylinder and then put a texture over that. This didn't work because the shrinkwrap didn't come out correctly. I tried to model the logo and that didn't work. I then created a dedicated UV map for the logo on the shader for the cracks and just adjusted it until I found a good spot for it.
I then added some additional creases to make the lines more jagged and make it seem like the skin was frayed or stitched on.
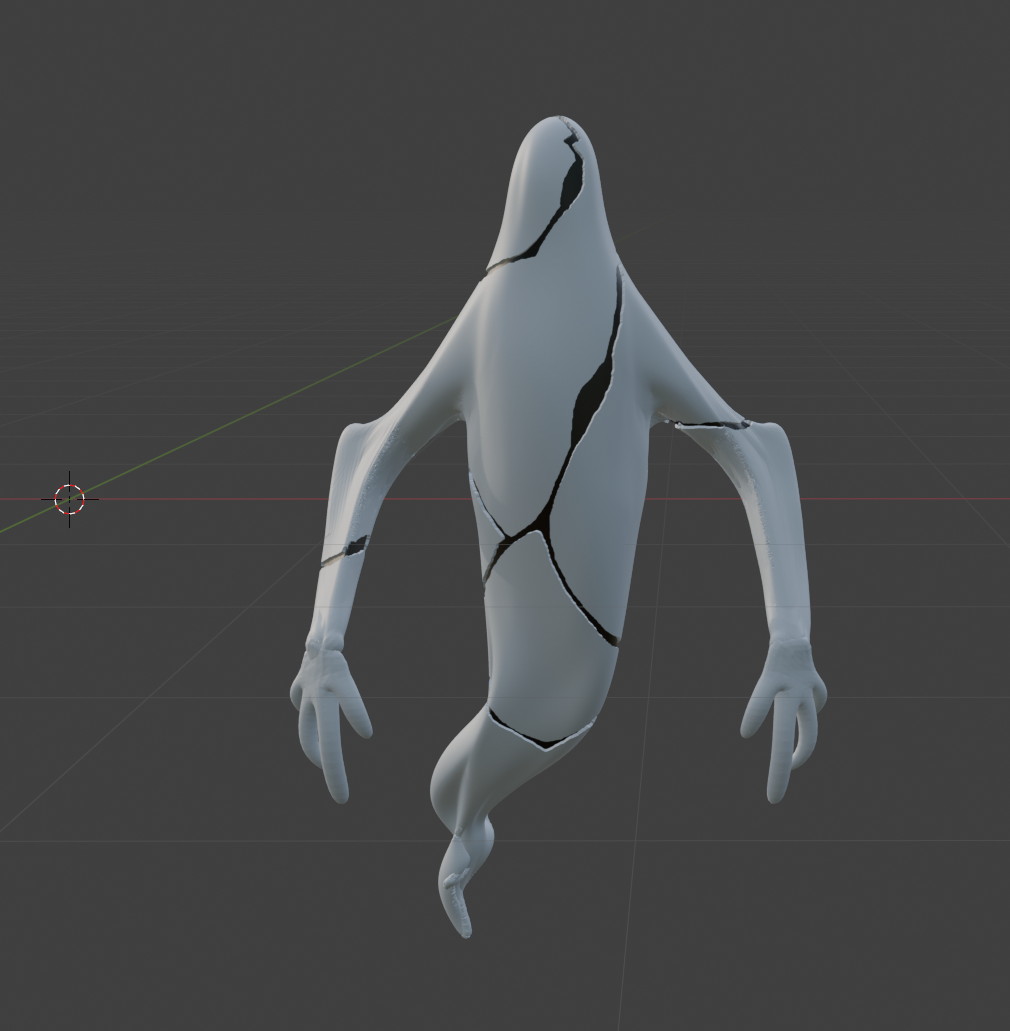
Outlines and unshaded materialds
First eye with outline
First eye and initial omnitrix
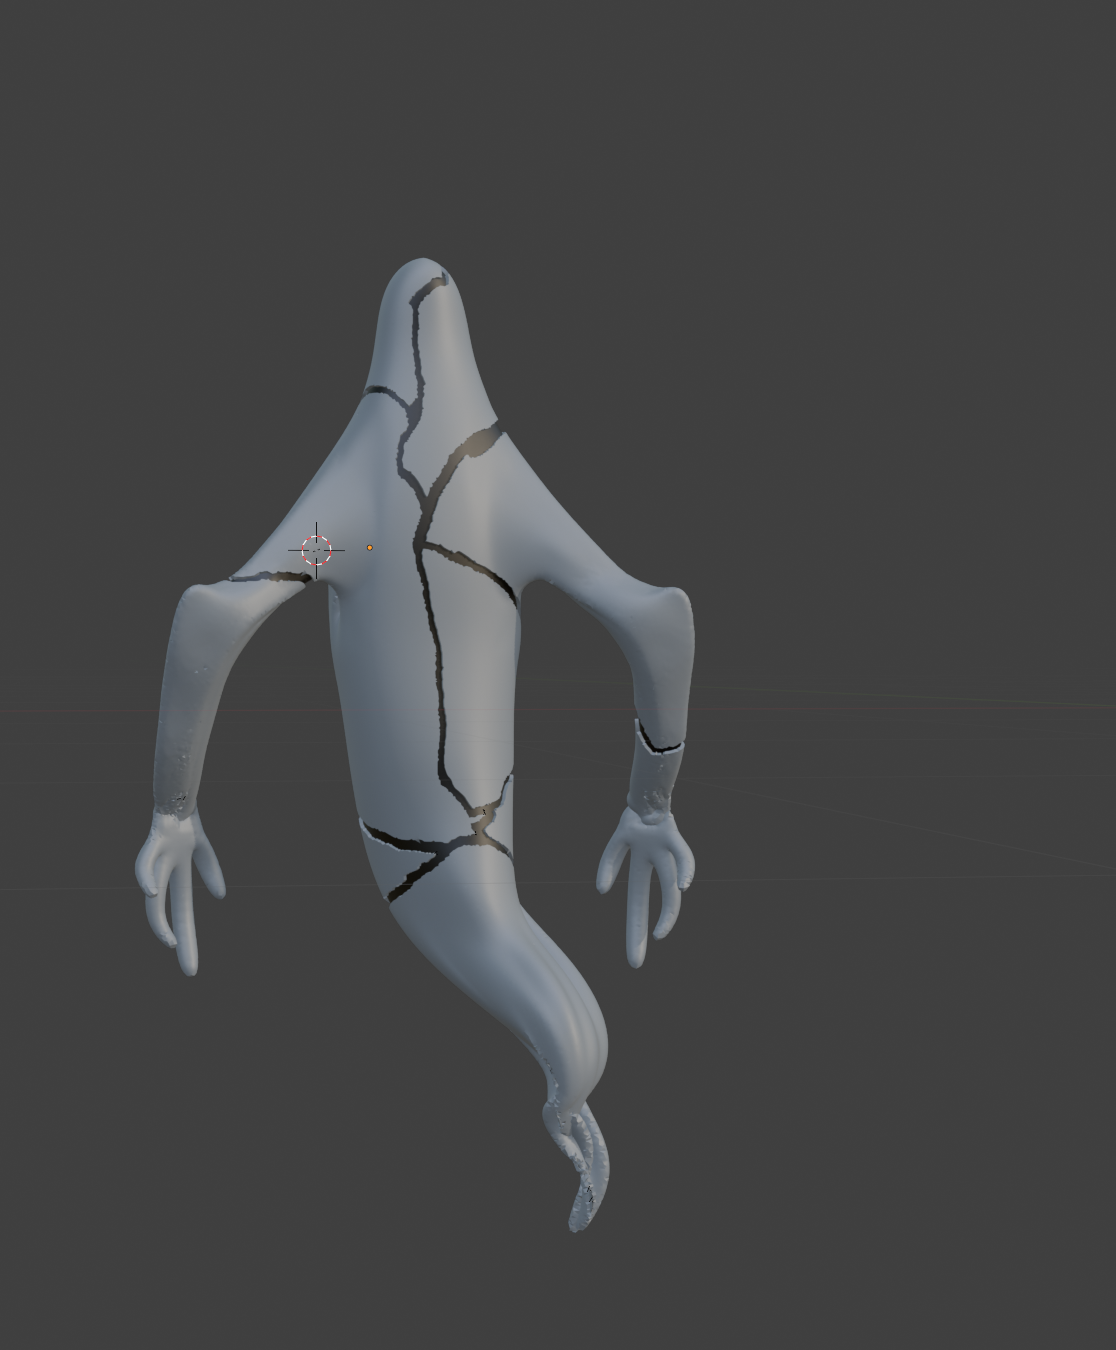
Back View
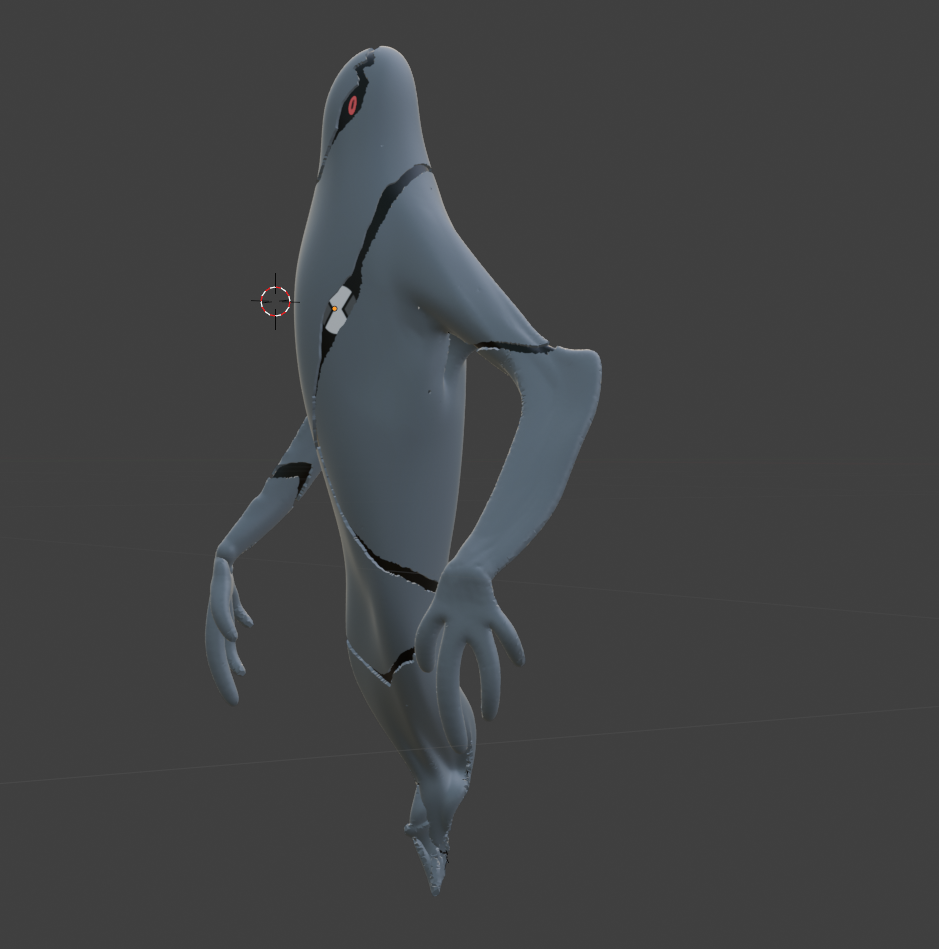
Left Side View

Skin Creasing
Completed Skin Creasing
Initial Toon Shader
Initial Toon Shader - Skin
Initial Toon Shader - Lines
The initial version of the shading was using the toon shader I've done with most of the characters I have made based off cartoons. It uses the same method as my other models, to my surprise, the grey parts of the character weren't as dark as I had initially made the flat shader.
Upon finishing the toon shader, I found that I didn't care for it too much, it felt too simplistic. A lot of the initial 10 transformations in Ben 10 use maybe 2 or 3 colors and because they are meant to be a sample of a natural species, it stands to reason that on its surface, the show would not add too many extra details or accessories that would make the character not feel like it was part of a race that could hypothetically exist.
Ghostfreak is one of the prime examples of this trait since he has only two colors, three if you count the pink eye, and no accessories beyond an Omnitrix symbol which is also white, a toon shader for a character that is really only made of 2 or 3 colors without much variation would be uninteresting. To make the character look more interesting and do something unique, I had to try a different approach, I settled on making the character look realistic.
I looked into many possibilities for how to make him look realistic, a lot of creators who have modeled this character have used a fabric material similar to velvet, some of them went for rough skin, but none of that is what I wanted my version of this character to look like.
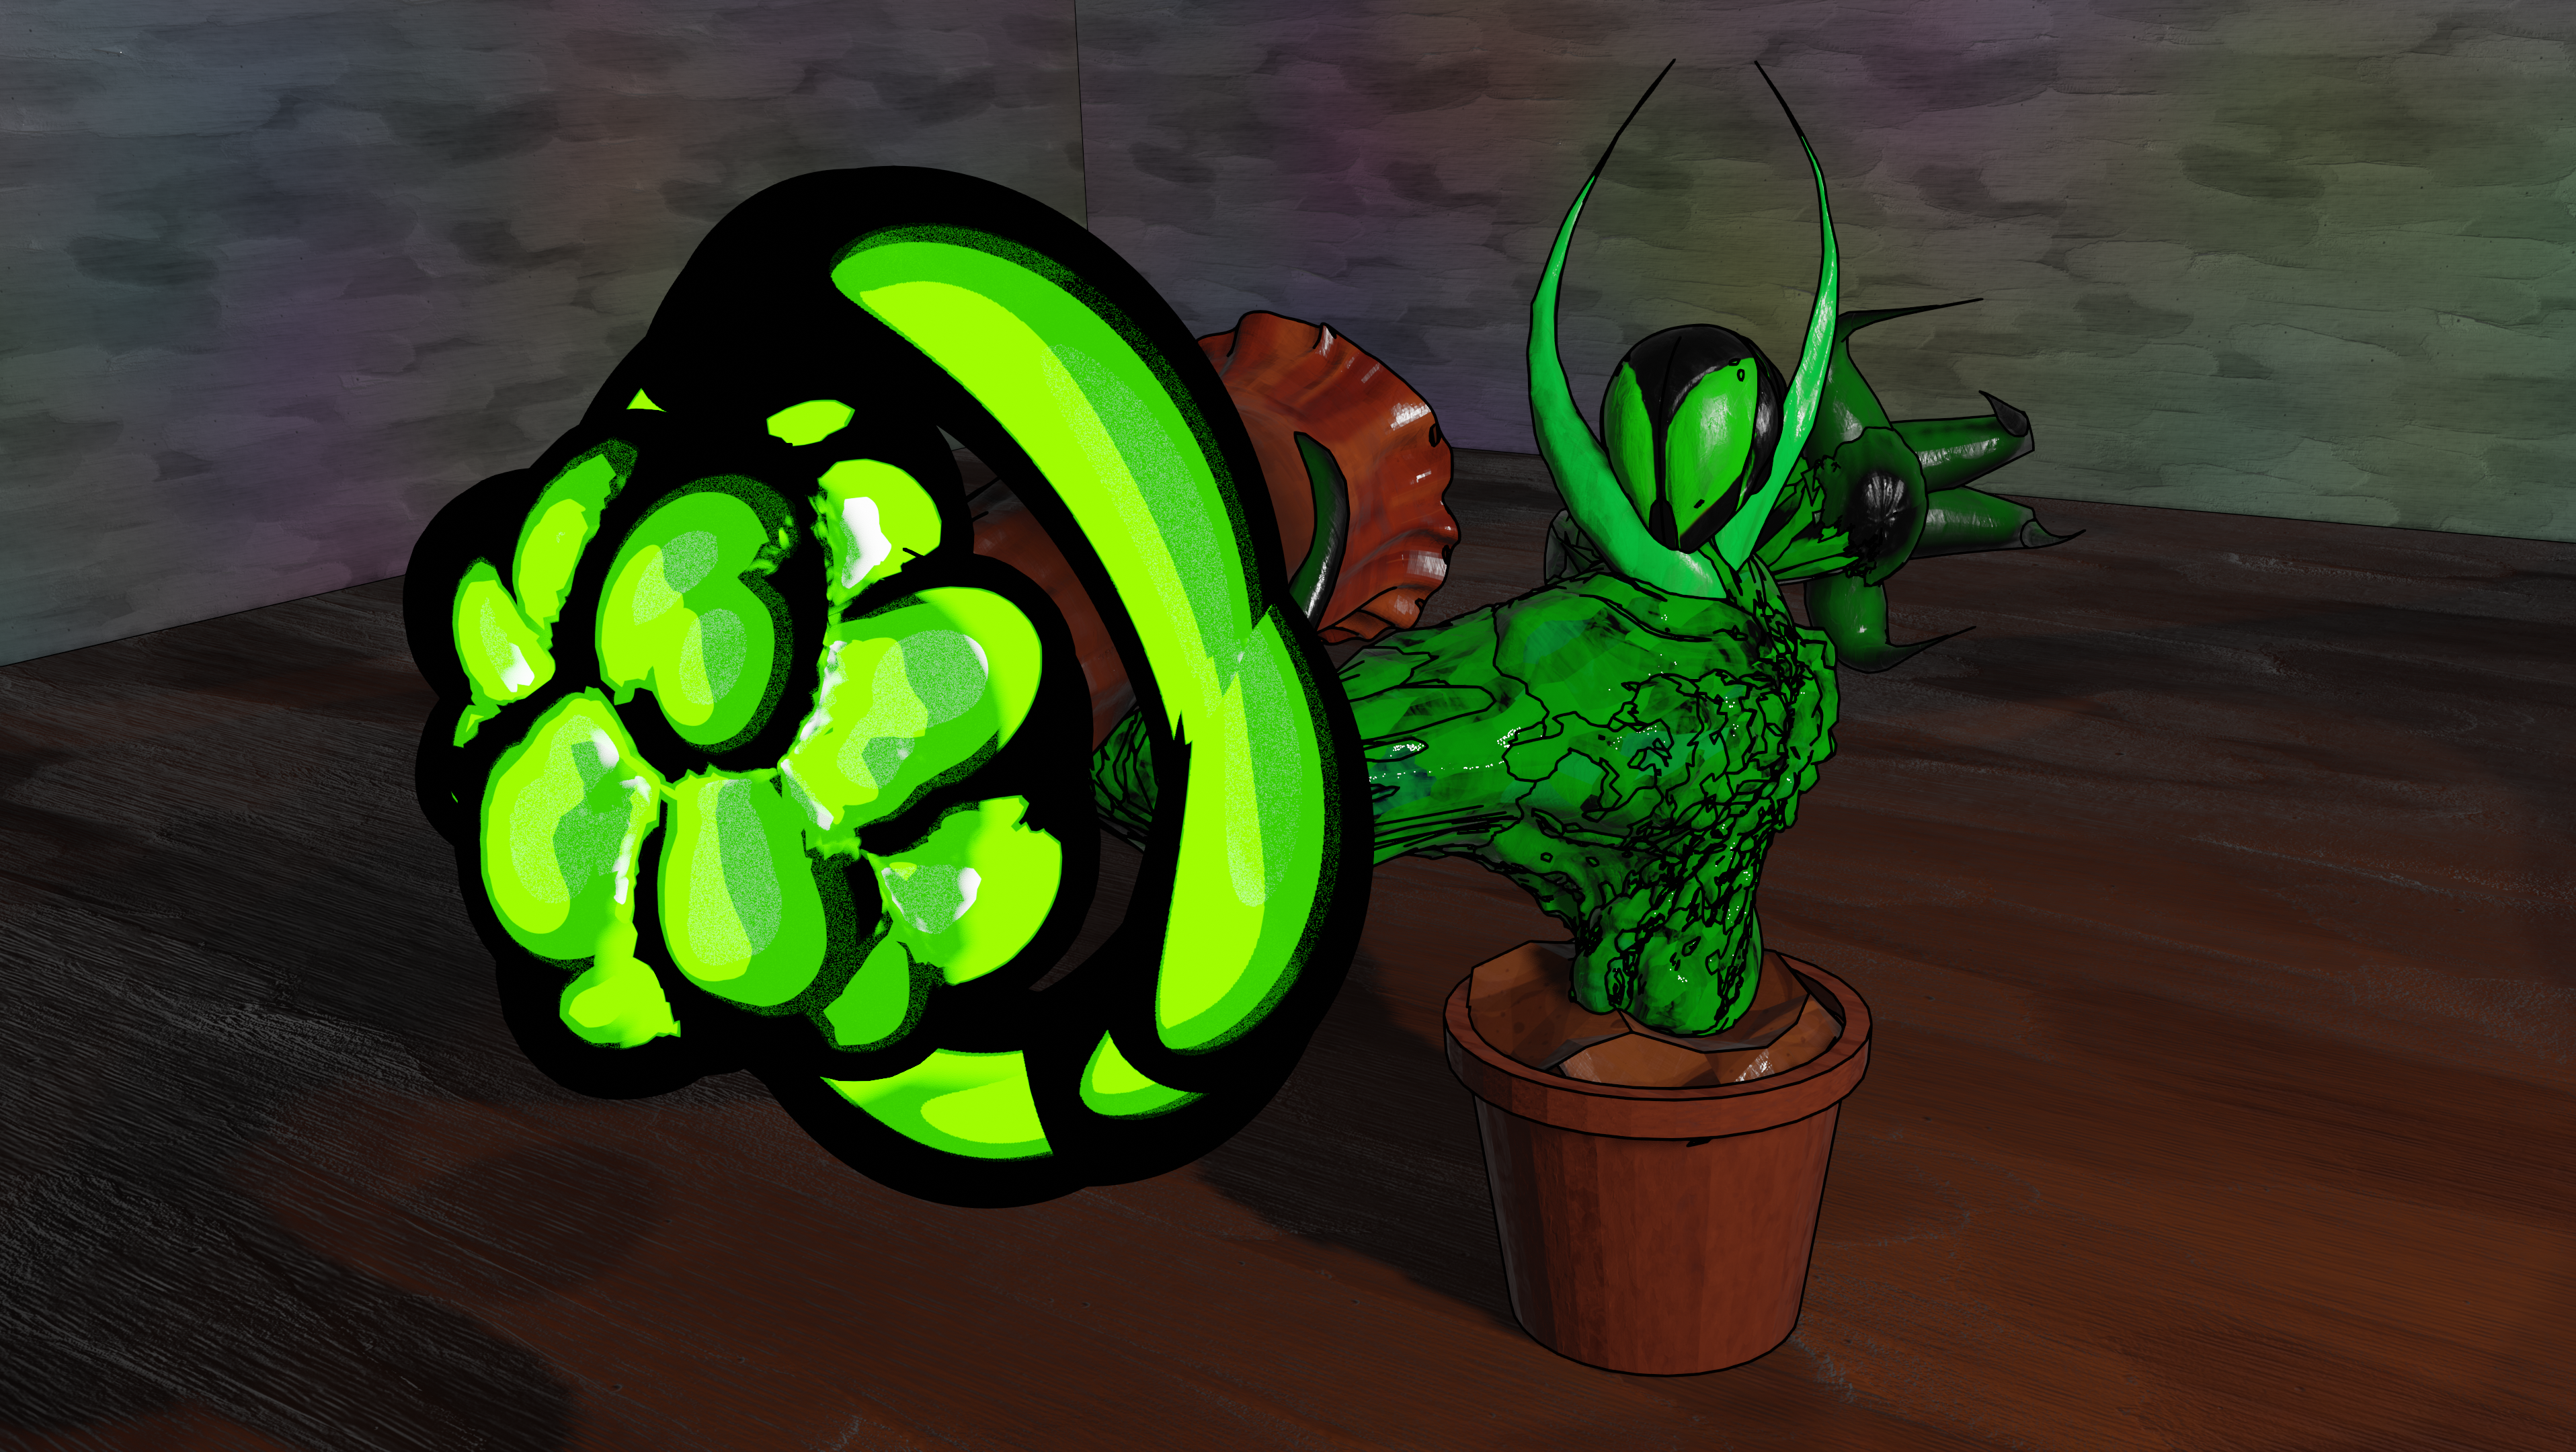
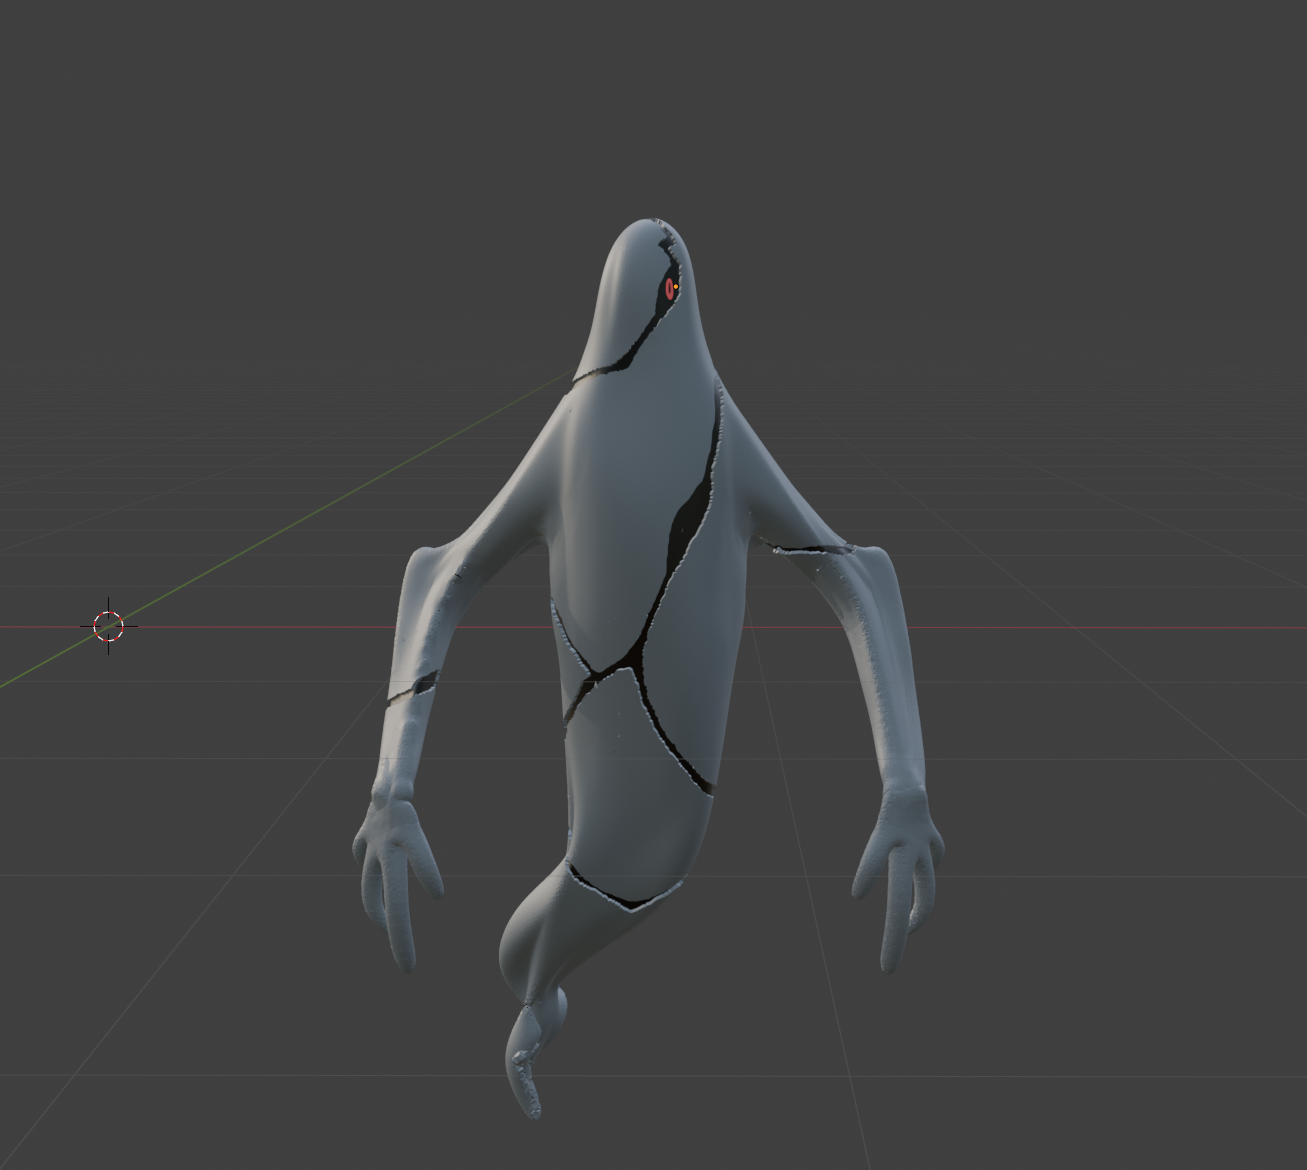
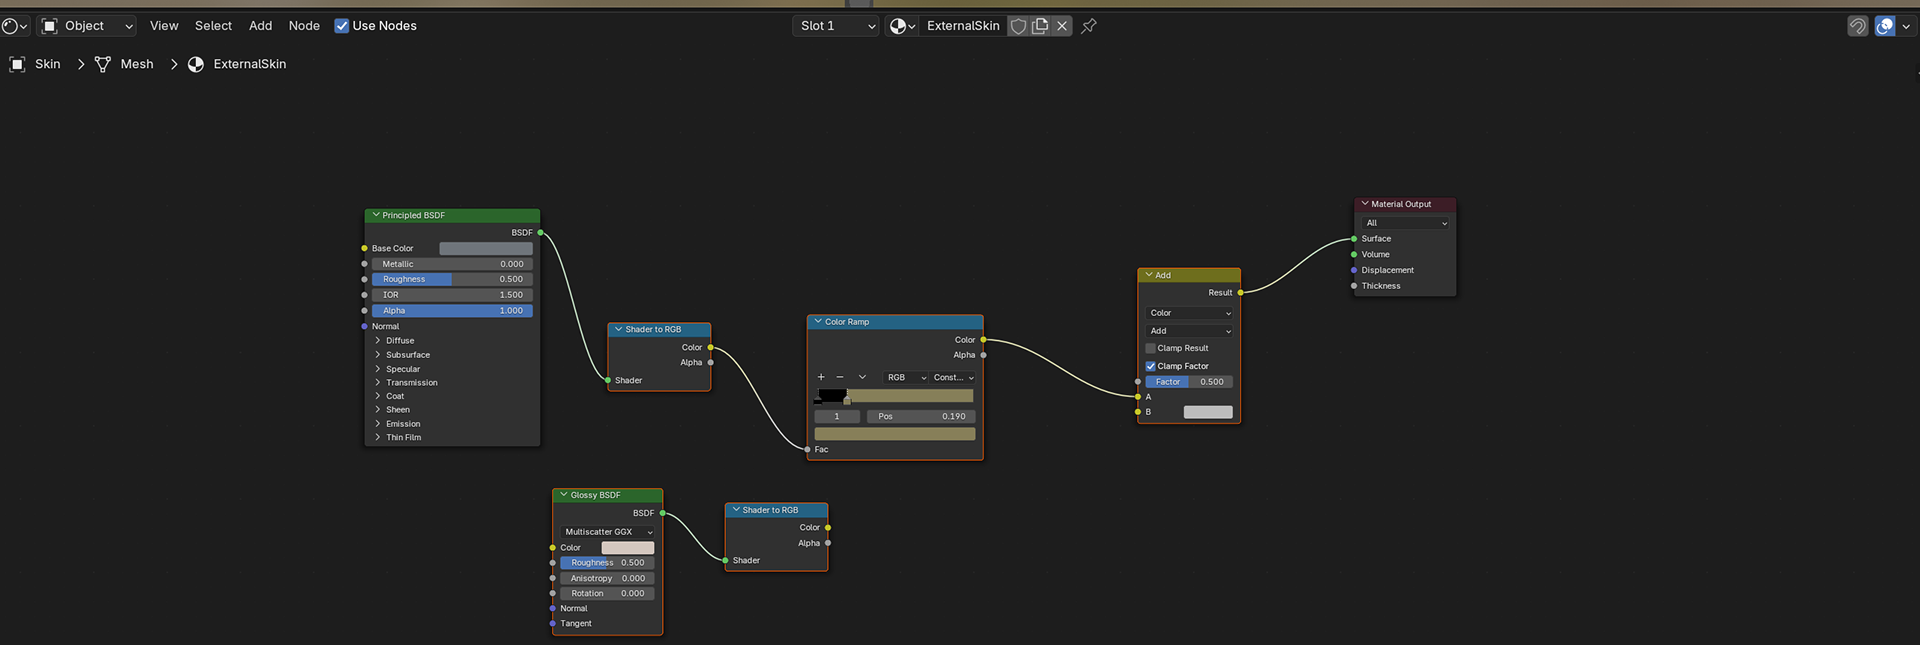
I ended up researching the character and on the wiki, the grey part is described as "skin", not a gas or fabric like I initially was considering. That's when I realized that I had to make the material look recognizable as skin, but it has to feel unnatural. I did this by creating a procedural skin and then just tweaking the noise enough that it would look slimy and disgusting. I inverted the colors and ducked the opacity for the invisible texture, similarly to how he is shown as invisible in the cartoon itself.
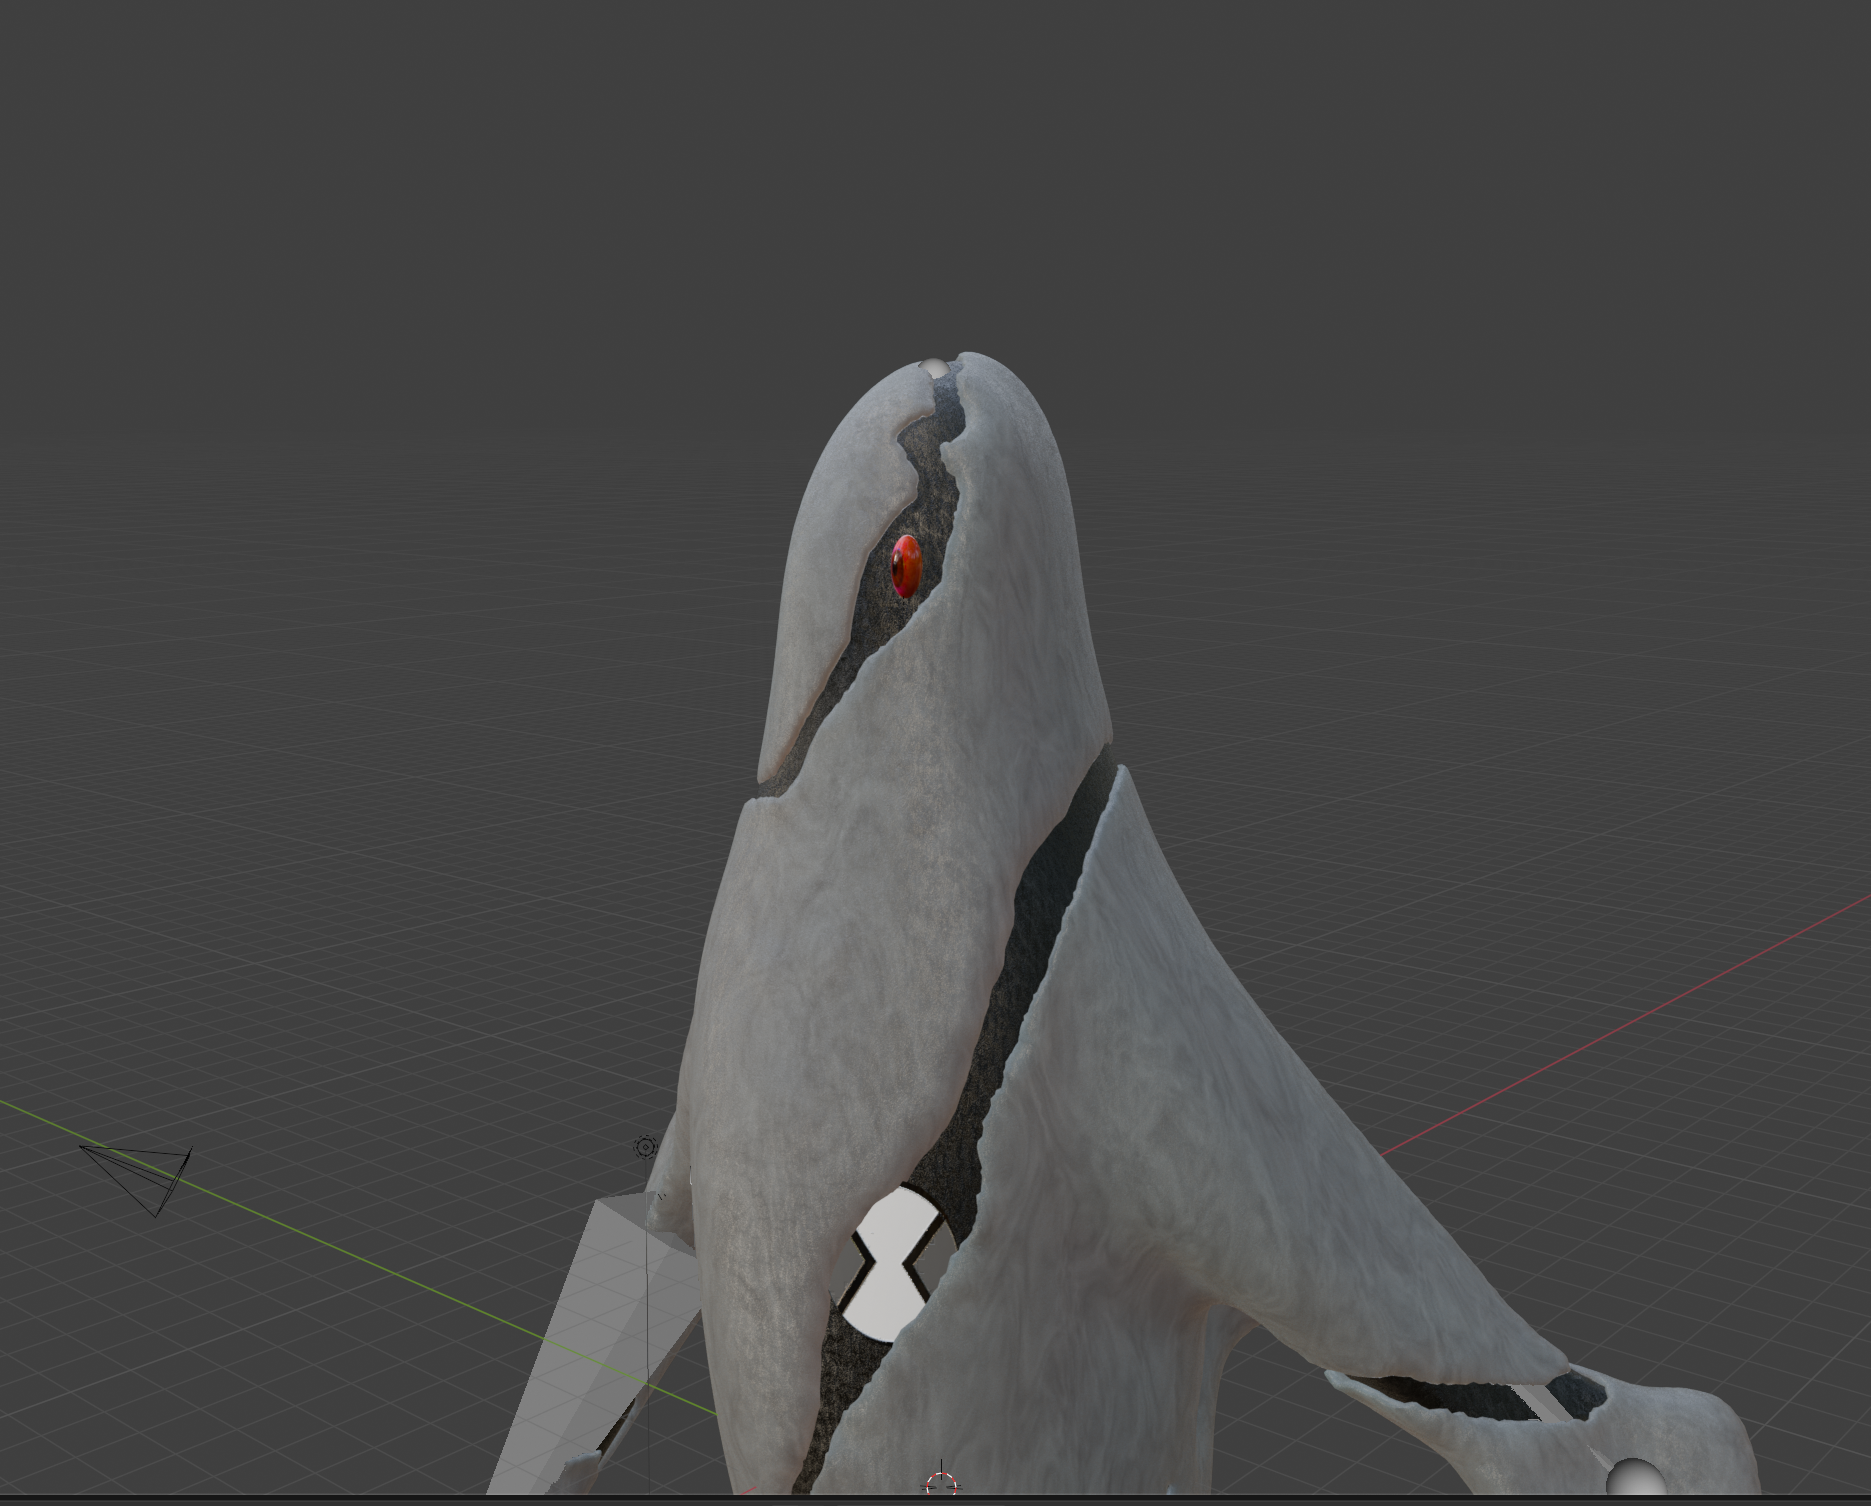
I also remade the eye to look realistic and initially chose to have it pop out of the head but then embedded it directly in the head to make it more faithful to the show.
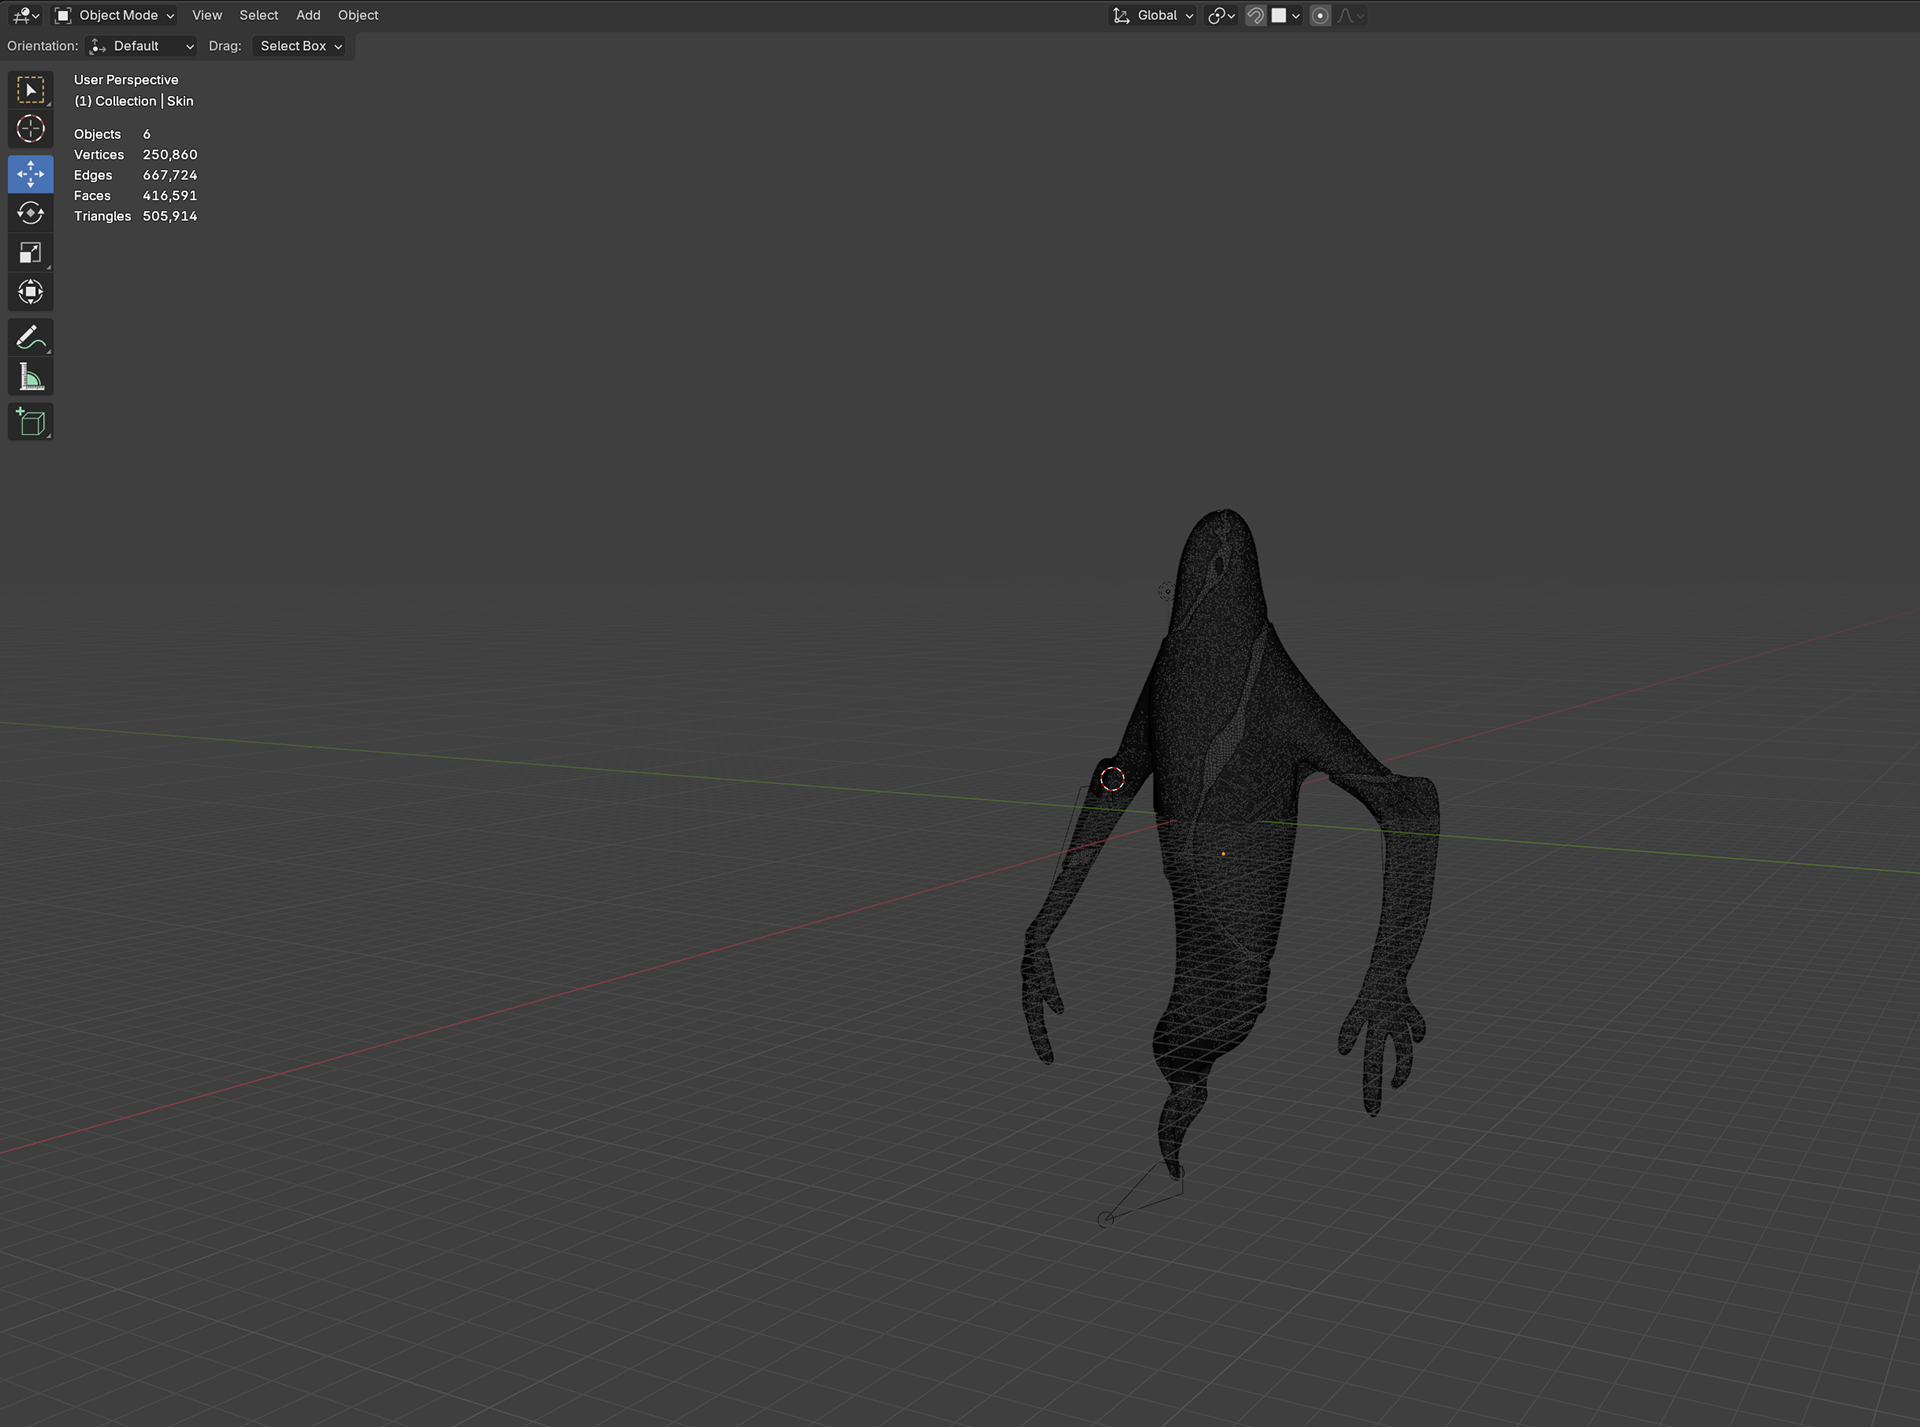
Wireframe
Flat Shading
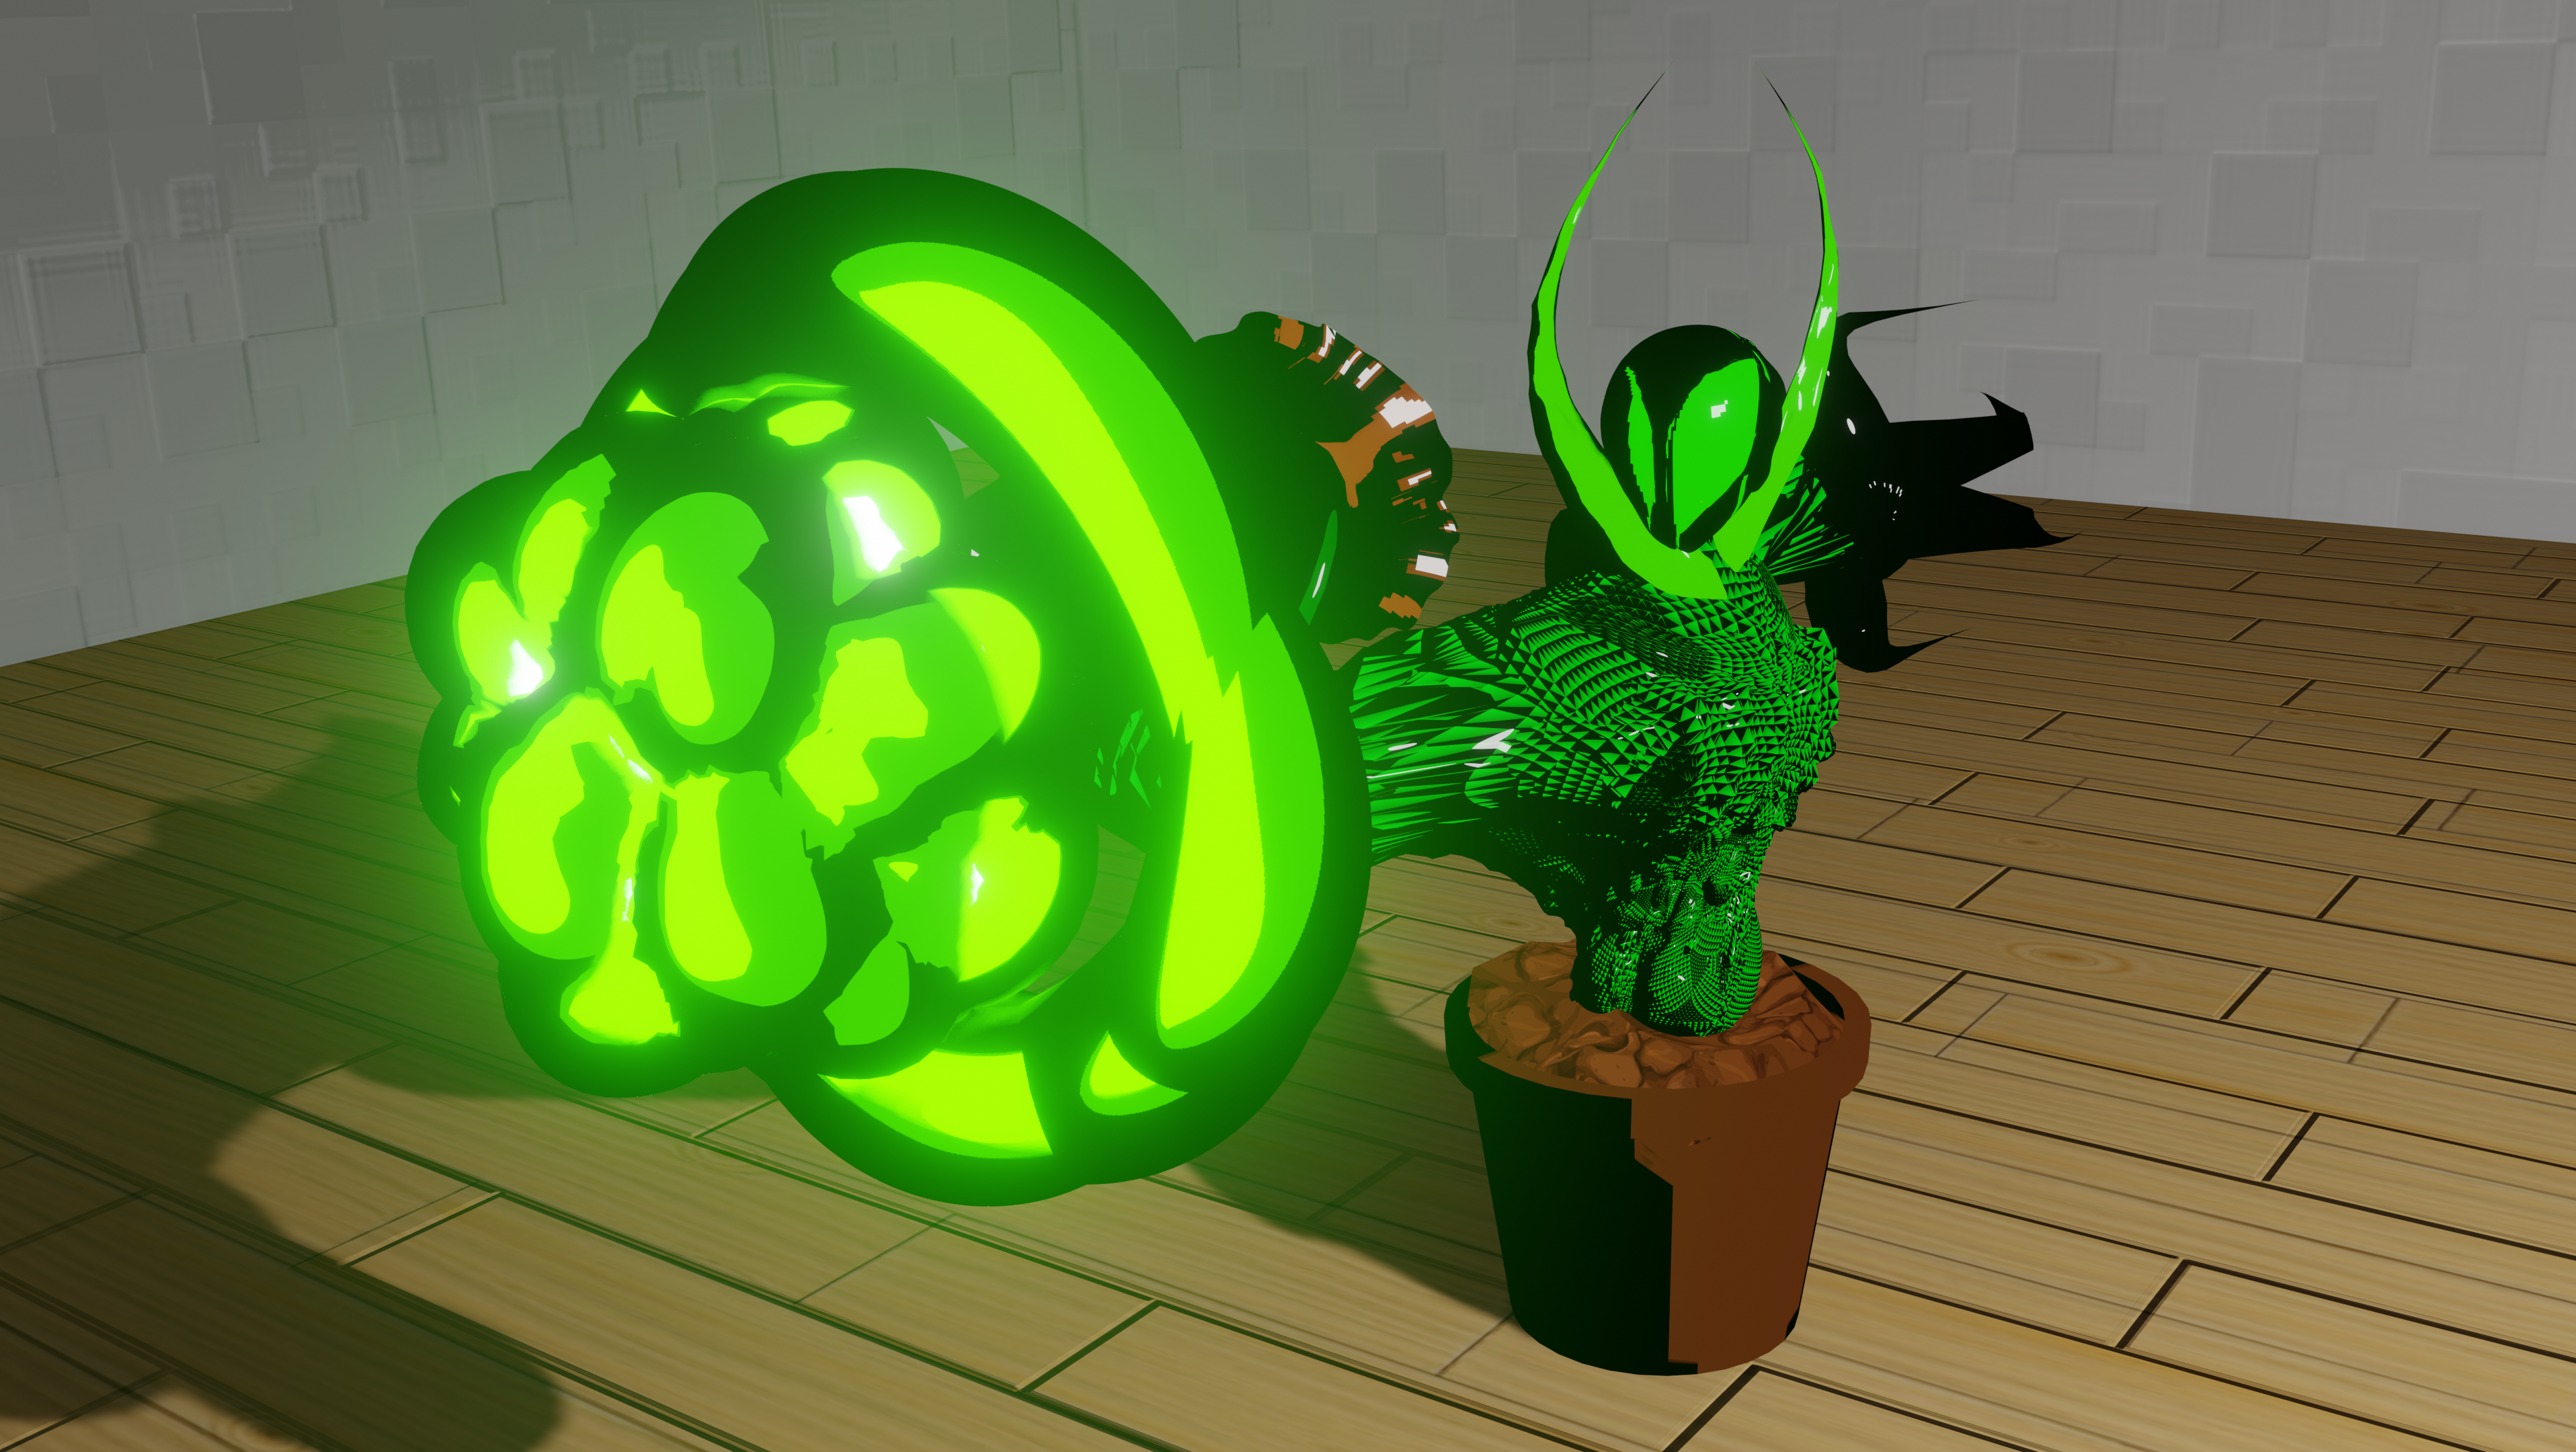
Material Preview
Render Preview
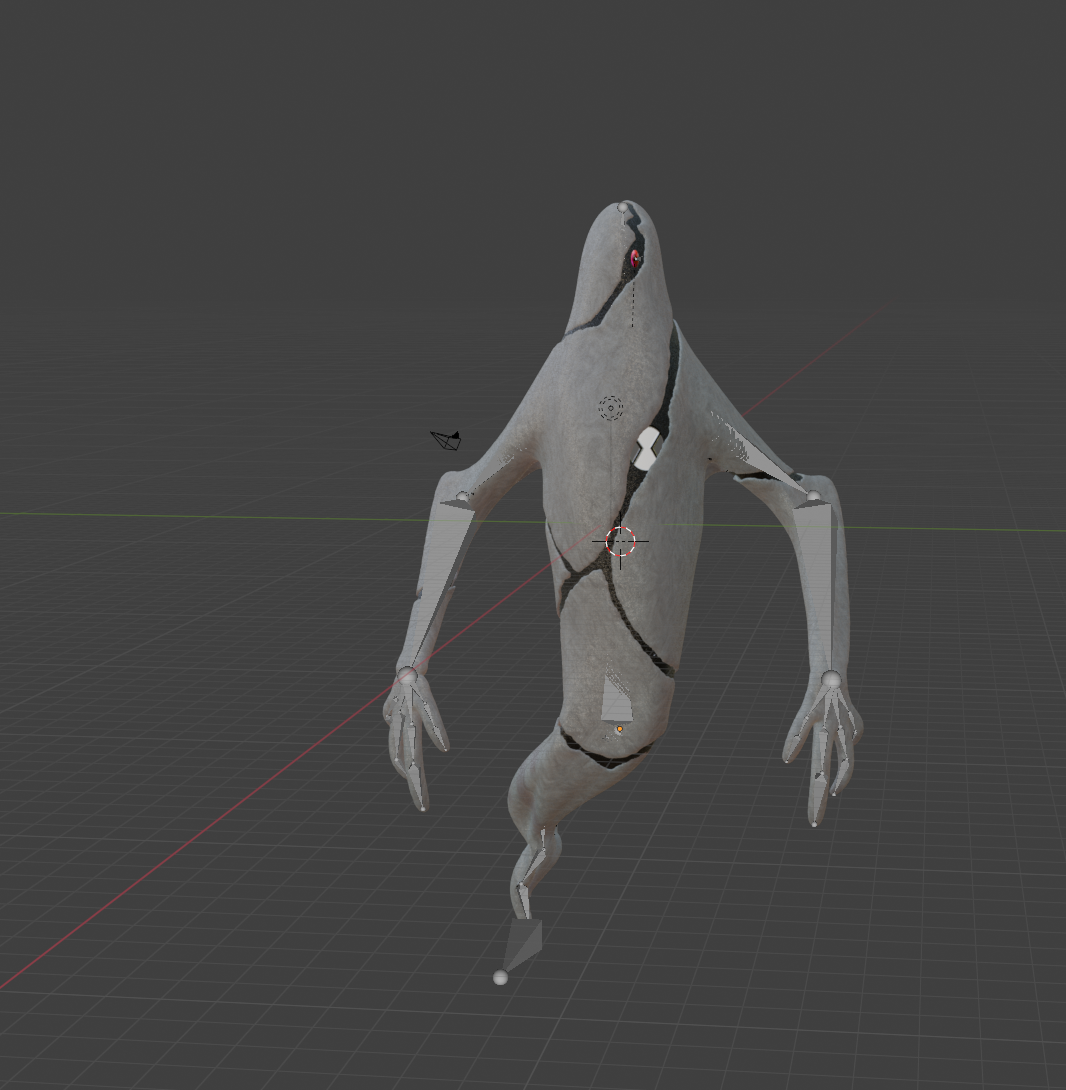
Render Preview with Initial Rig
Front View - Material Preview
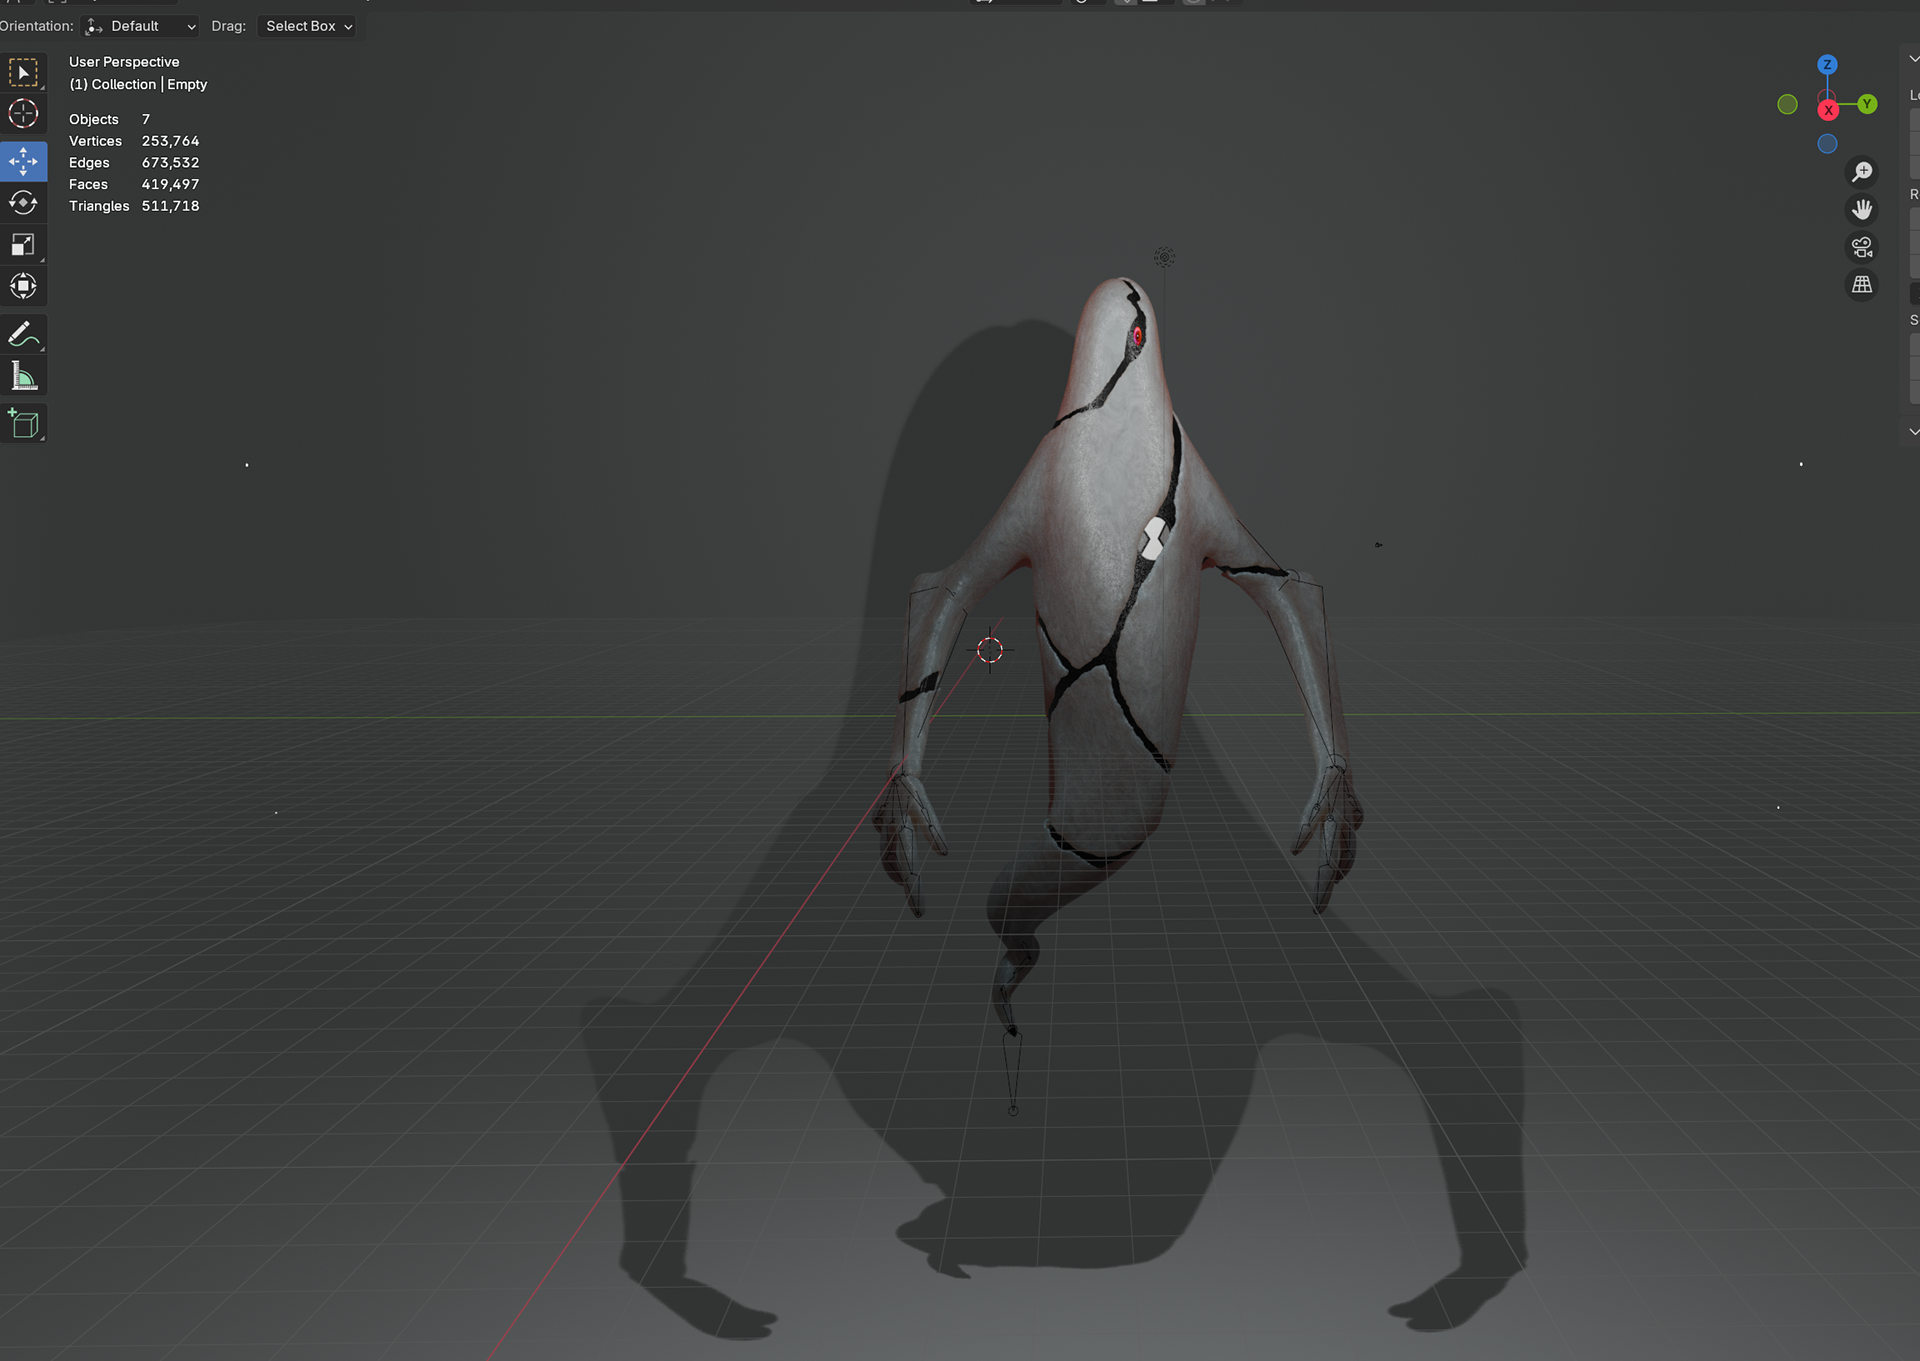
Render Preview- Front View
Close-Up - Material

Close Up - Render Preview
Render Preview - From Behind
Intangible Material
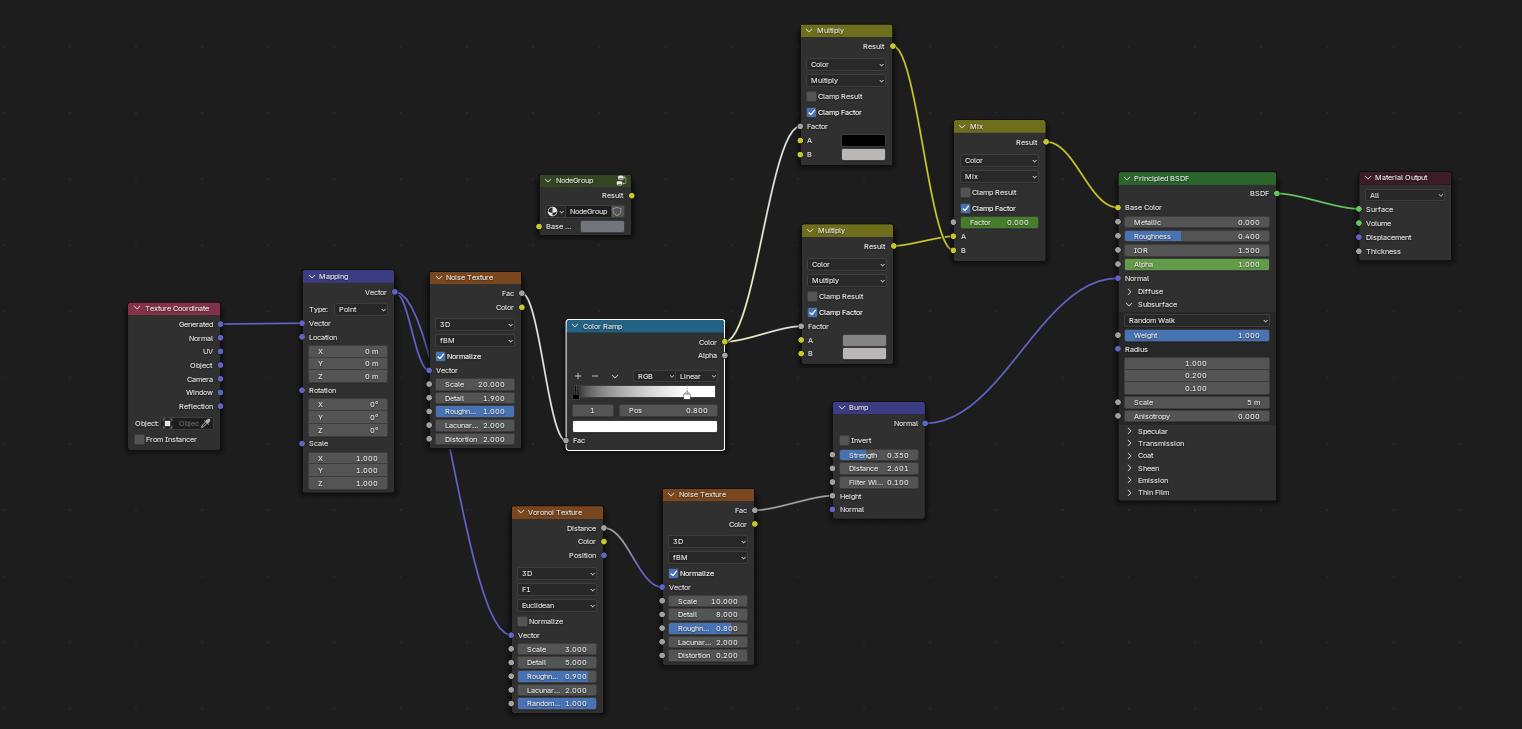
Skin Shader
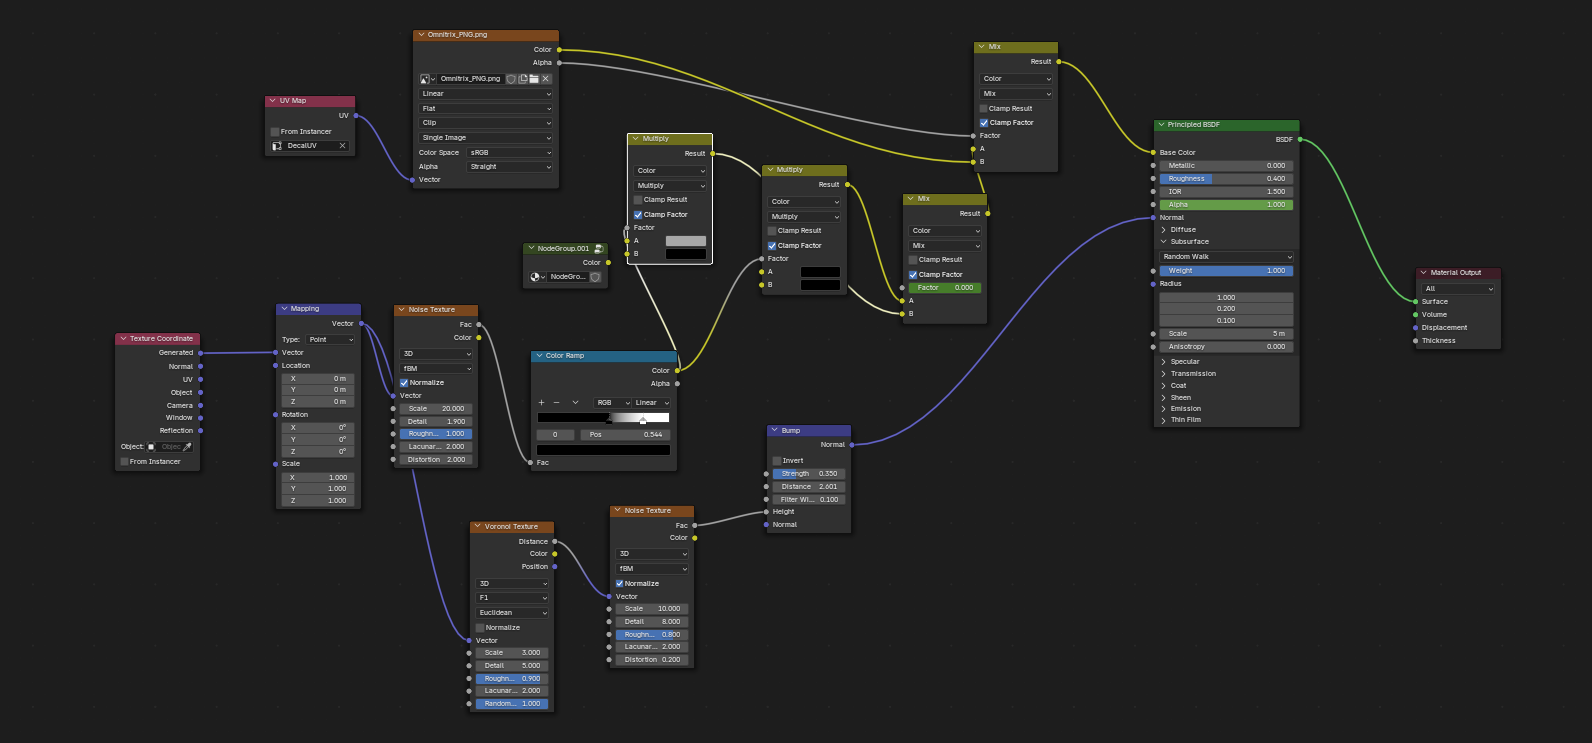
Cracks Shader
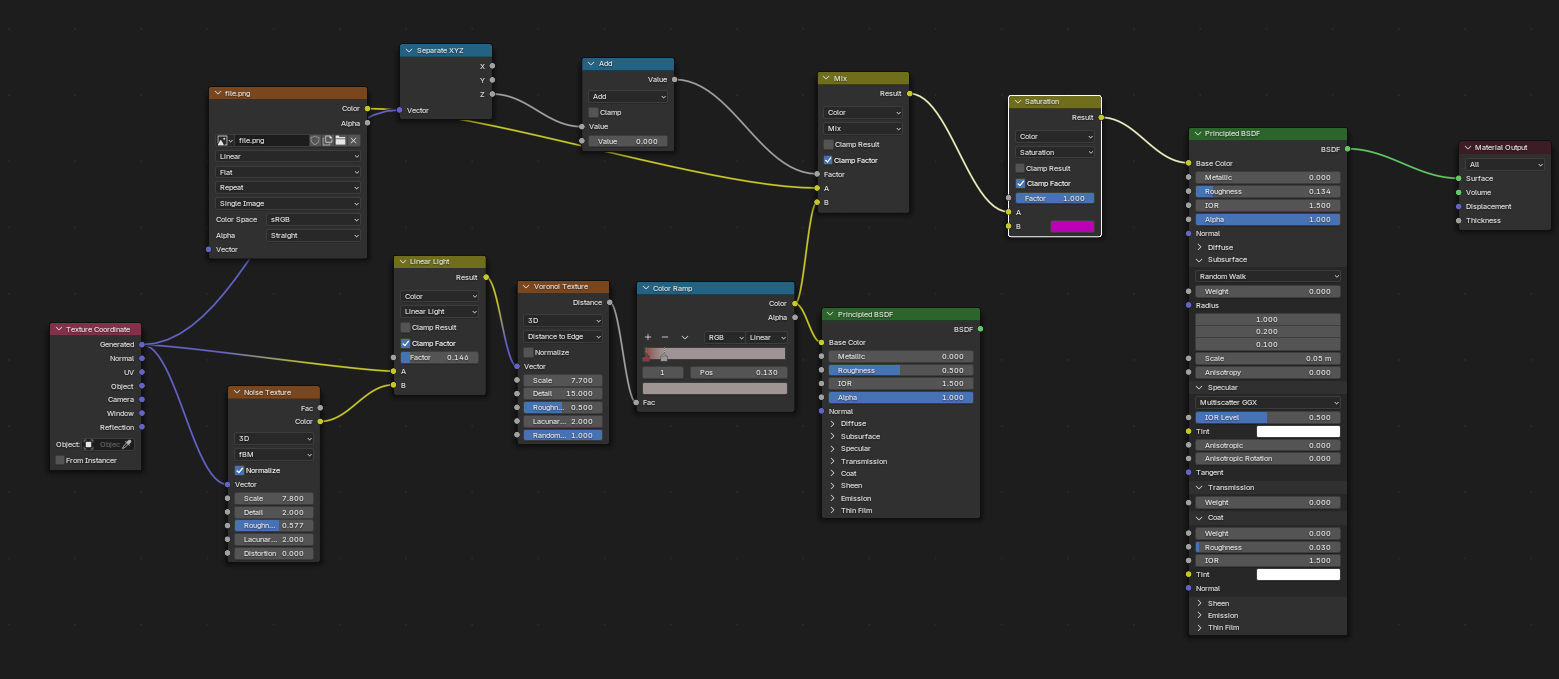
Eye Shader
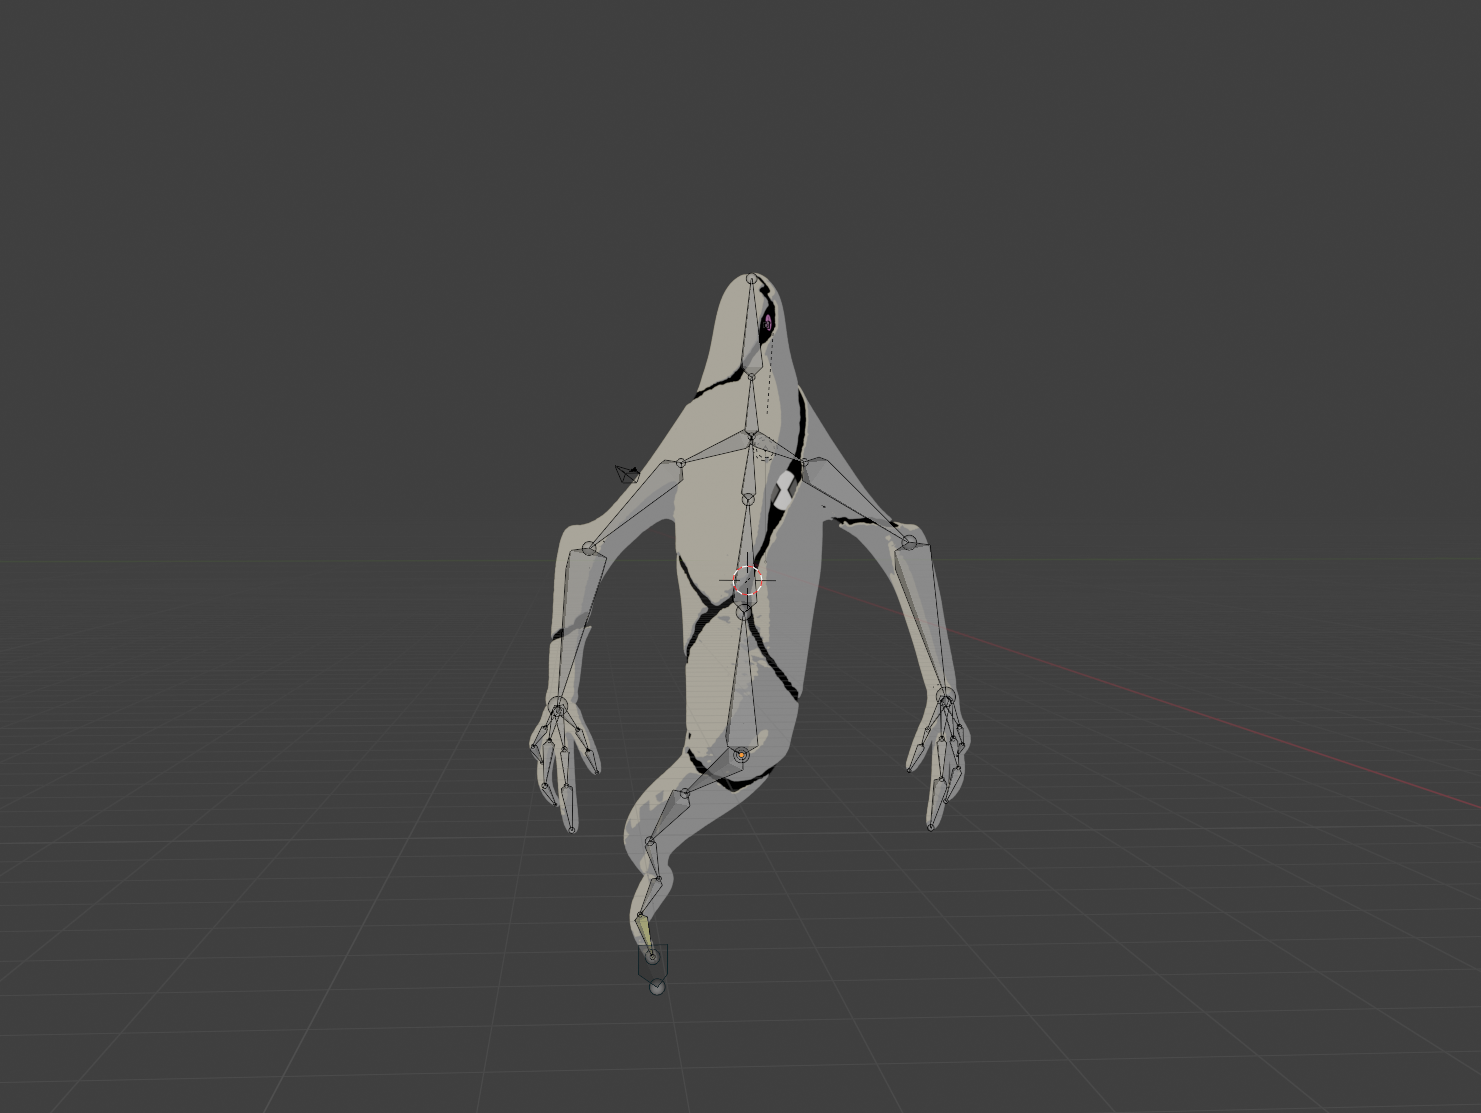
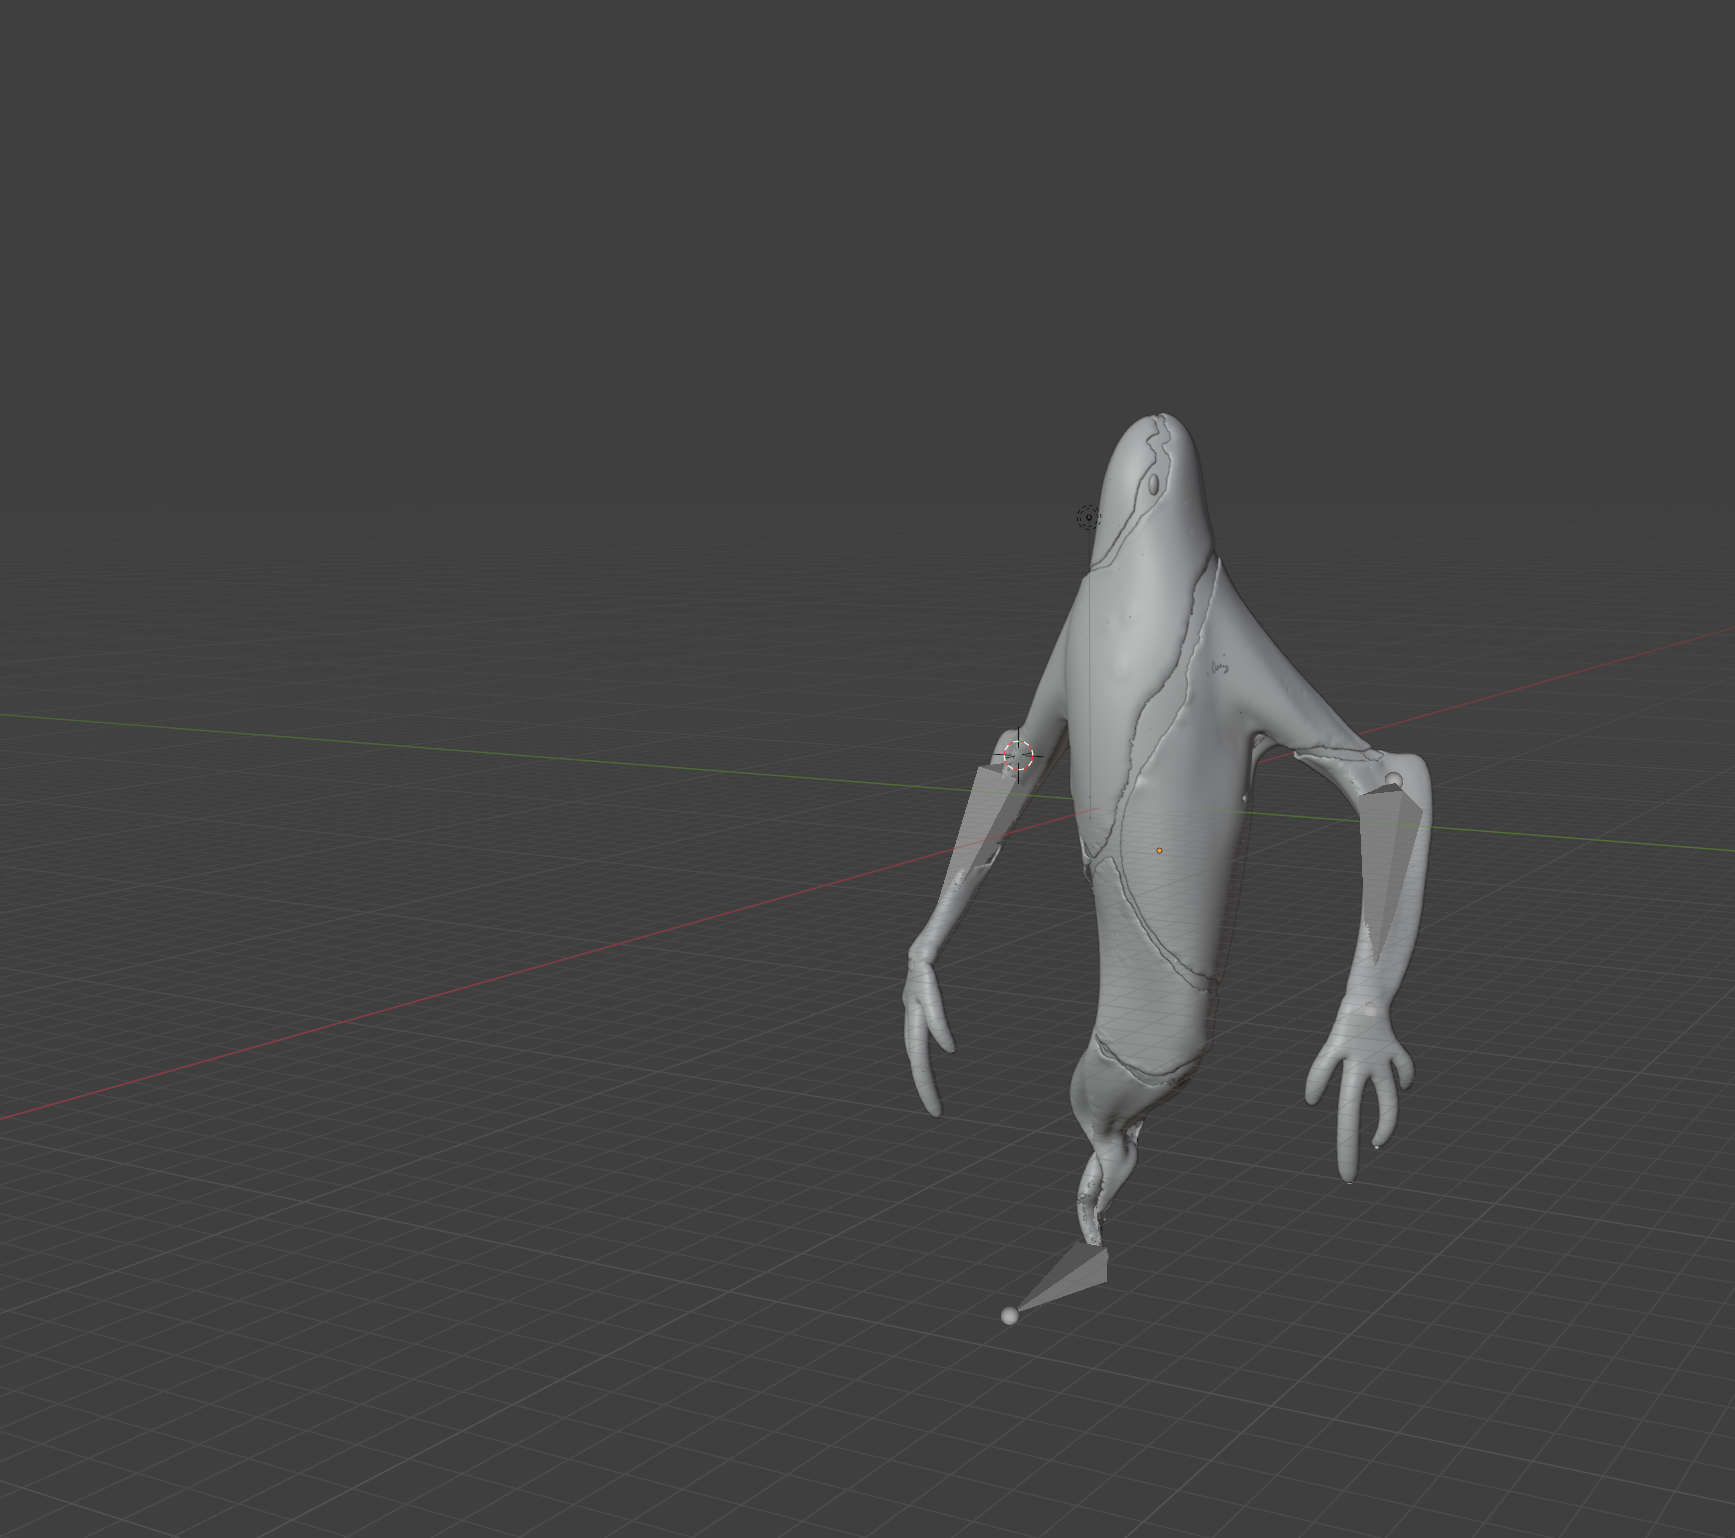
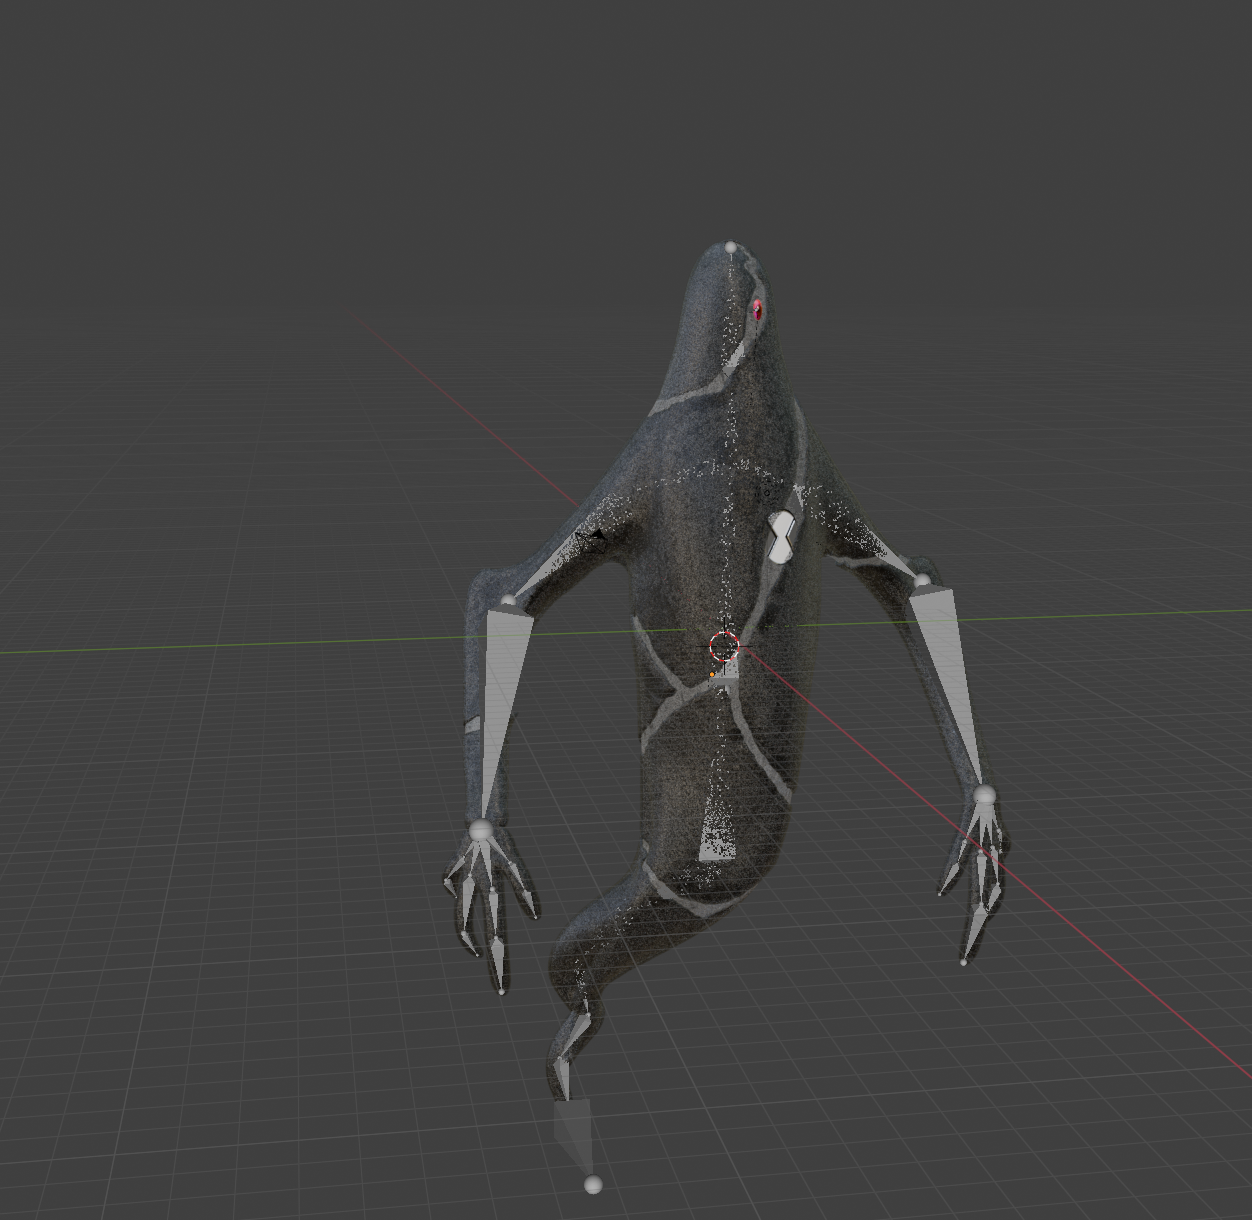
Initial Rig
After the materials, I started working on the rig and animation. This is the most challenging part because it is unlike any of the models I have made before.
One of the first decisions I made when it came to this was to use inverse kinematics, since Ghostfreak's body ends in a taper that wiggles smoothly, I figured this would be the perfect way to show his movement.
My first rig featured two arm bones, a shoulder, a head. a neck and just bones of various sizes going down with a single control bone for IK. This immediately did not work, there wasn't nearly enough bones to make the movement look fluid.
I initially doubled the amount of bones in the tail and some of the bones on the shoulder which I thought made the tail look more natural with the inverse kinematics, this didn't end up helping at all.
I was wracking my brain on how to animate him properly, no matter what I did, I felt he didn't look natural. The main offender was the head, it looked horrible with any kind of movement. This was especially problematic because I wanted to animate him in a more horizontal position which meant he would have to look up. I decided to go back to look at the show to see how he is animated and I realized there were a few things I did wrong. The first thing that immediately stuck out to me was the way Ghostfreak's head animates in the show did not match the original rig. In the show, the "head" where he would turn and look up and down would actually only turn where they eye was, as opposed to going down to where his shoulders are. I had to move that part independently.
The next issue was that there were more bones than necessary, the tail and torso had double the amount of bones as needed and so that probably also made the IK strange, I reduced the amount of bones for simplicity.
Finally, I remade the inverse kinematics in a new manner, I kept the initial arm bones but extended their reach to the chest, in real life, when one pulls their arm back, they also use their chest and back muscles, so the IK control bones had to affect that area as well for the sake of fluidity and realism.
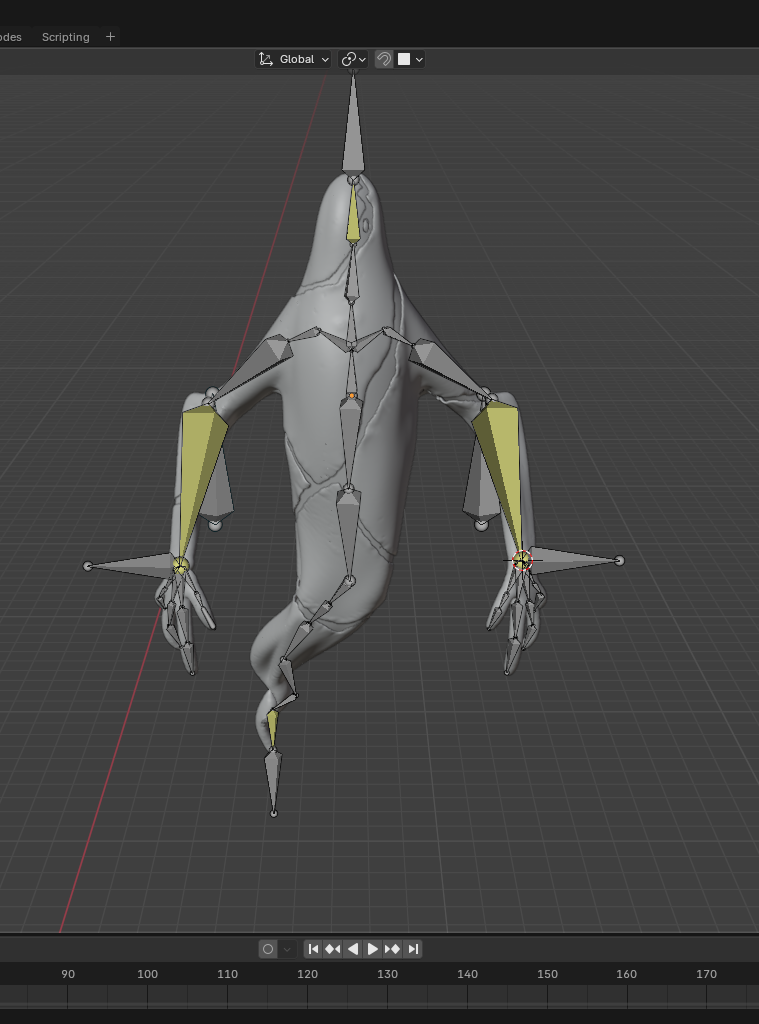
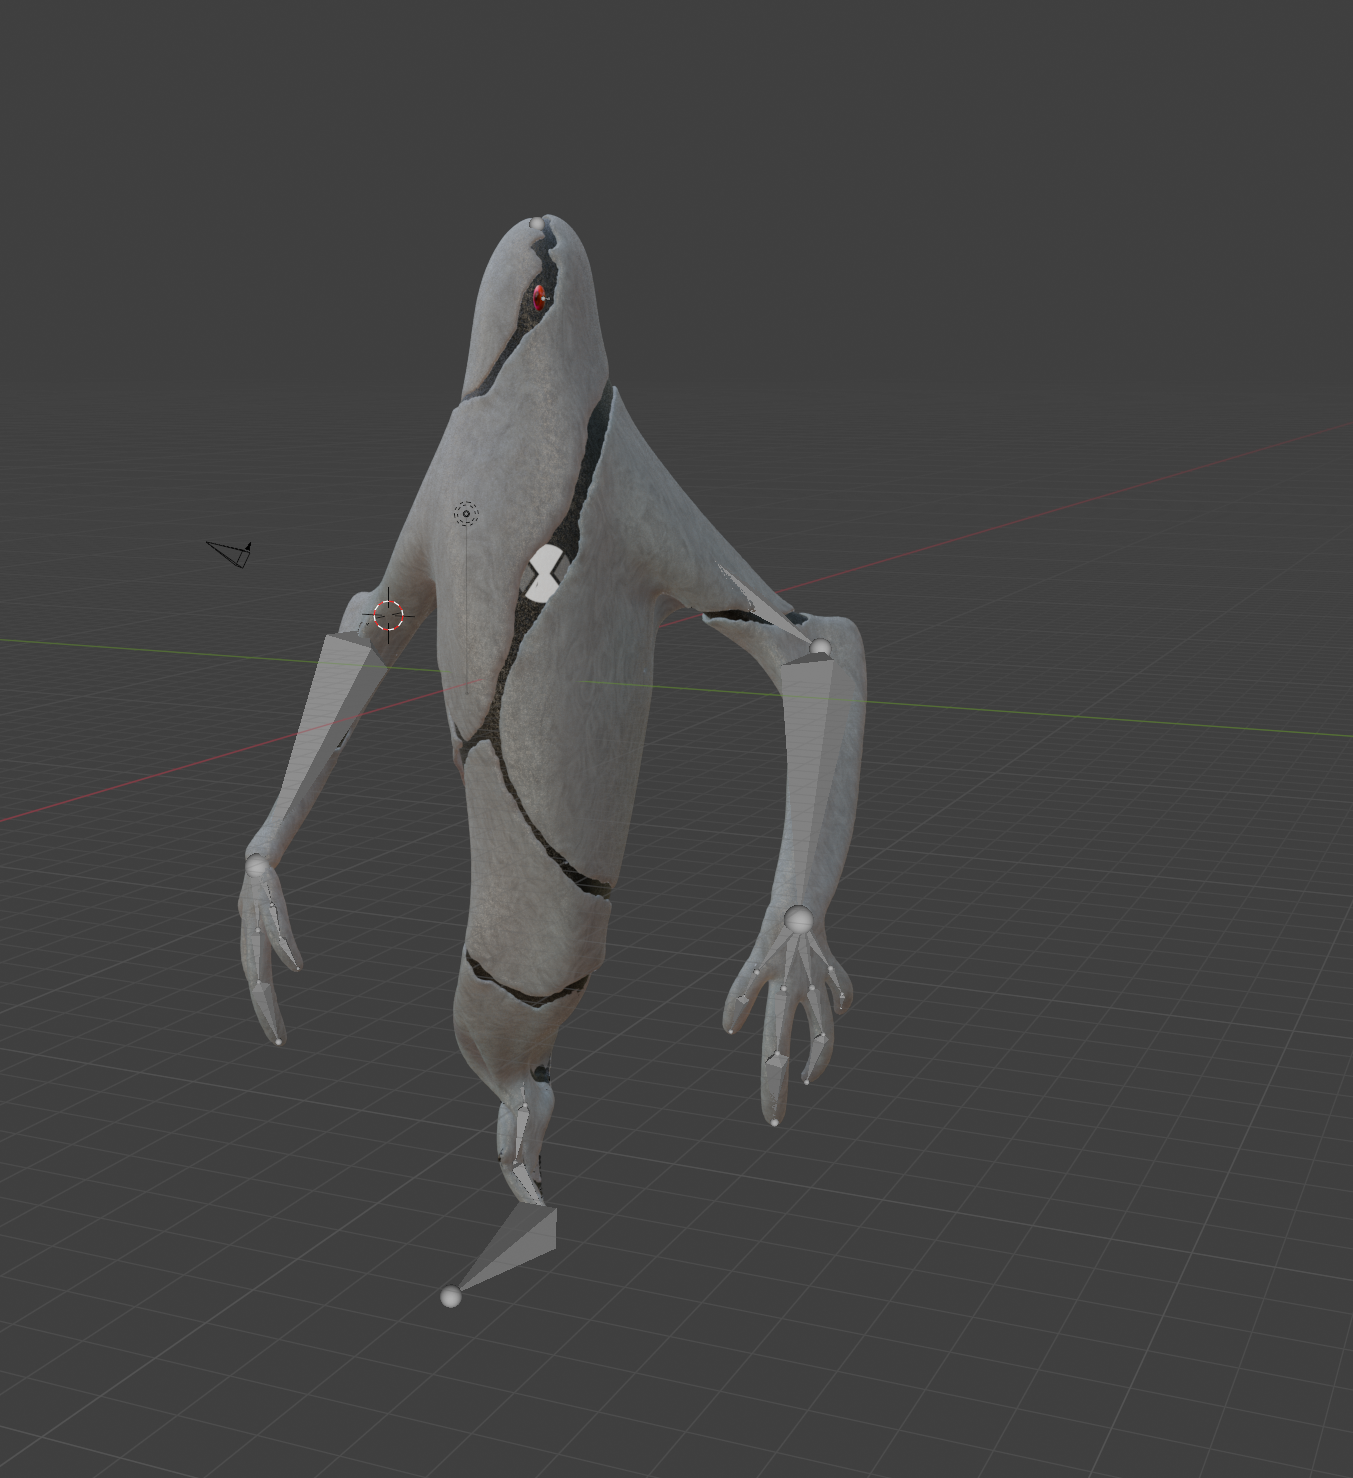
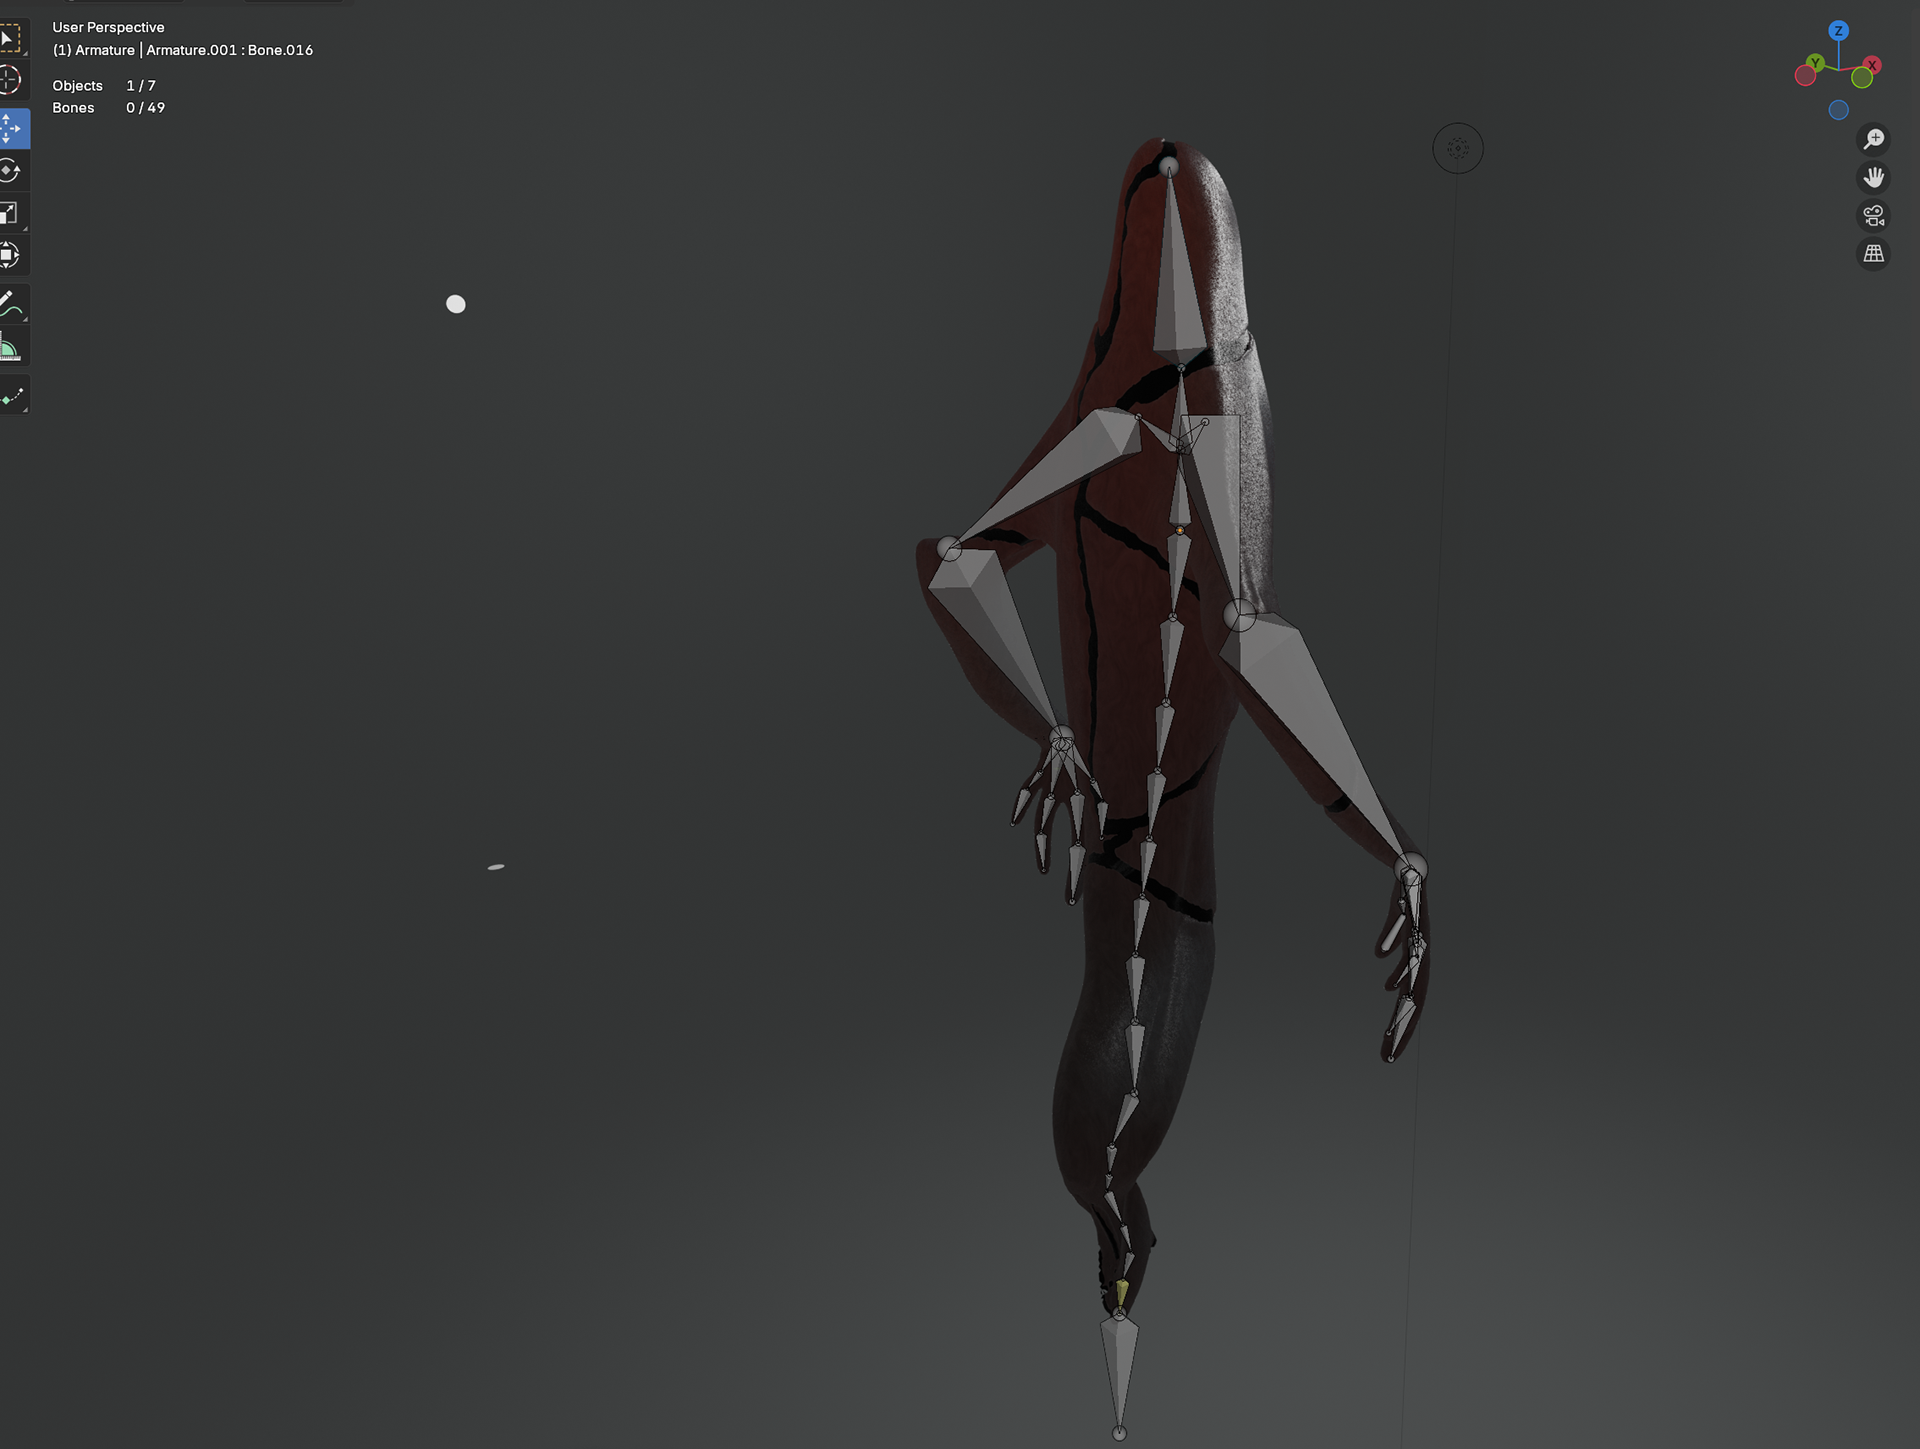
New Rig
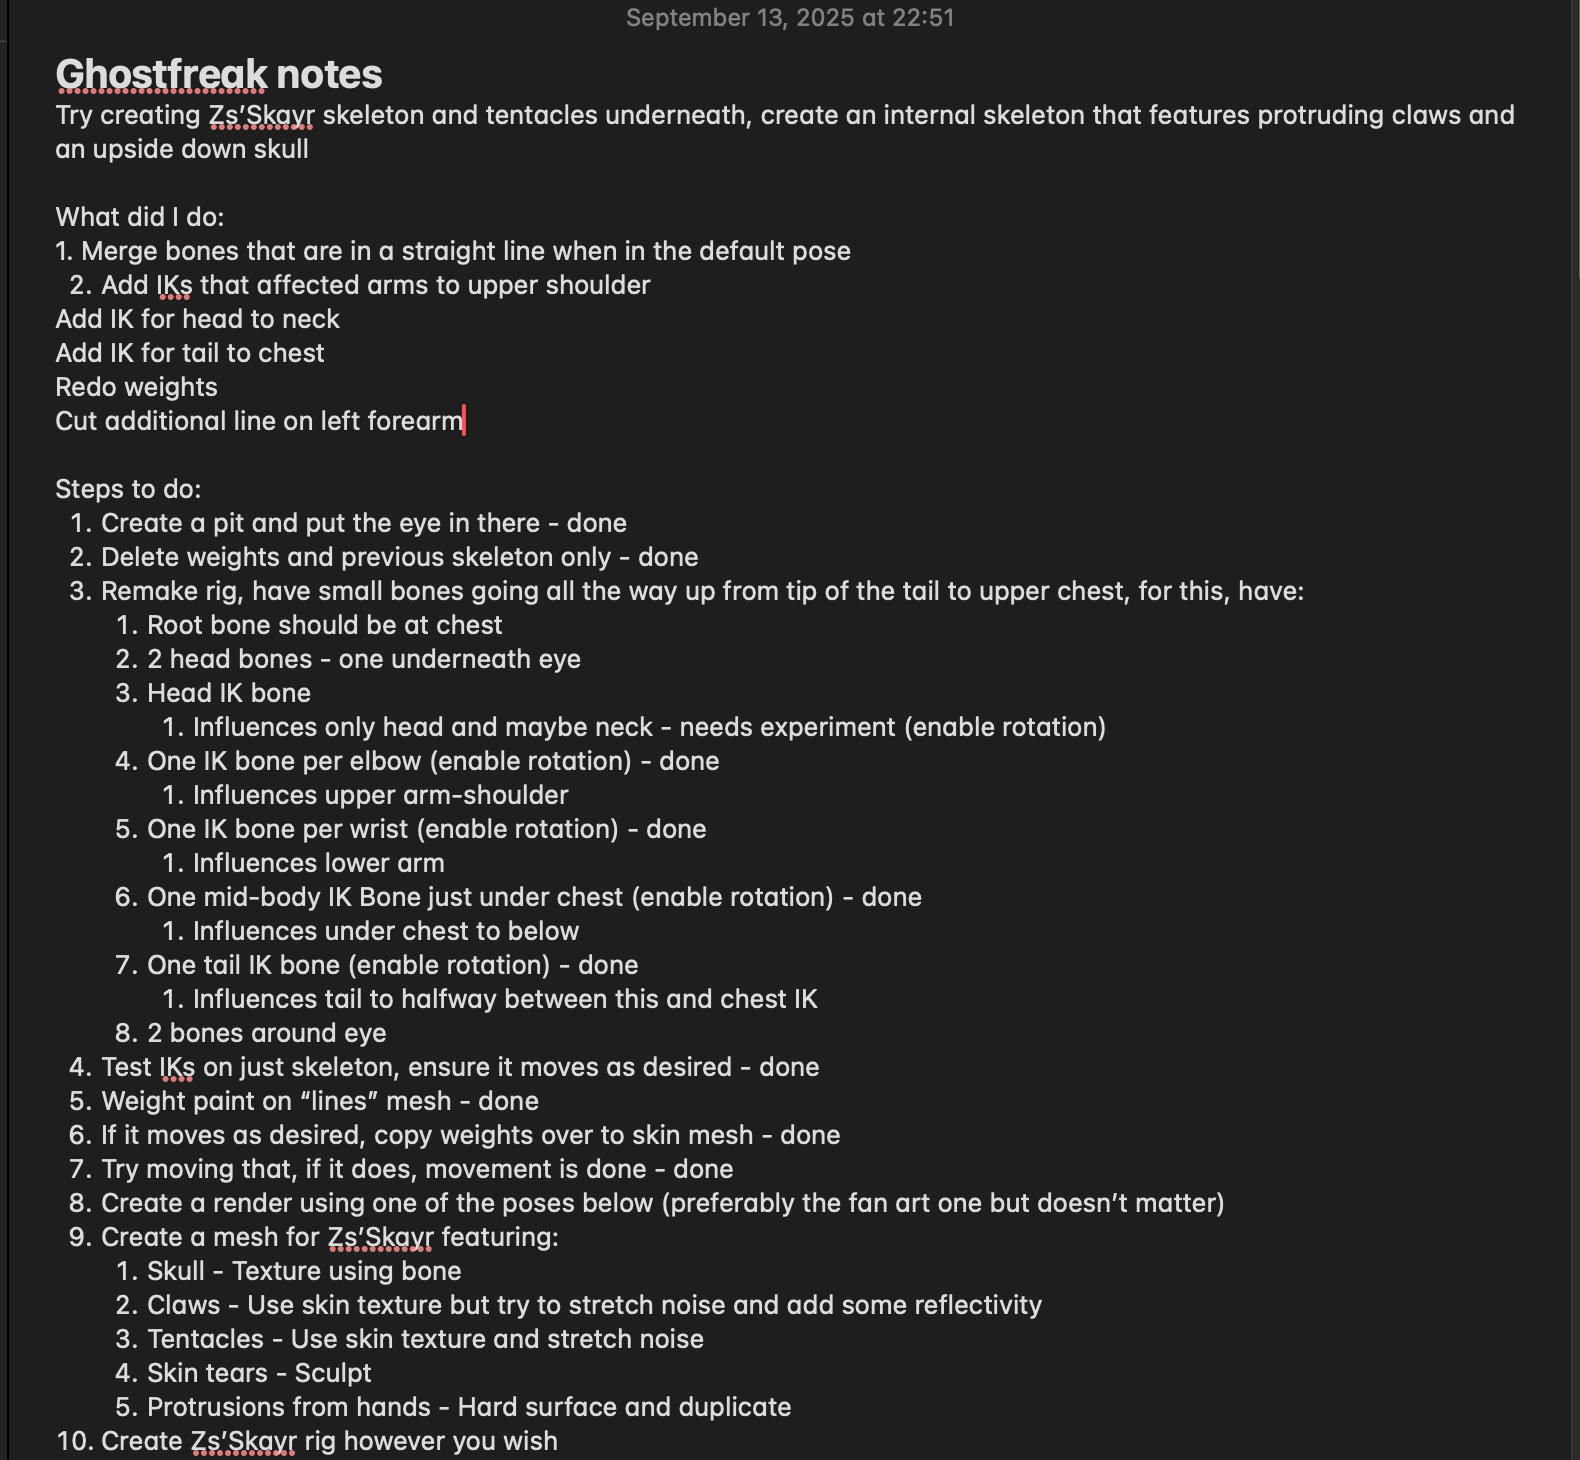
Notes I took to organize my thoughts and what I need to do
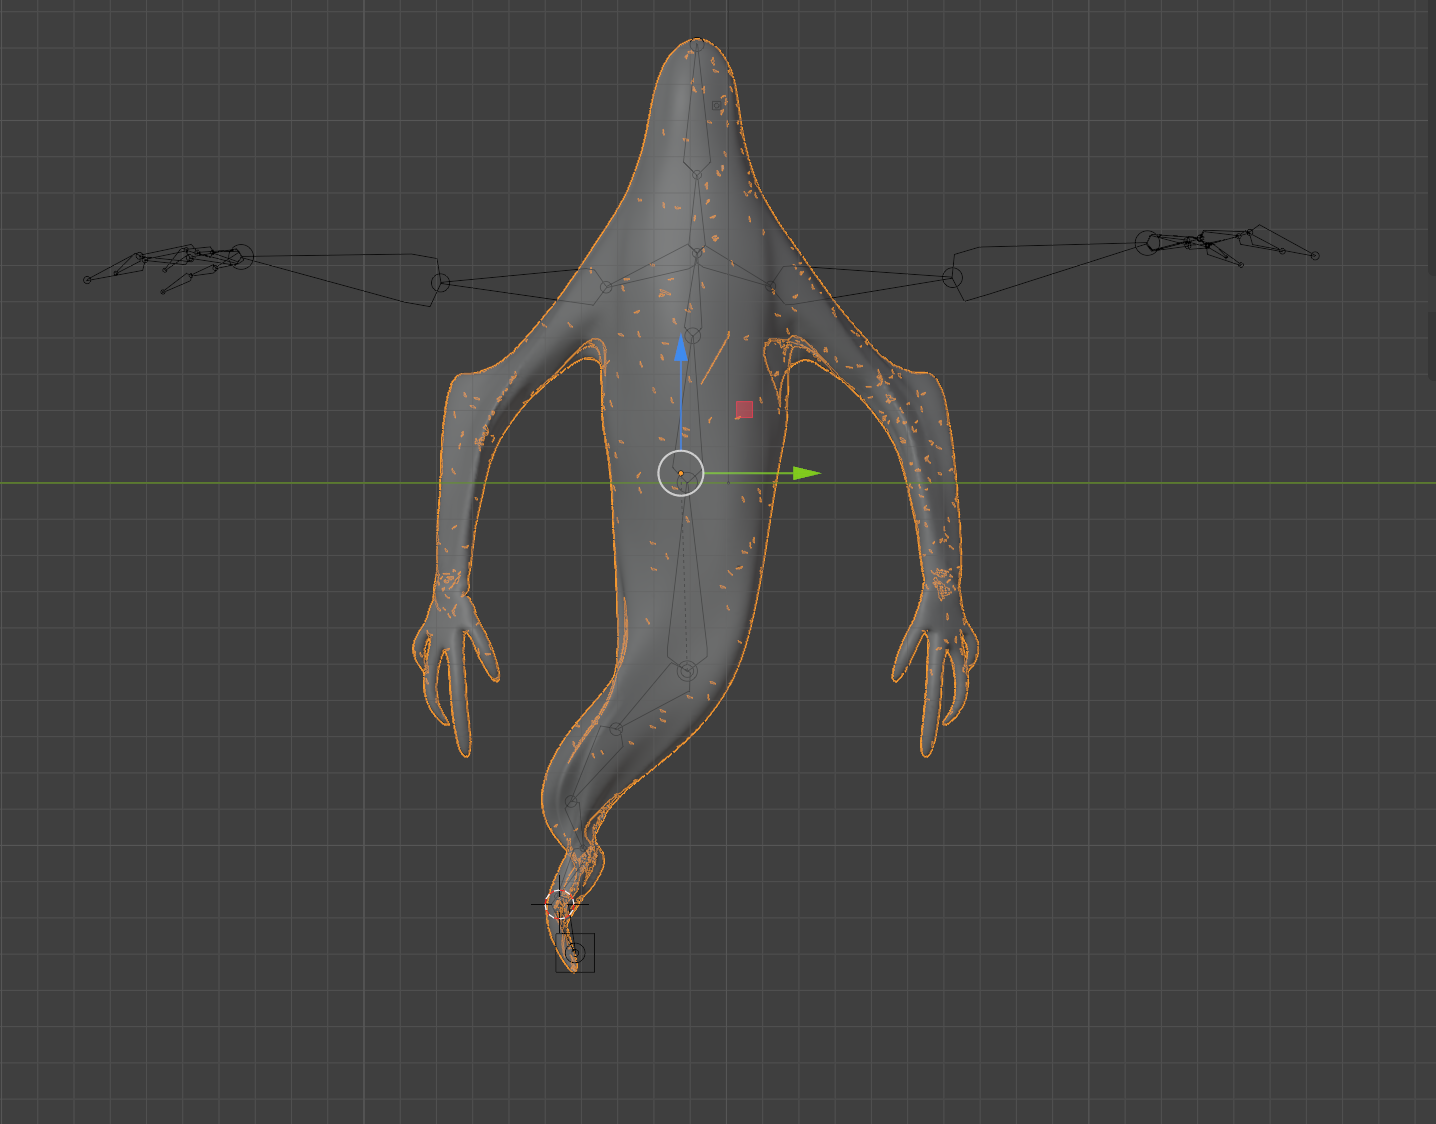
Moving skeleton with IKs
Since the bones moved better now and were more manageable, I redid the weights and this turned out to look fantastic, it had the feeling of looking like a single stroke while still making the character move in a realistic, natural manner.
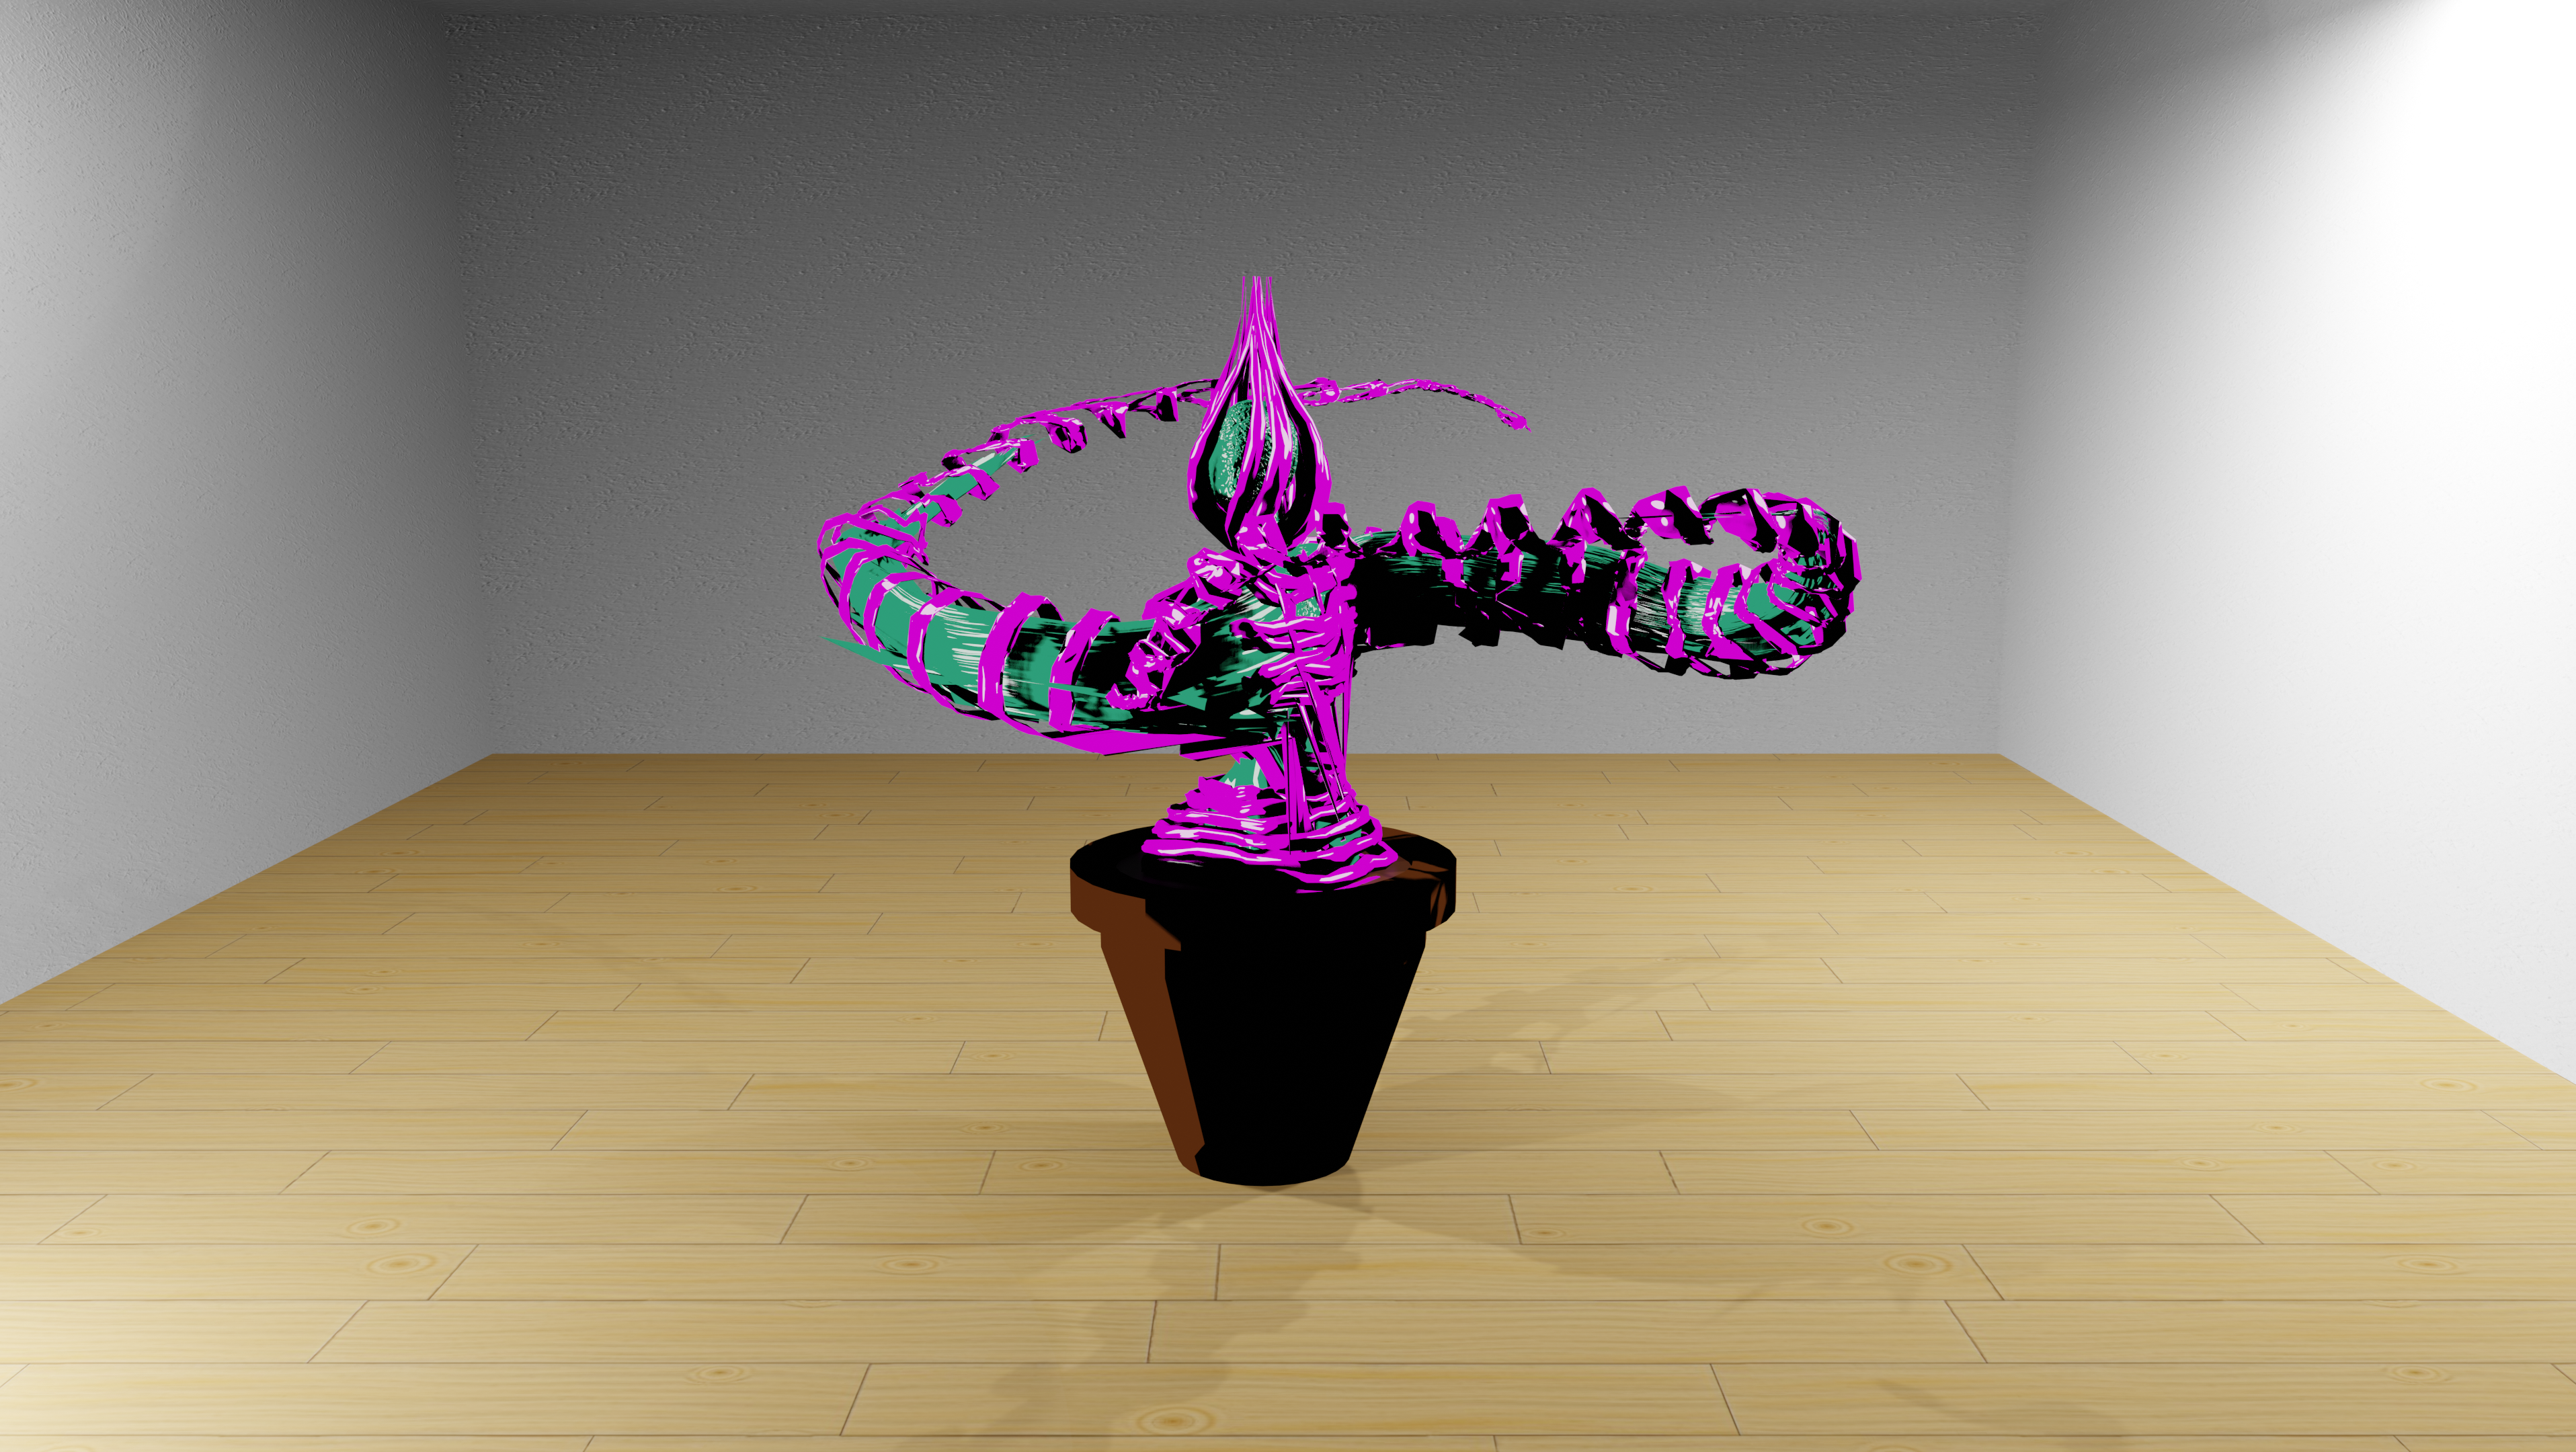
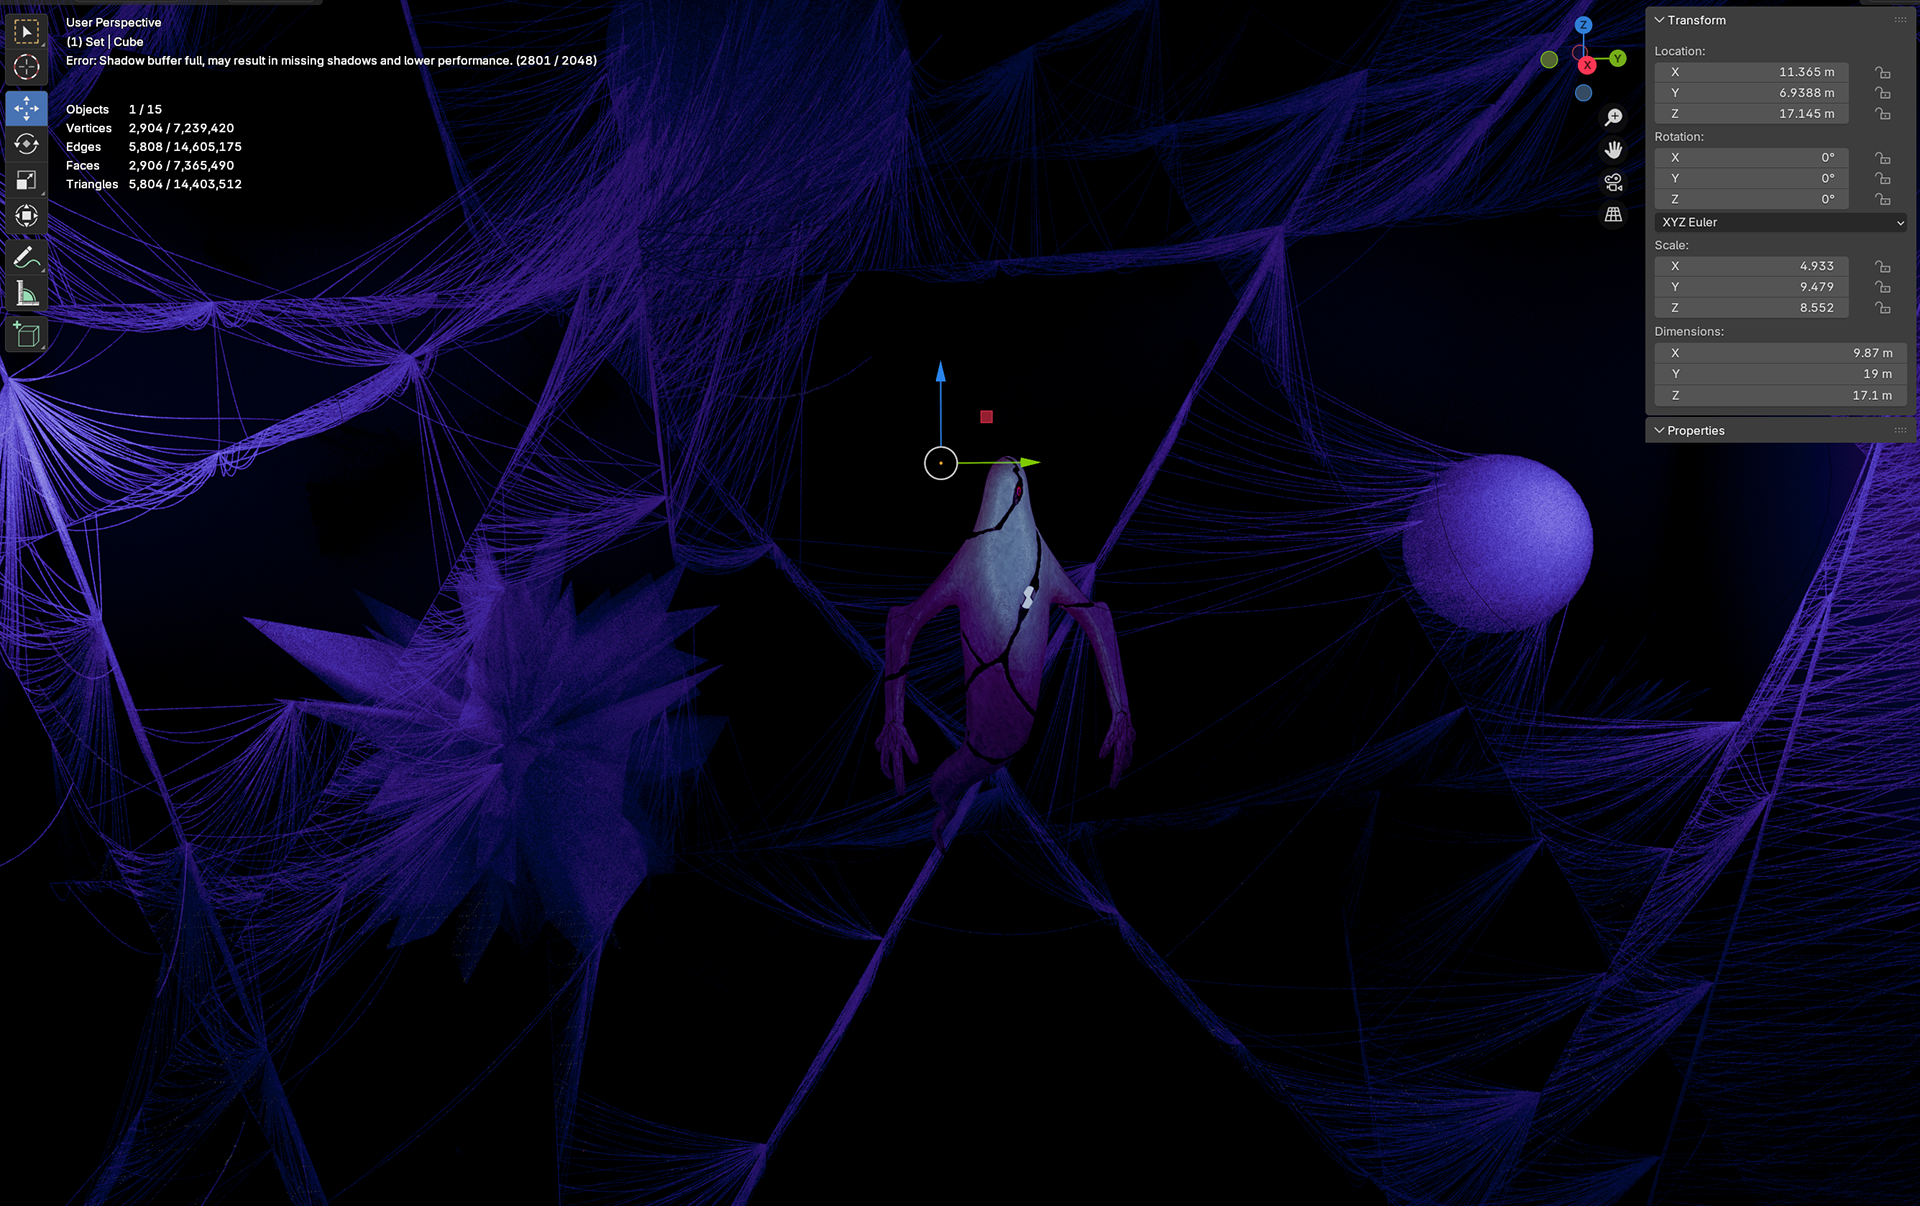
With the rig effectively complete and ready to be animated, I figured I should design an environment for Ghostfreak. While there aren't any good references for Ghostfreak's home planet, luckily, the Anur System that the planet lies in has a very well defined artstyle with a lot of cool colors (particularly purple) and what appeared to be cobwebs, so all I needed to do was recreate that to look good. I created the cobwebs using geometry nodes and strokes and added orbs to the environment. The original Ben 10 series used a lot of orbs in its artstyle and I chose to incorporate those into the environment. I played with the lighting to make it dark and purple, which is the color scheme commonly associated with Ghostfreak in the original series.
I originally just had him in a box, but I thought it was boring, so I looked up what his planet looks like, I found a fantastic interpretation online that looks like a tunnel with spikes, so I have recreated that and put the orbs between. This also allows the animation to be more dynamic.
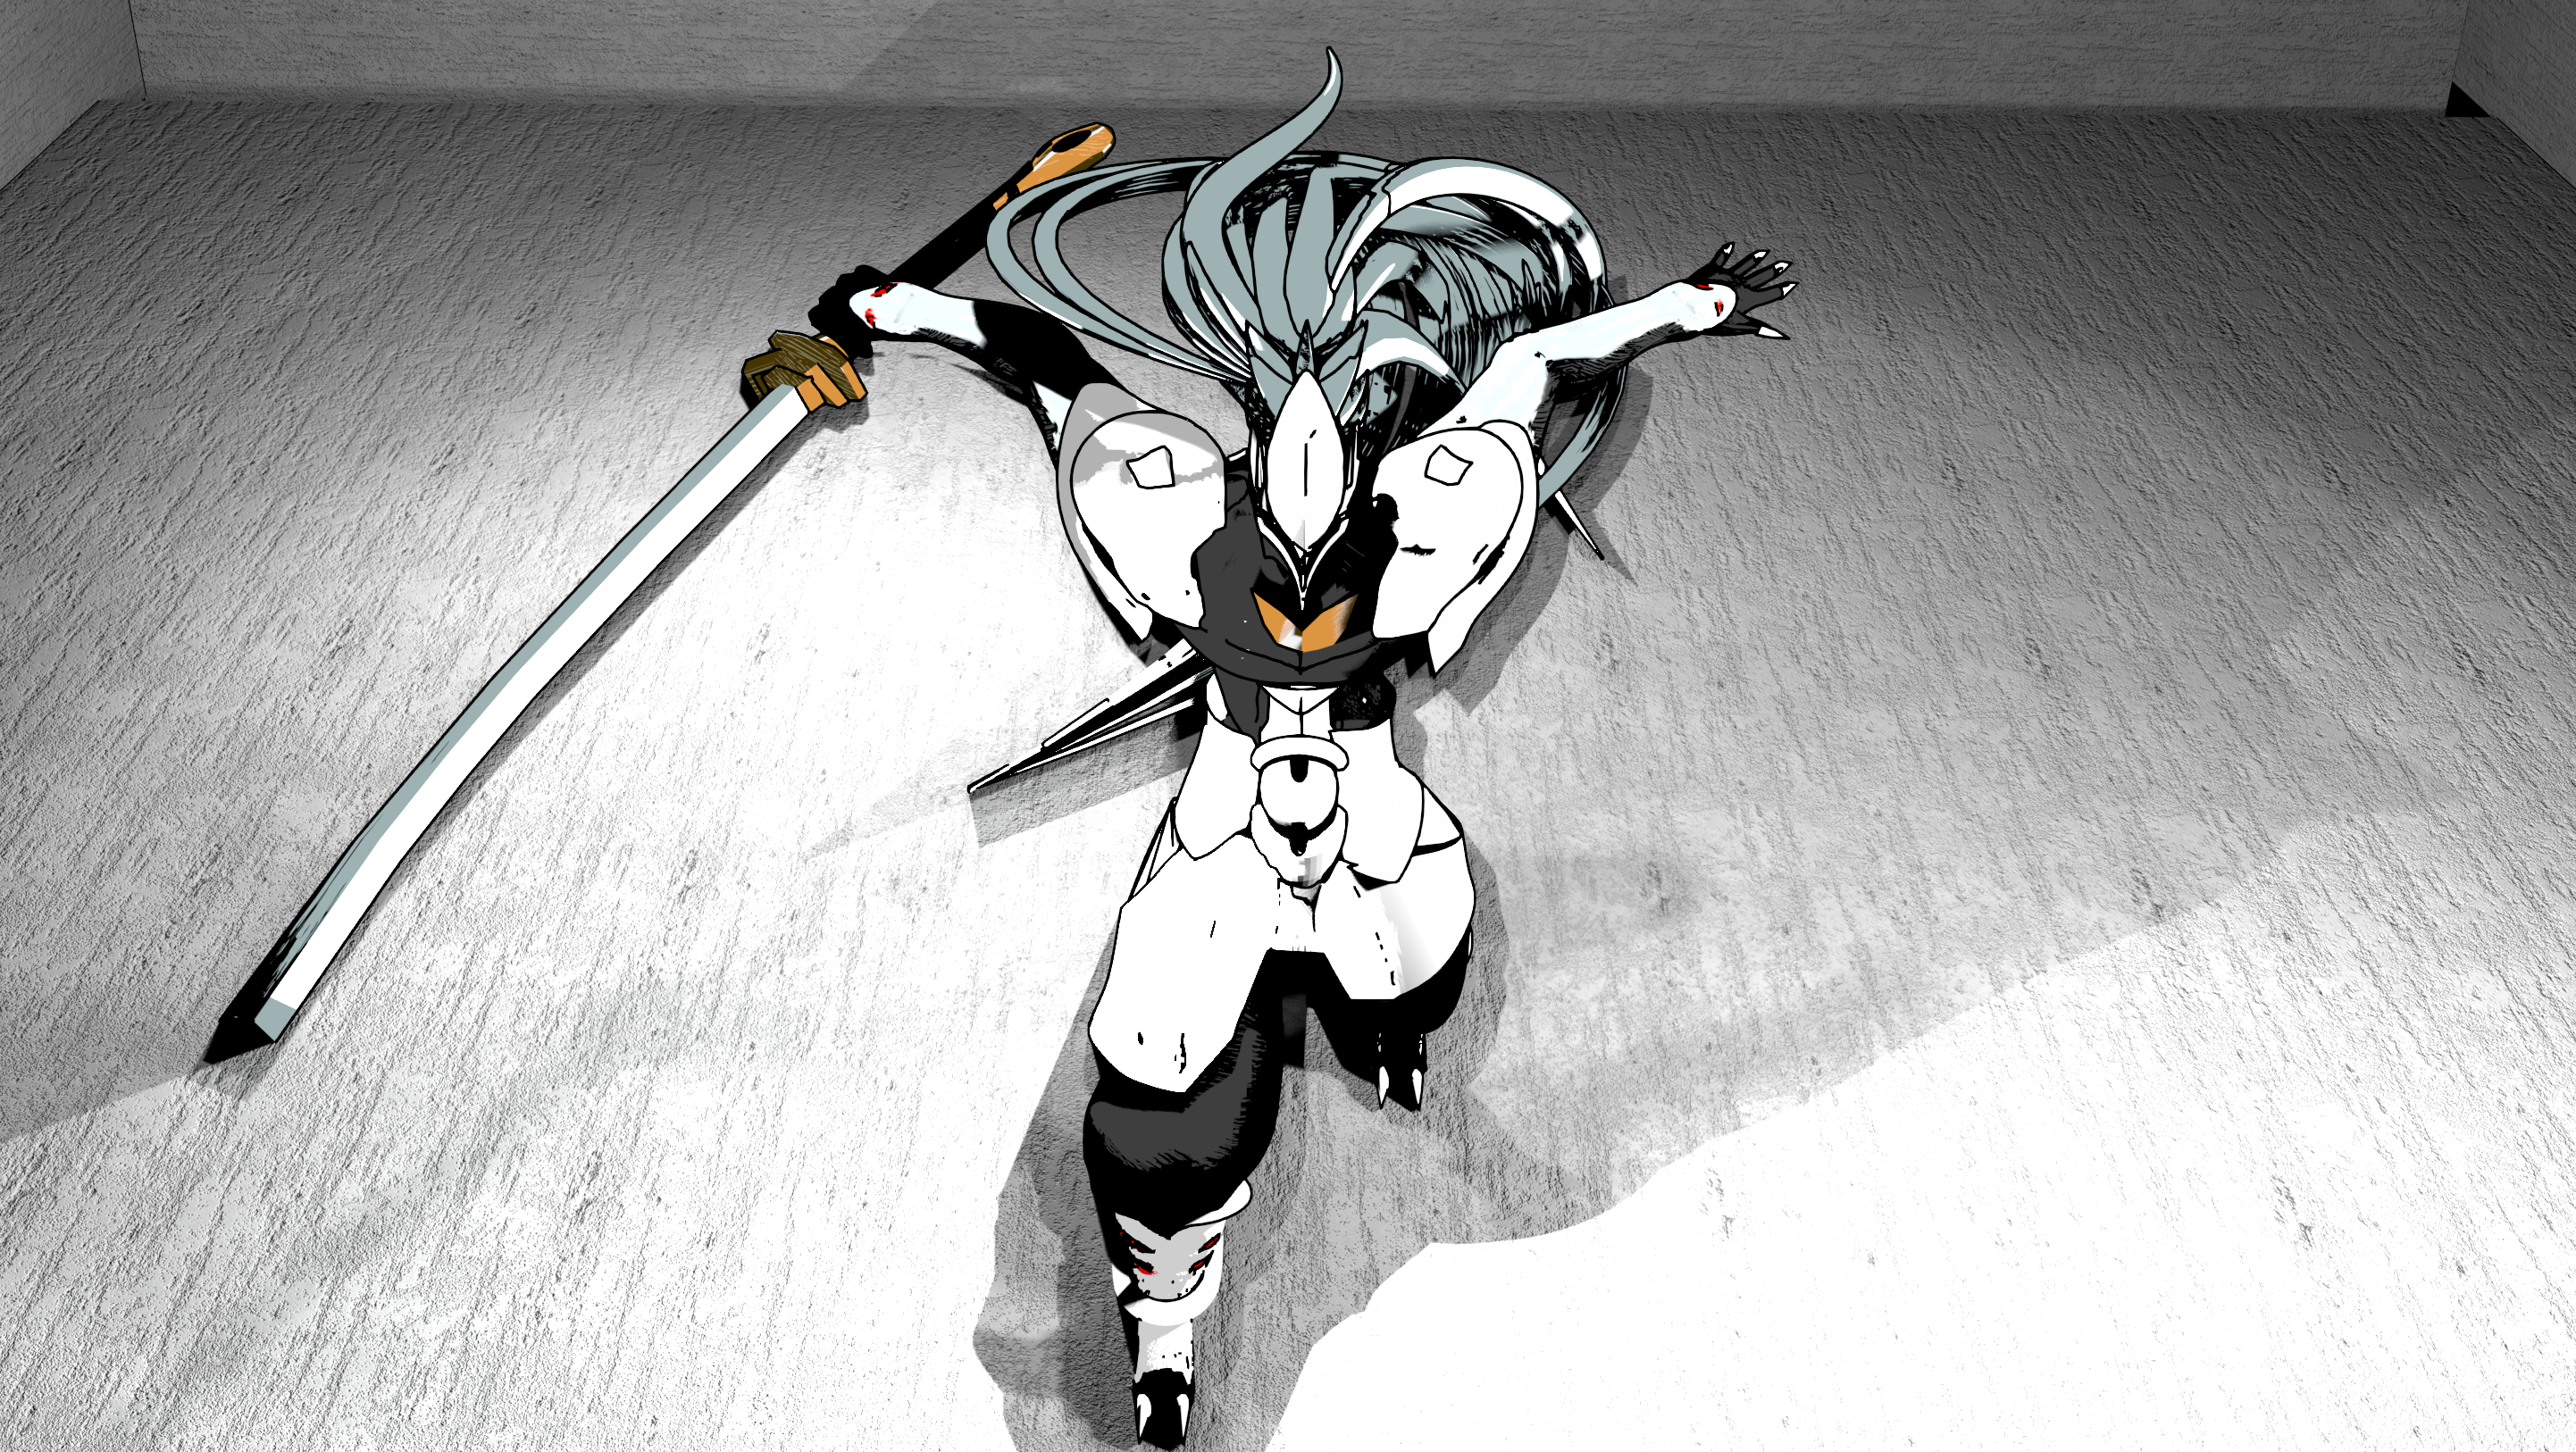
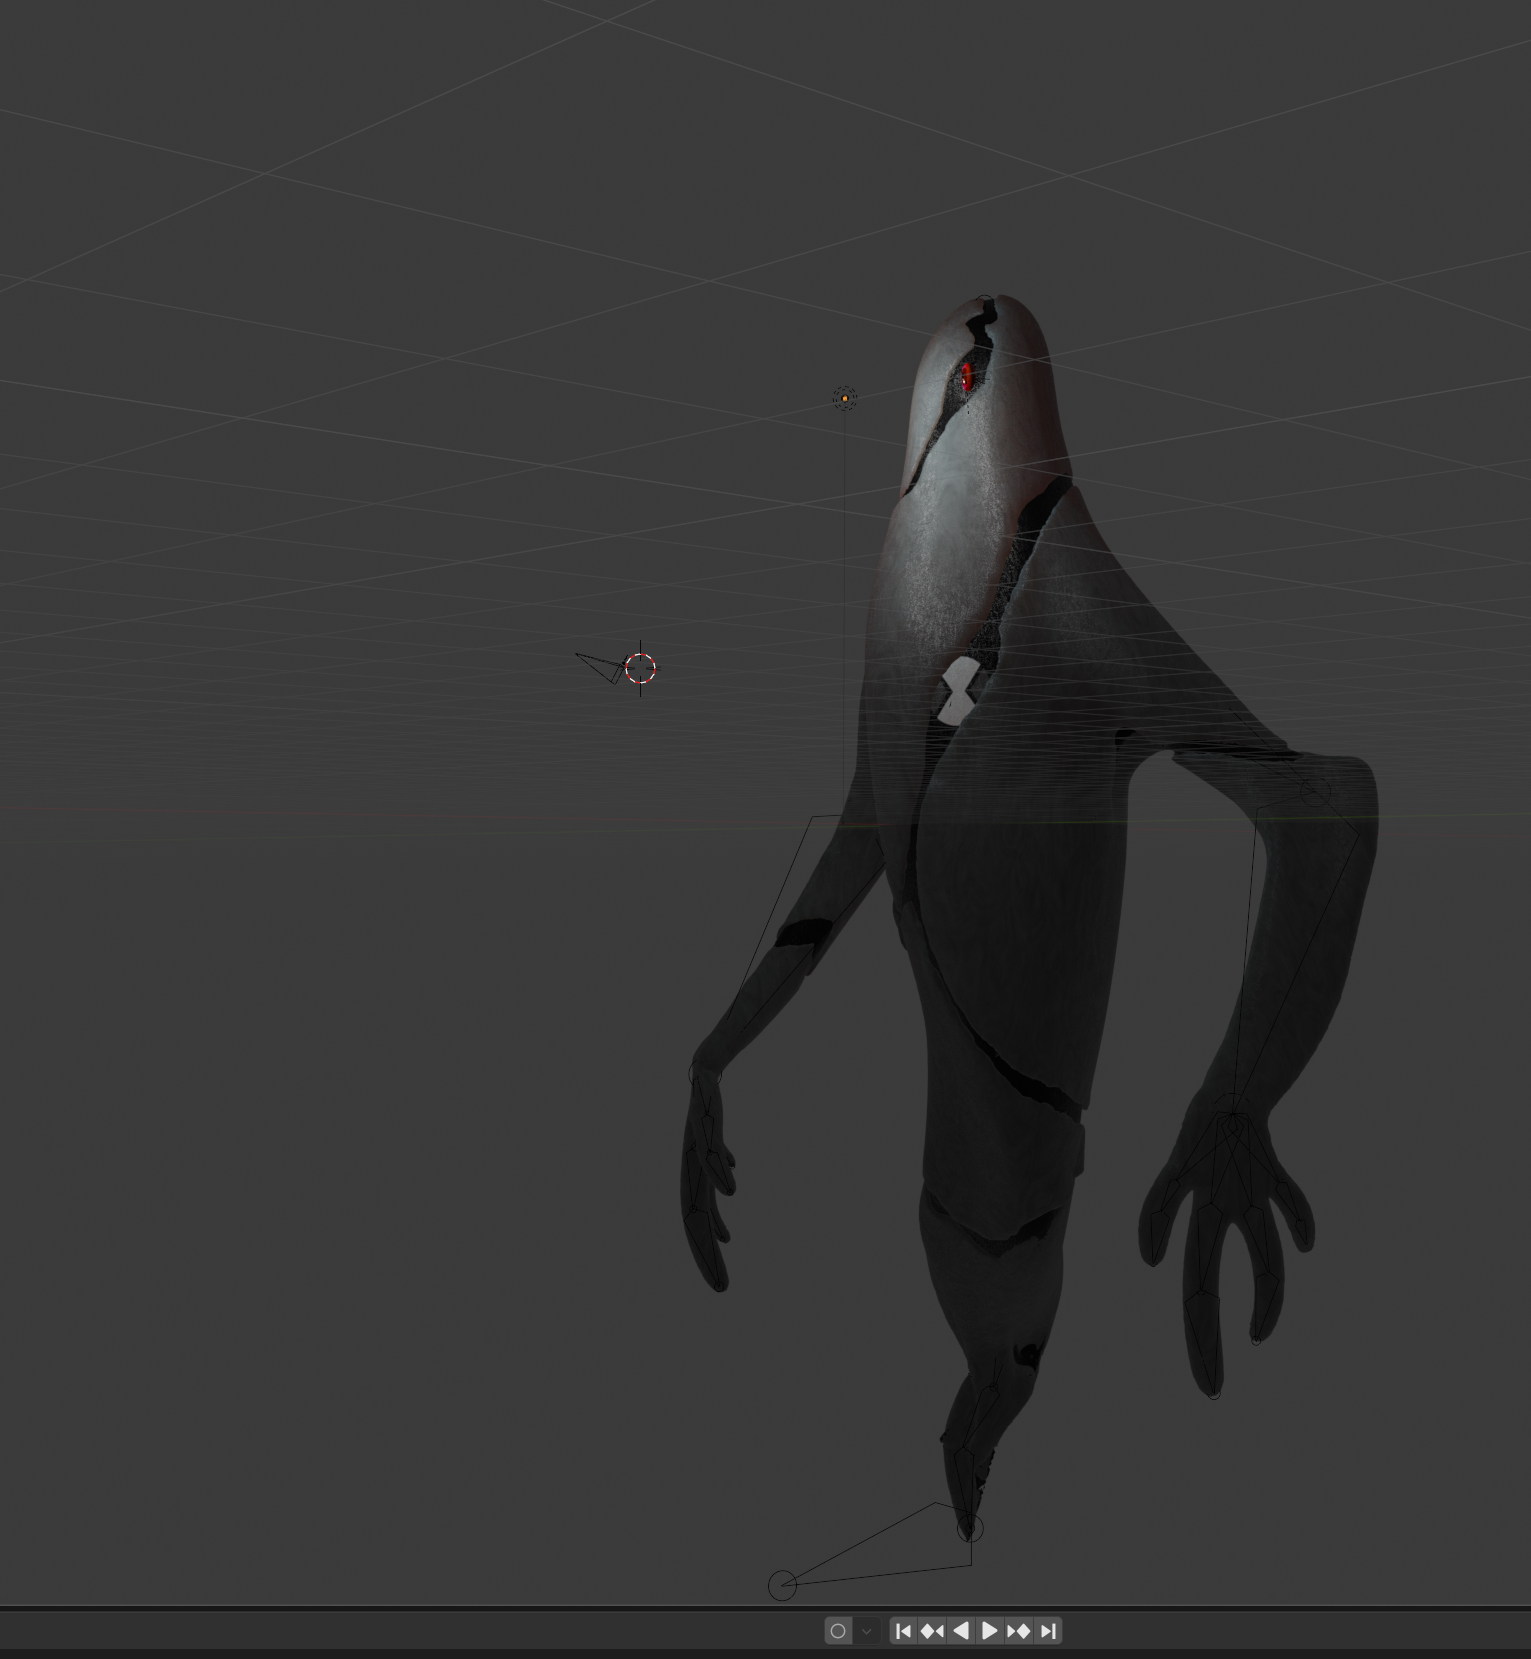
The animation would be Ghostfreak phasing between the orbs and then rushing at the camera. Initially, the upper body movement looked way too unnatural with the IKs, I realized that my previous conclusion of using the chest bones in the IK was what was causing the problem, so I removed the shoulders from the IK, but still intend to animate it, and that has made the animation look more like the show and so more natural.
After the re-rig, I started animating him. The animation continued featuring his phasing between the orbs and I added frames in between to make the movement more natural and fluid, I also returned to using keyframes for the tail to have as much control as possible over the look.
For the final image render, I really wanted the image to have a vignette effect, which I created using the compositor.
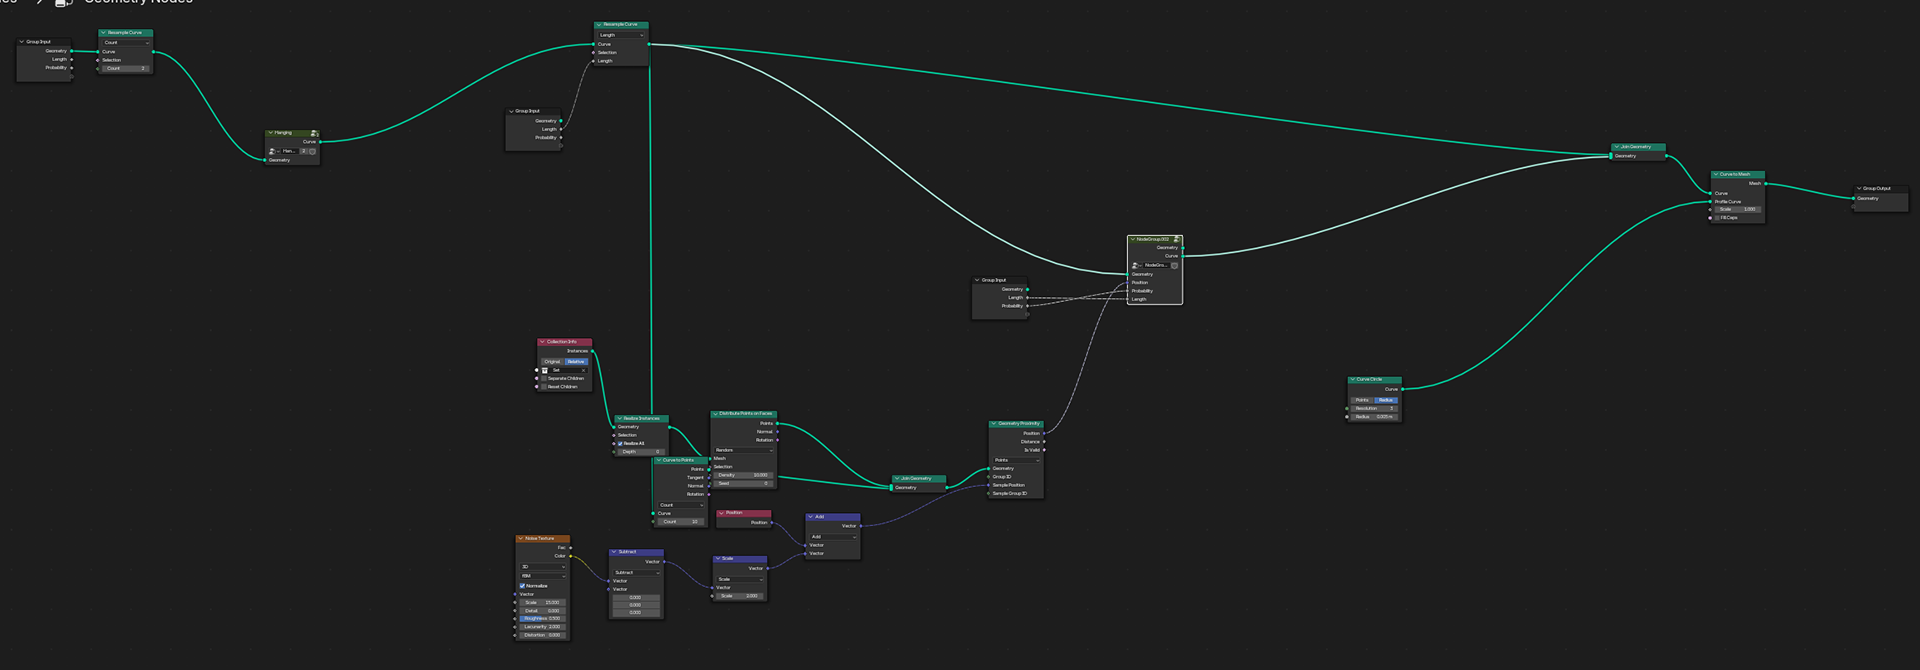
Cobwebs Geometry Nodes
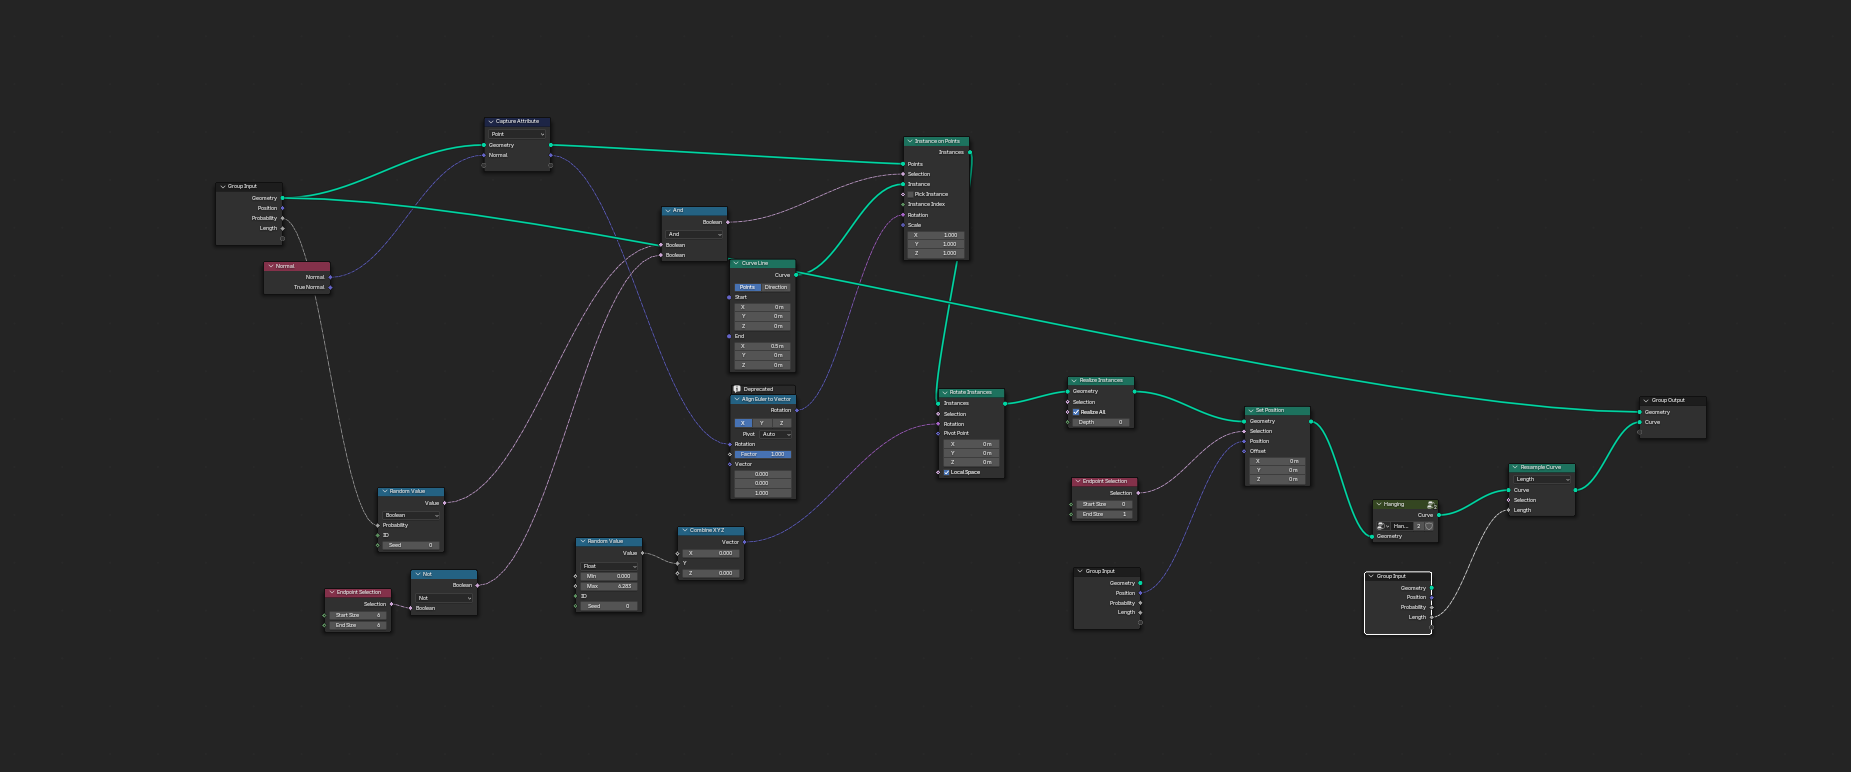
Cobweb Geometry Nodes 1
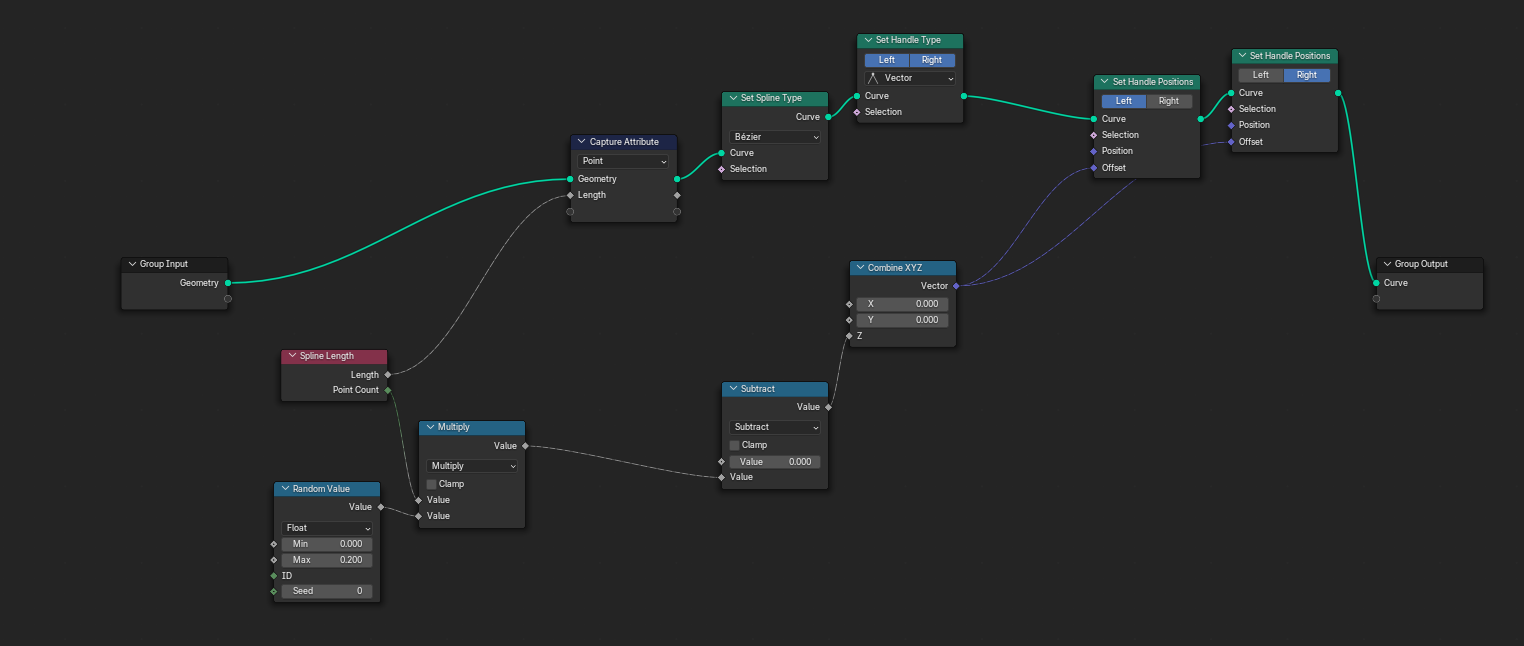
Cobweb Geometry Nodes 2
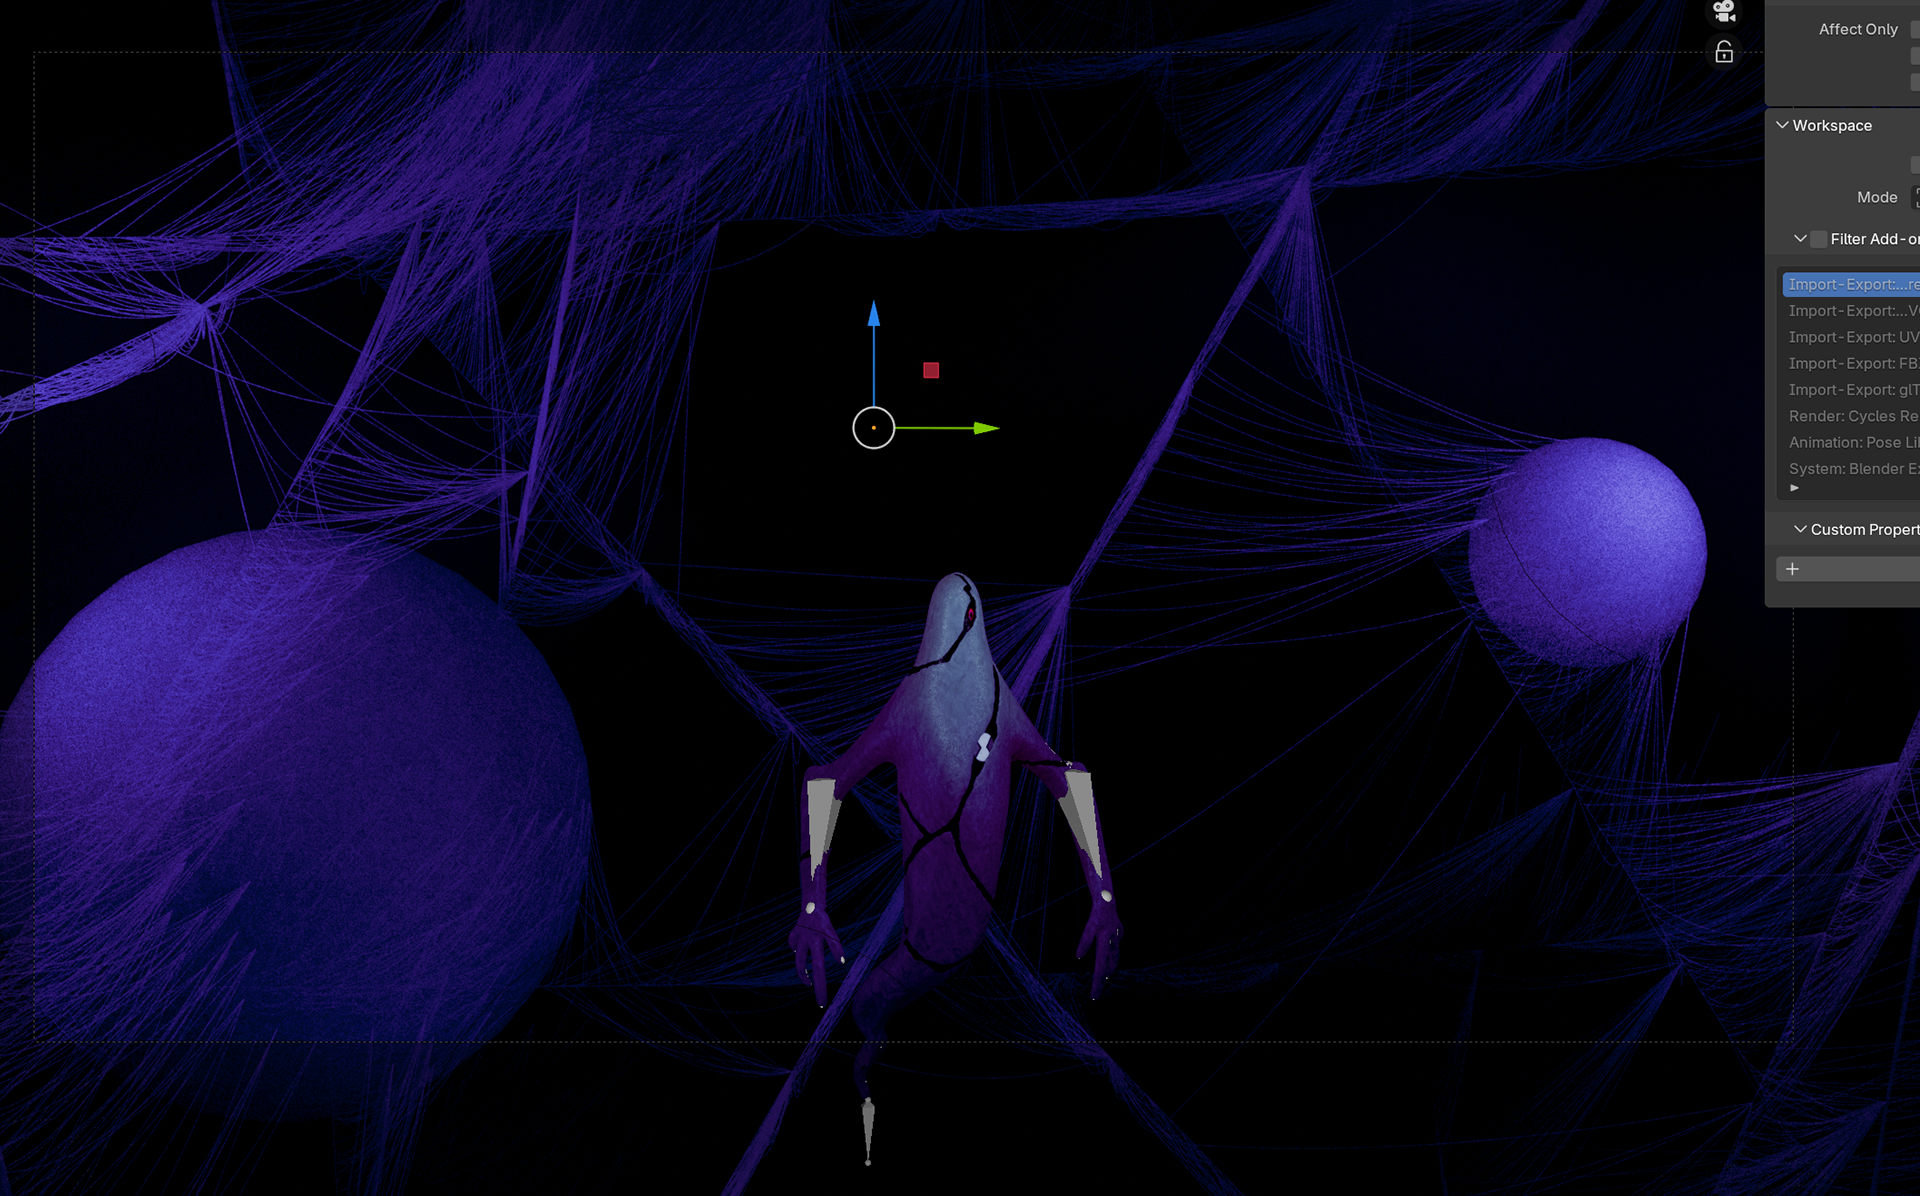
Current version of environment
Alternative orbs

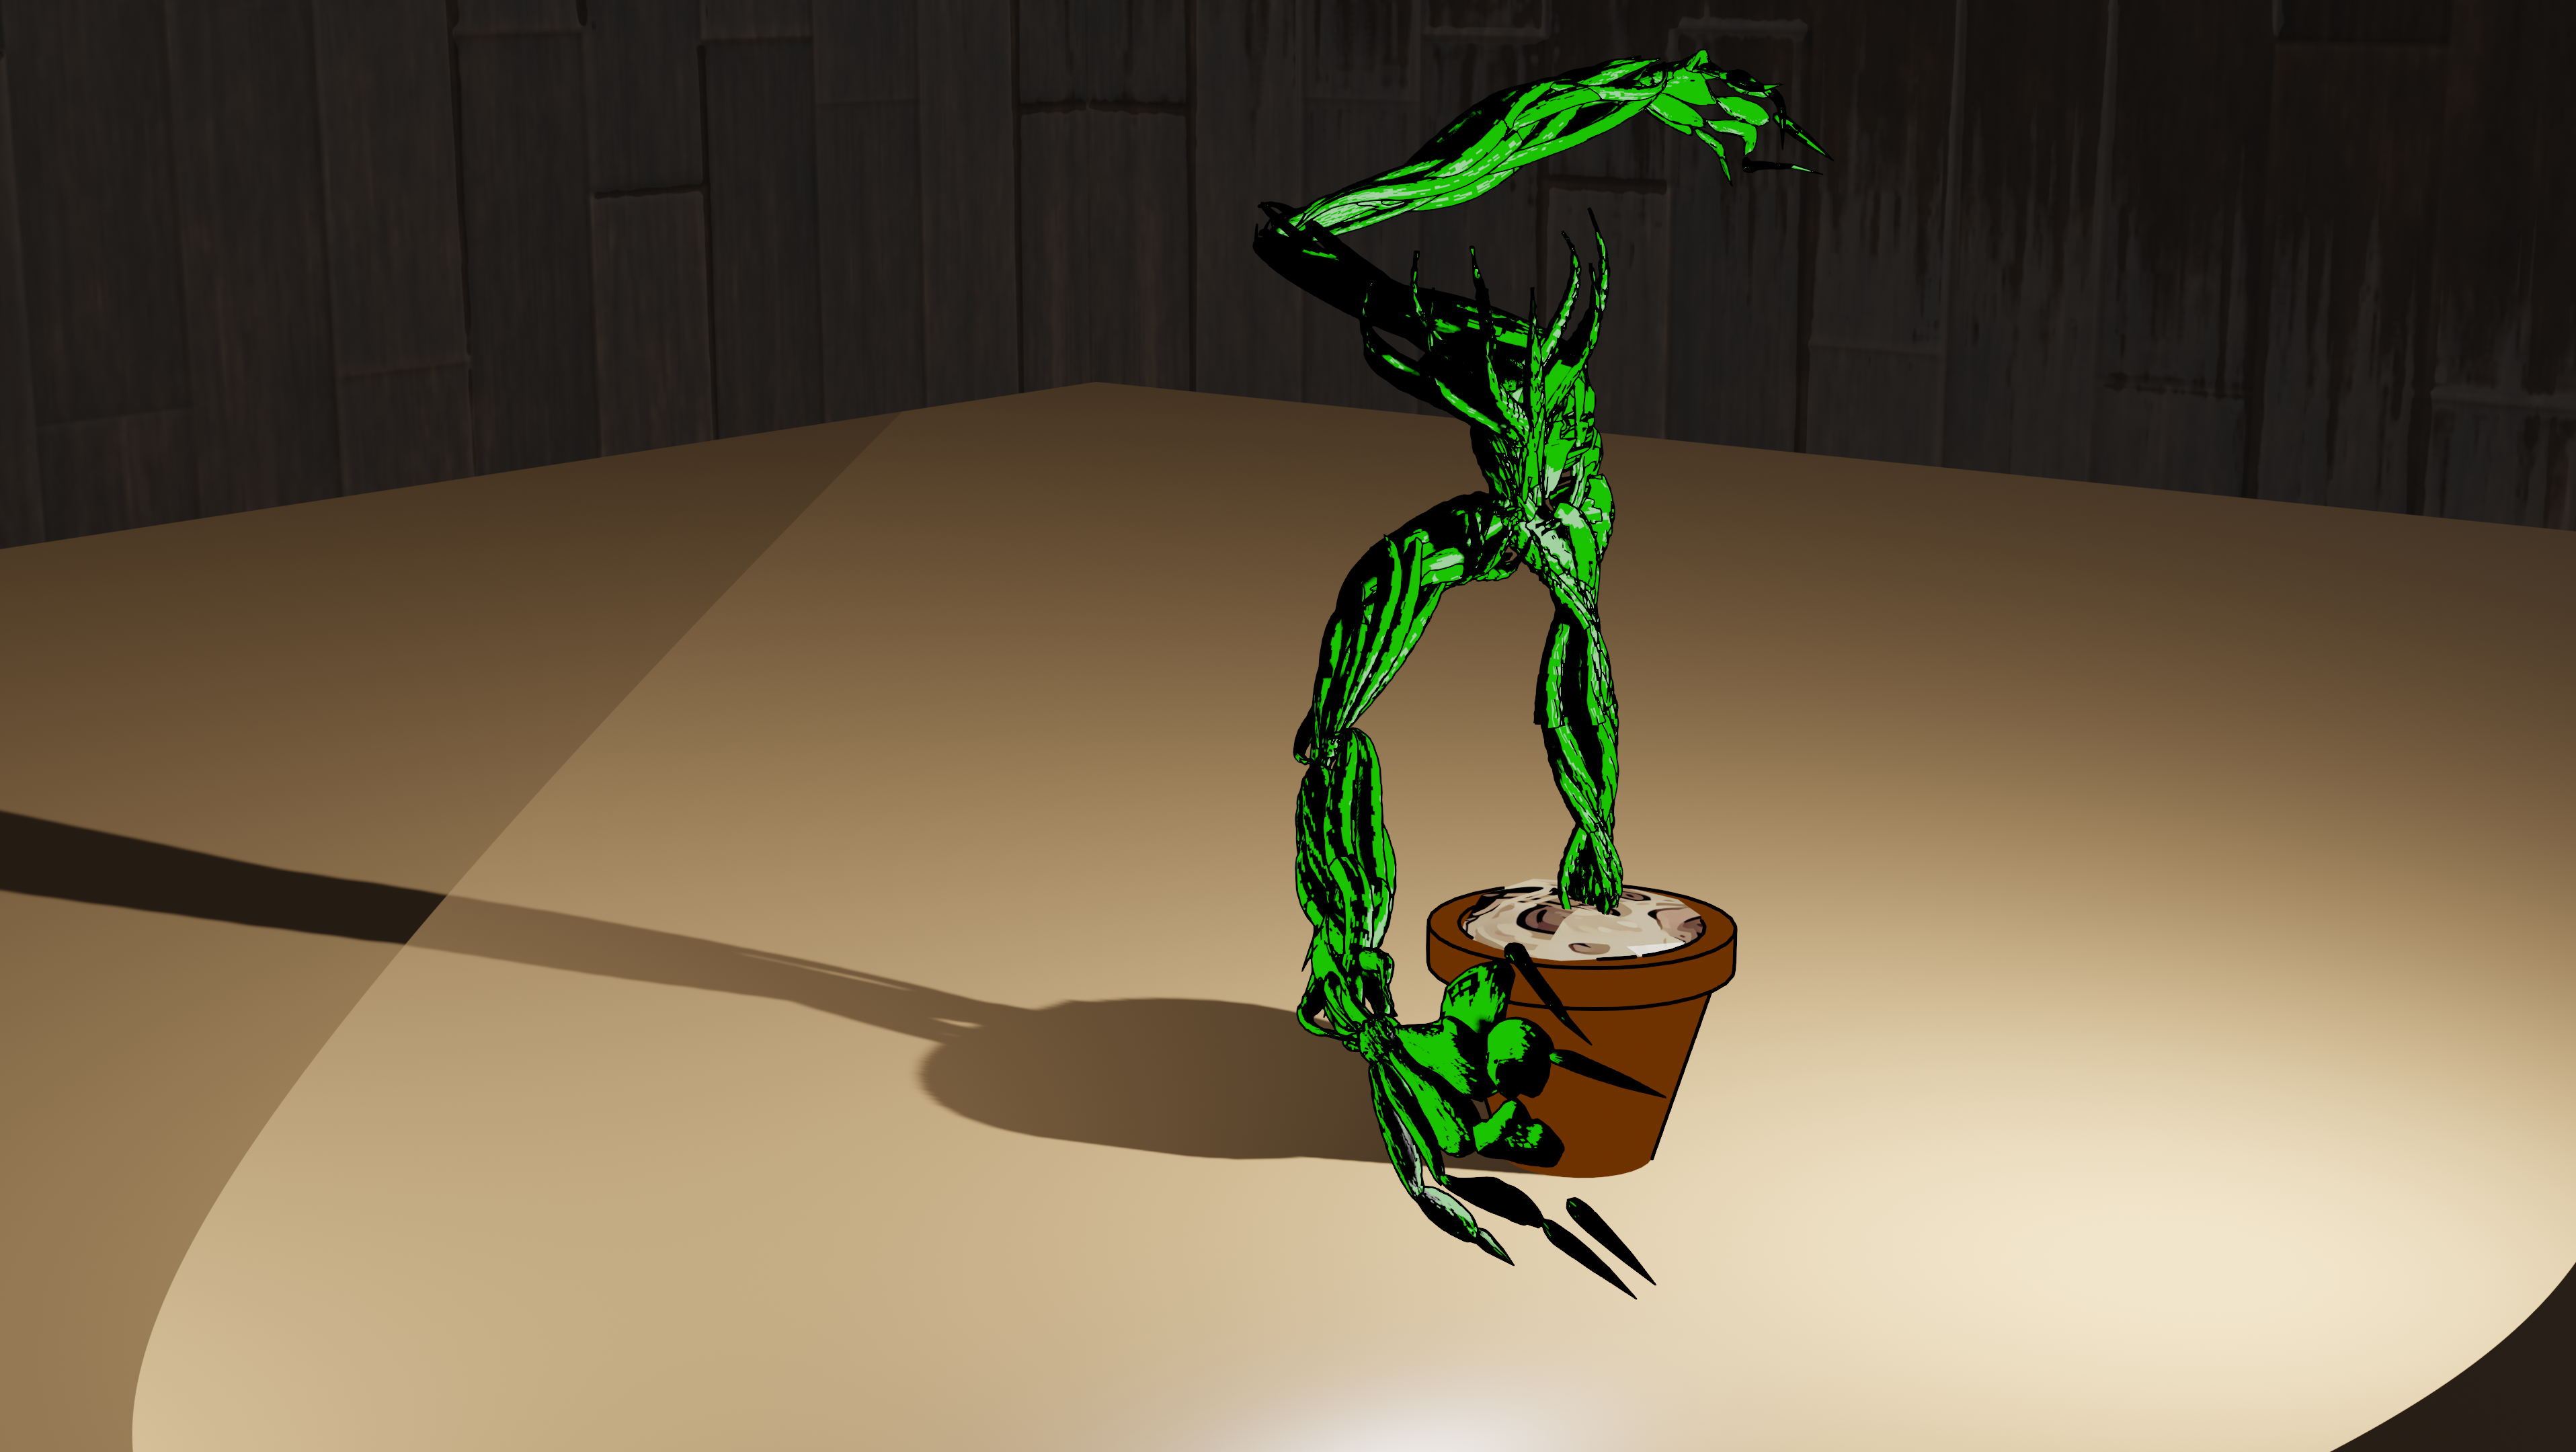
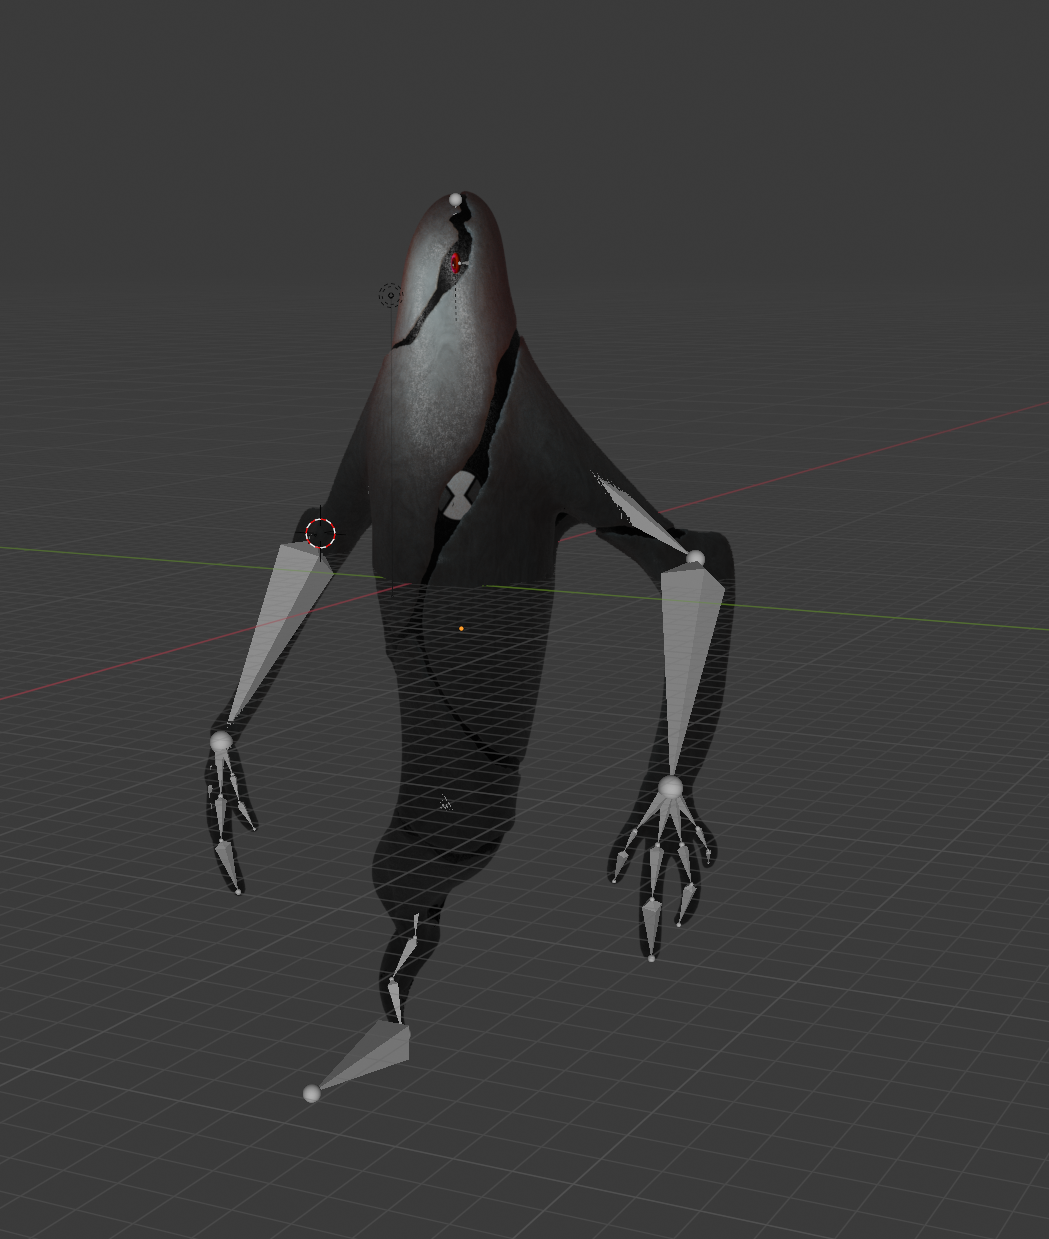
Posing
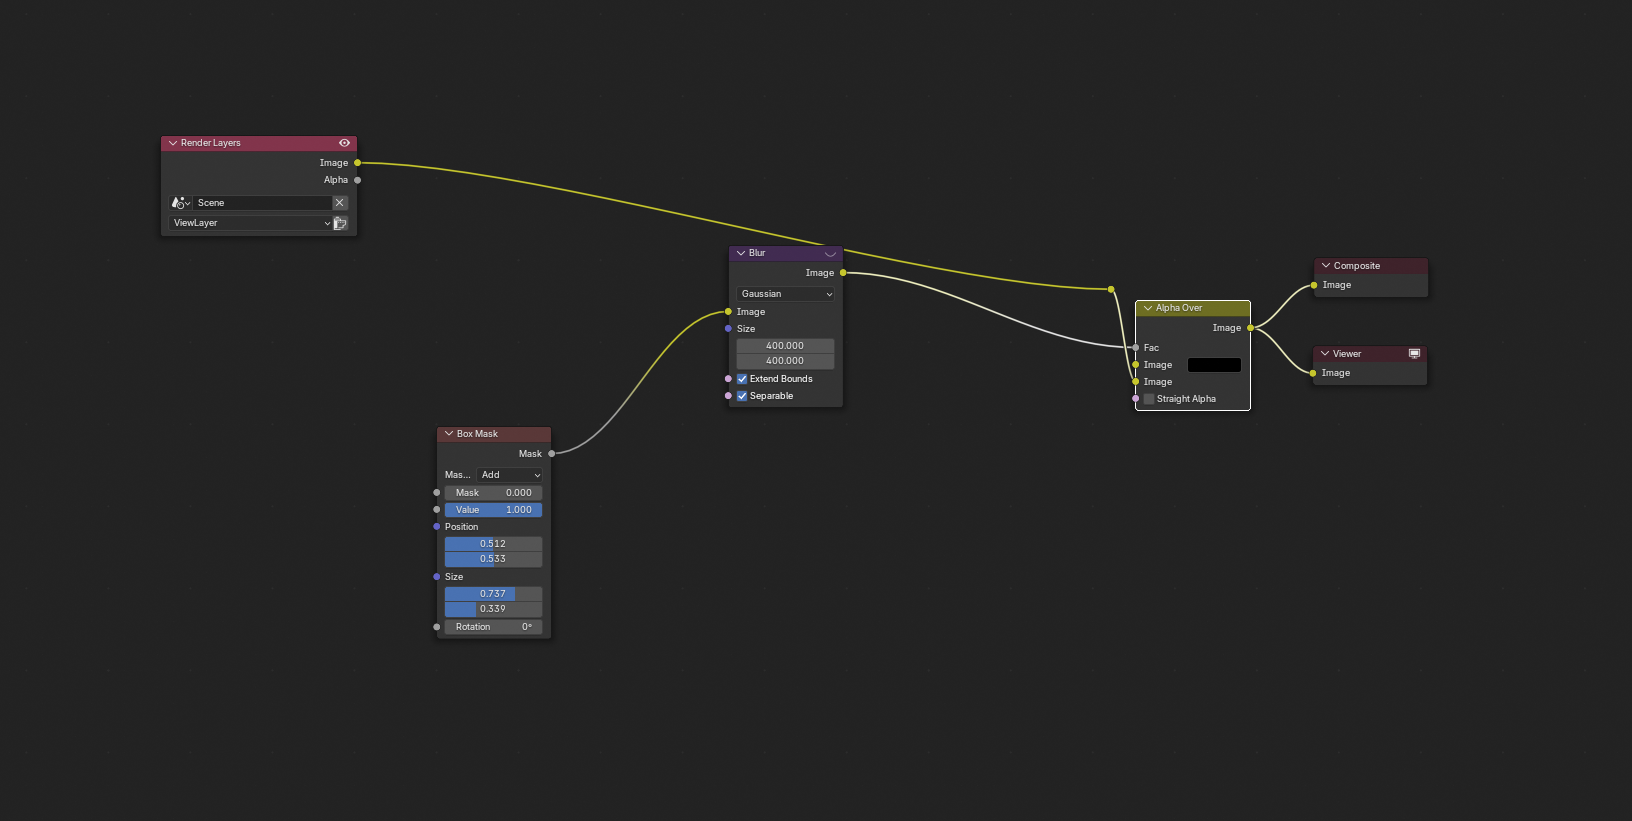
Compositor for vignette effect